
Firebase
What is Firebase?
Firebase is Android's new push notifications system, replacing Google Cloud Messaging (GCM).
WonderPush lets you use your own Firebase account. This ensures push token portability letting you change provider, should you wish to do so.
Creating your Firebase account
- Go to https://console.firebase.google.com/ and sign in with your Google account.
- Check with your team if you do not already have a Firebase account and project.
You may need to be invited to it if it's not listed. - Click Add project and fill the required information.

- You can stop here if you do not plan on using Firebase within your application, or you can continue and integrate it.
- Add an Android app.
This will generate agoogle-services.jsonfile and give you instructions for integrating it in your application.
Locating your Sender ID / Project number
Use this link to get to the Firebase project General settings page of your project.
Alternatively, here's how to reach it:
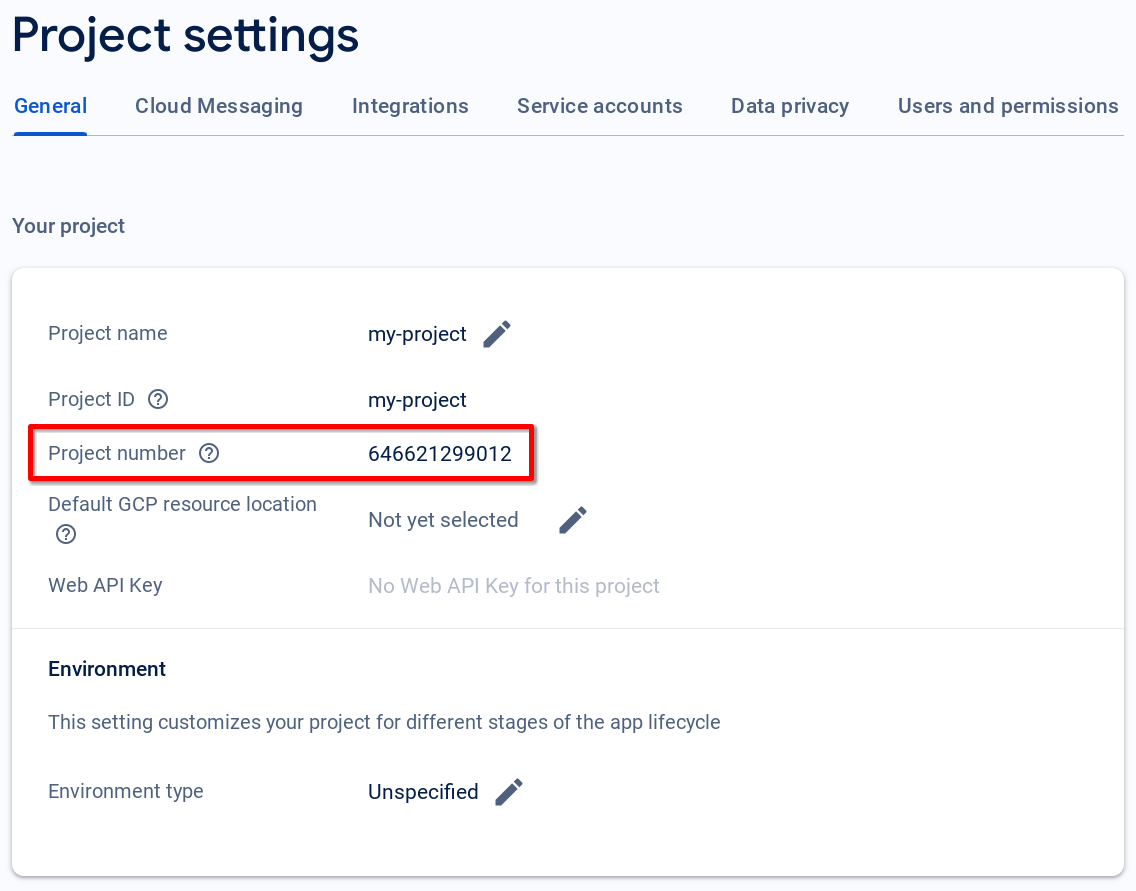
- In your Firebase project console, click the gear icon and select Project settings.

- In the General tab, under the Your project section, read the Project number:
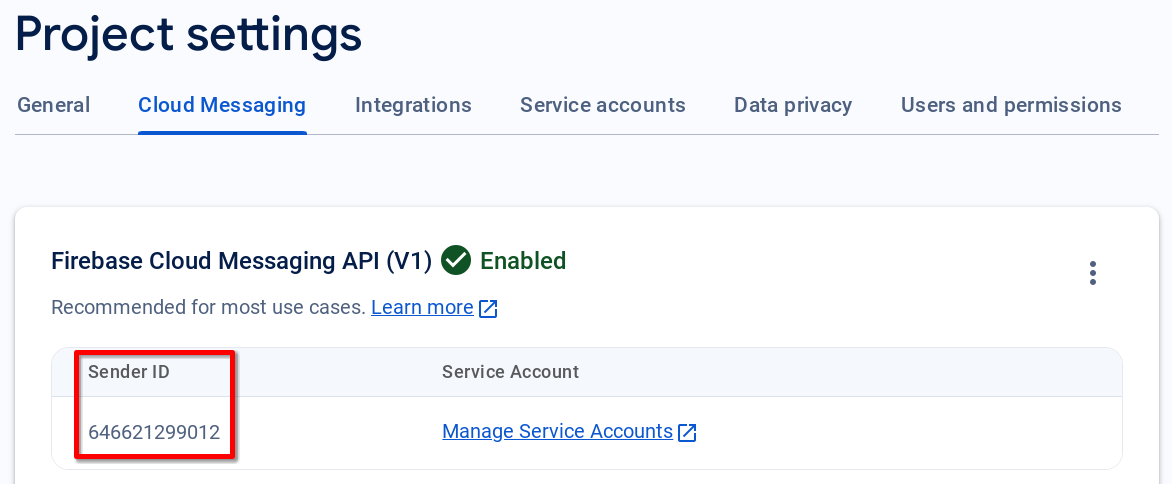
You can also find this value in the Cloud Messaging tab where it is named Sender ID.
Filling the Firebase credentials in the WonderPush dashboard
You have two options:
- Grant IAM permission. In this option, you will grant the WonderPush service account the permission to send Firebase Cloud Messaging notifications to your Firebase project.
This is the safest option as no private key is ever shared and you will only grant the least privileges, but more clicks are required - Upload a Service Account key. In this option, you will create a Service Account key and upload it to WonderPush.
The fastest way is to upload a newly generated key for the Firebase Admin SDK service account, although more permissions than necessary are granted.
(An alternative is to create a dedicated Service Account and grant it the least privileges before generating a new key, but the recommended option is both faster and safer.)
Recommended option: Grant IAM permission
- Open your Project Settings in the Firebase Console.
- Take note of your Project ID and Project number (aka Sender ID).
- Go to the Users and permissions tab and click the Advanced permission settings link below the list.
This should open the IAM & Admin / IAM page of the Google Cloud Console of the right project. You can check the Project ID in the URL or in the project selector in the top of the page. - Click the Grant access button above the list to open a new panel on the right.
- Under Add principals click the text field and type:
[email protected] - Under Assign roles click the Select a role selector and type Firebase Cloud Messaging API Admin.
- Click the Save button.
Please allow 5 minutes for the permission to propagate.
-
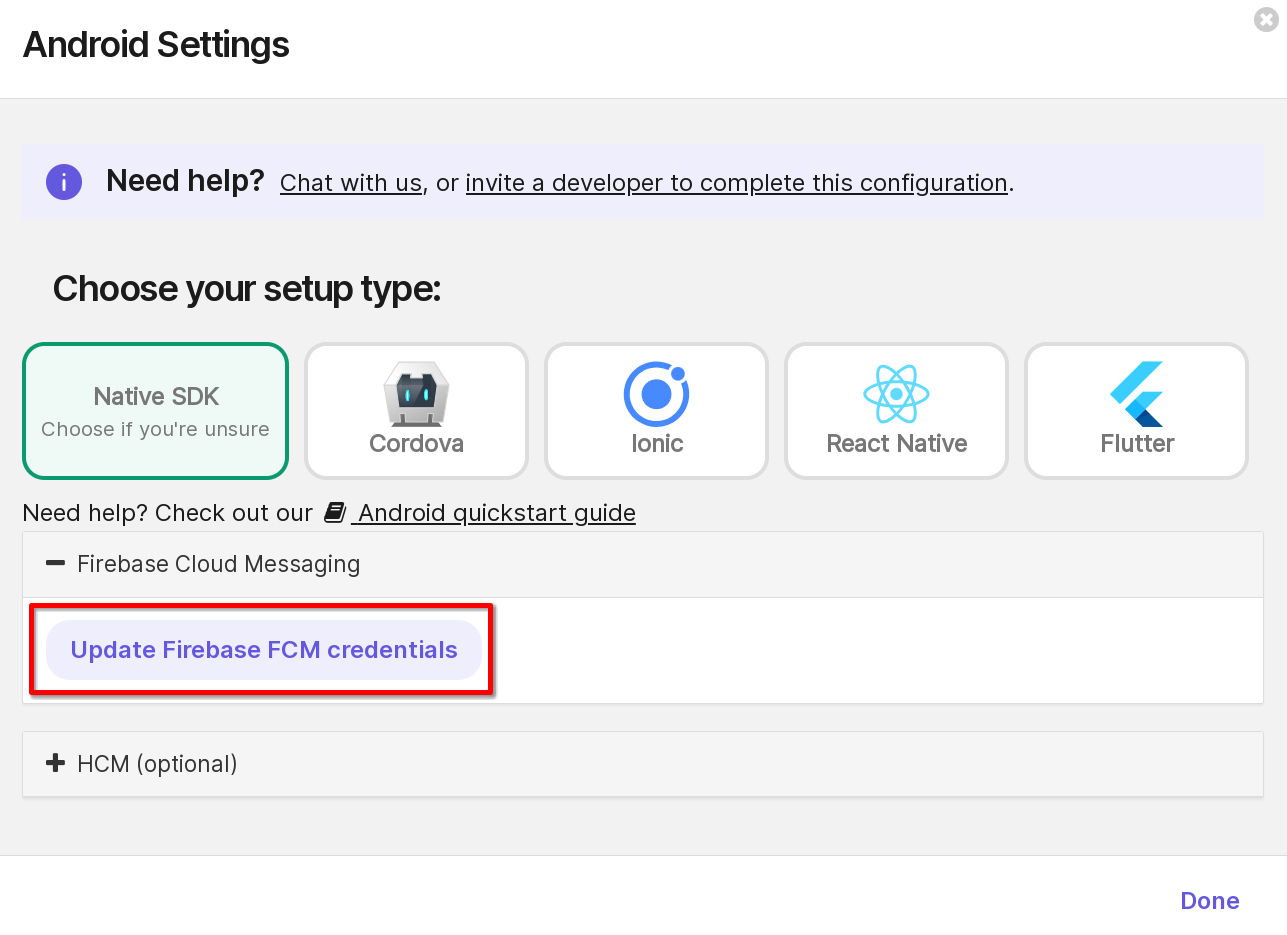
Go to your WonderPush dashboard, in the Settings / Platforms page, click the Android application section title.
-
Click the Update Firebase FCM credentials button.
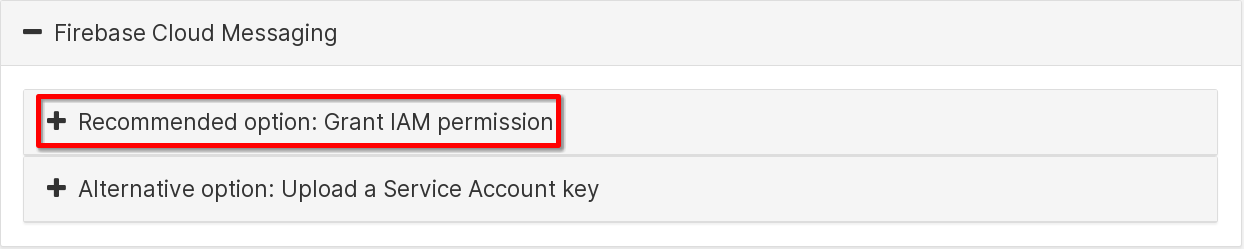
-
Open the Recommended option: Grant IAM permission collapsible section
-
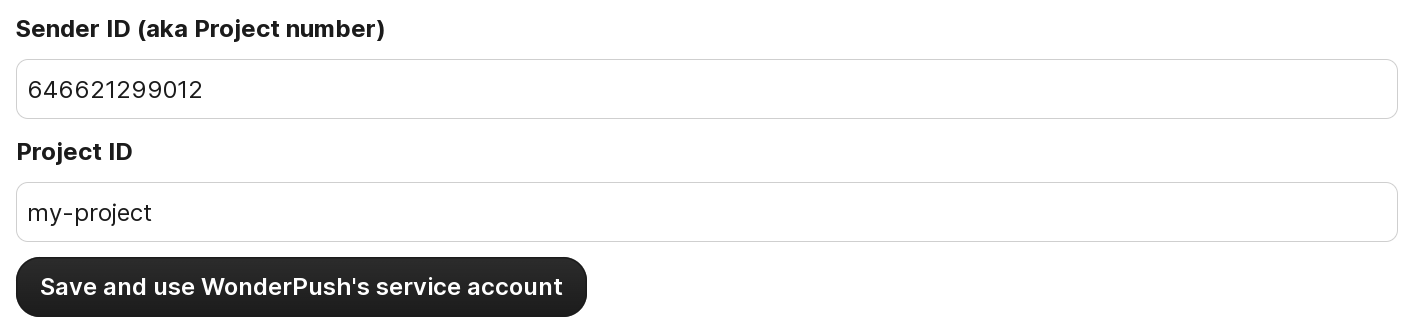
Fill your Sender ID (also known as Project number) and Project ID.
-
Finally click the Save and use WonderPush's service account button.
Alternative option: Upload a Service Account key
-
Open your Project Settings in the Firebase Console.
-
Take note of your Project ID and Project number (aka Sender ID).
-
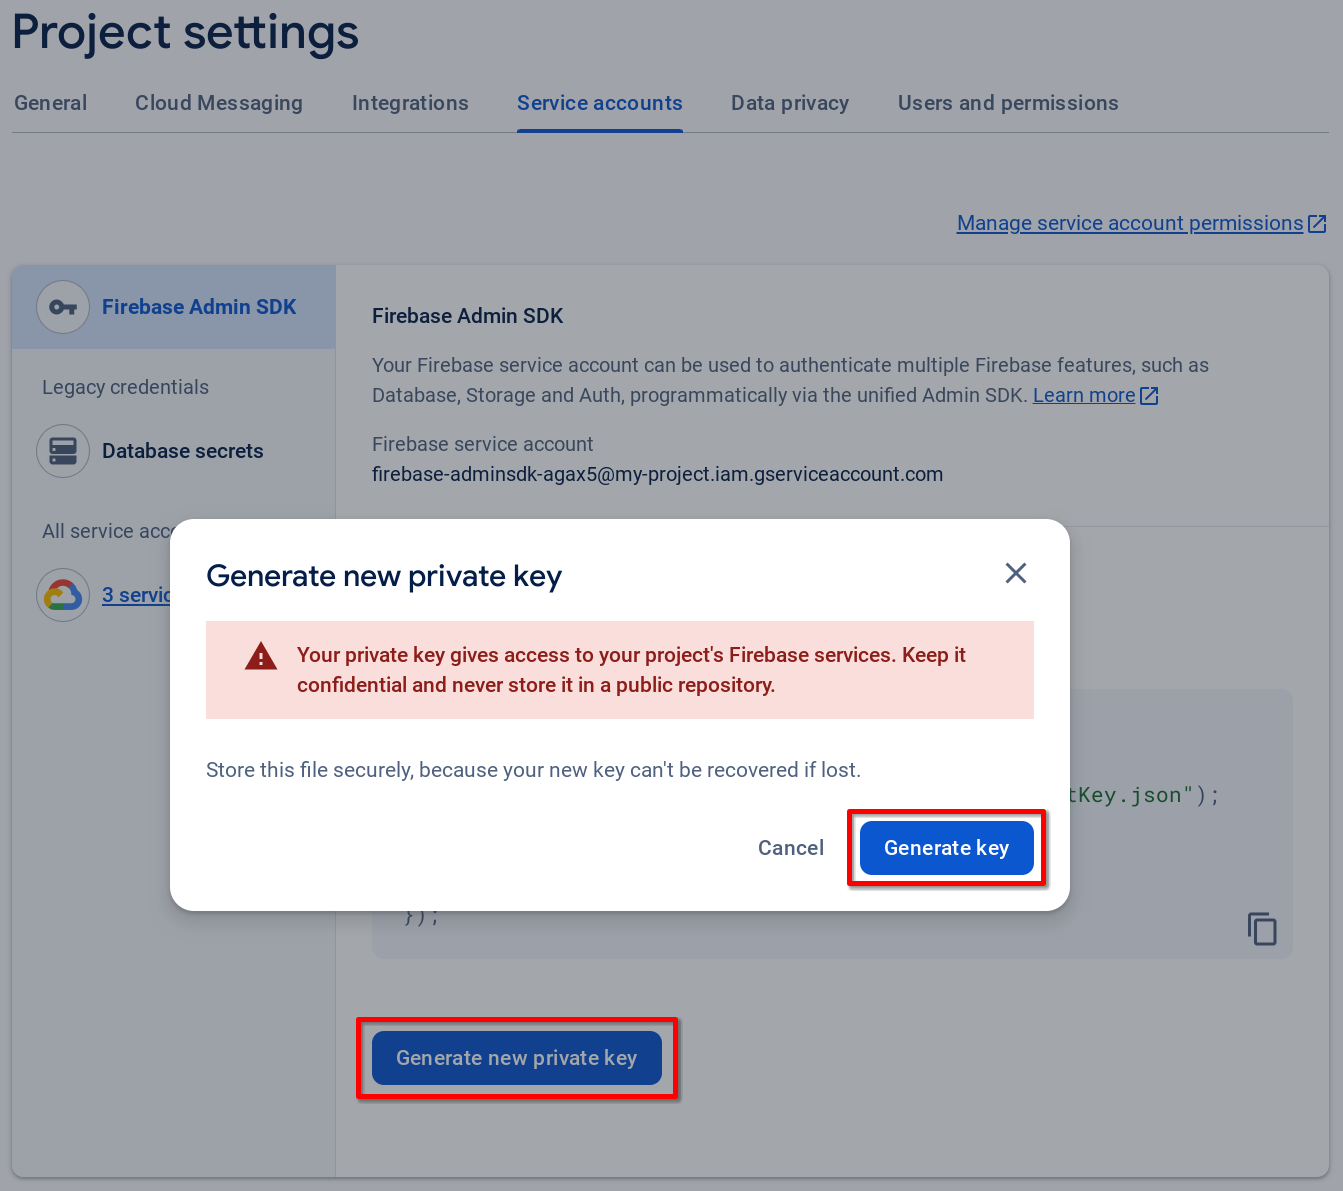
Go to the Service accounts tab.
-
Click the Generate new private key button and click the Generate key button in the popup.
-
Save the generated 〈project-id〉-firebase-adminsdk-xxxxx-xxxxxxxxxx.json file. You will upload it in step 9.
-
Go to your WonderPush dashboard, in the Settings / Platforms page, click the Android application section title.
-
Click the Update Firebase FCM credentials button.
-
Open the Alternative option: Upload a Service Account key collapsible section

-
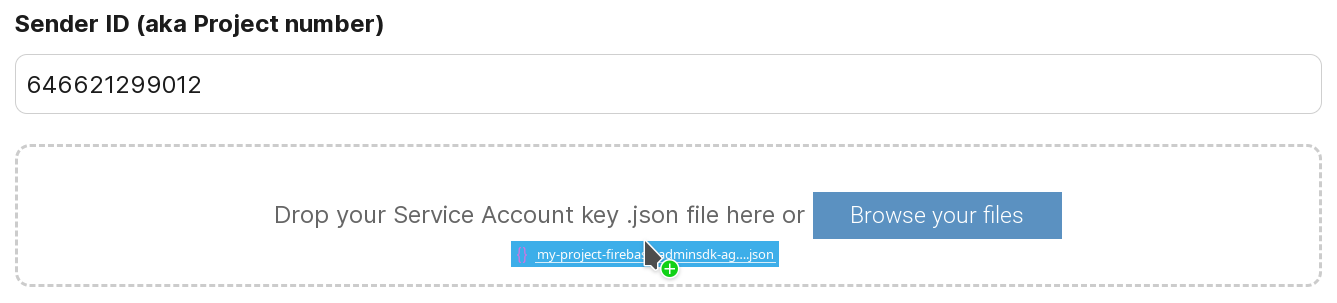
Fill your Sender ID (also known as Project number) and upload the service account .json file you have downloaded in step 5.
-
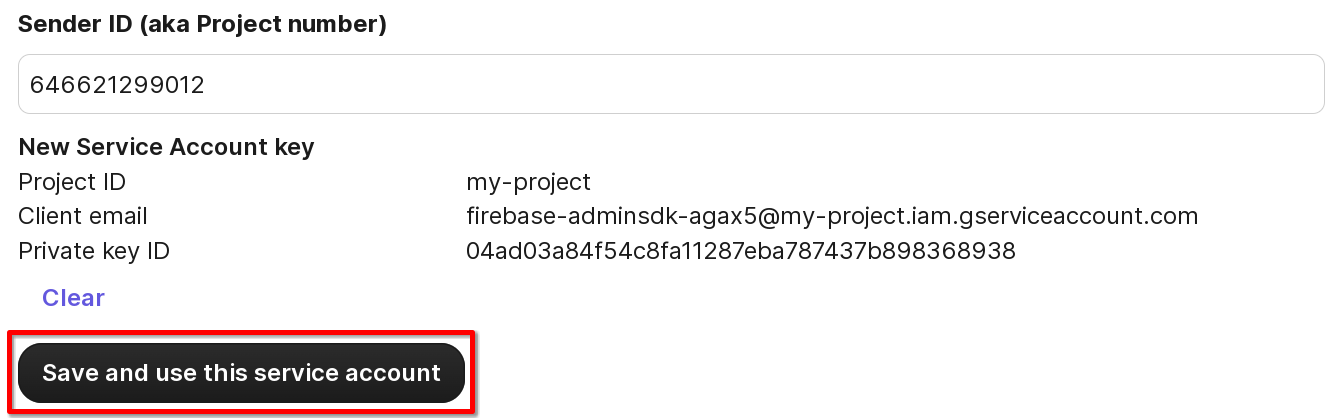
Your service account now filled, click the Save and use this service account button.
Make your app use your Firebase account
Option 1 - Your app does not use Firebase
If your application does not use Firebase already, don't bother integrating it, you just need to give the Sender ID somewhere in your application.
Configure the WonderPush Android SDK from your app/build.gradle file:
android {
    defaultConfig {
        buildConfigField 'String', 'WONDERPUSH_SENDER_ID', '"YOUR_SENDER_ID"'
    }
}
Replace YOUR_SENDER_ID with your Sender ID.
Just so you know, 1023997258979 is WonderPush default Sender ID.
Option 2 - Your app integrates Firebase
When you integrate Firebase to your application, WonderPush is able to detect the linked Firebase account and use its Sender ID accordingly, so you have nothing to do!
Here is the official guide to integrating Firebase to your Android application.
If you're into details, the google-services.json file that you added to your project contains the Sender ID, and the com.google.gms.google-services plugin that you added to your app/build.gradle creates the corresponding gcm_defaultSenderId string resource to make it available to your app, which WonderPush uses if not already configured otherwise.
Updated 7 days ago