
Wix Push Notifications
How to set up WonderPush Web Push notifications on your Wix site to grow your audience
Setting up push notifications for your Wix website is easy. Web push notifications are the ideal solution to re-engage users and generate traffic on your Wix website.
To setup push notifications on Wix, owners of a free Wix plan will have to upgrade to a paid account.
The Estimated setup time: 10 minutes
If you haven't already, sign up for a free account on wonderpush.com.
This guide is for Wix websites. Other websites can follow the Website Quickstart web push notifications
Before we start: create your project
If you haven't already, sign up for a free account on wonderpush.com.
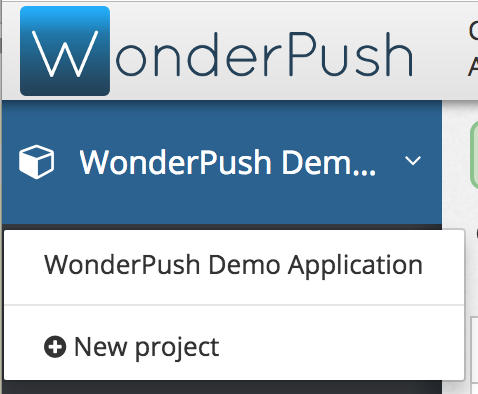
Click on New Project:
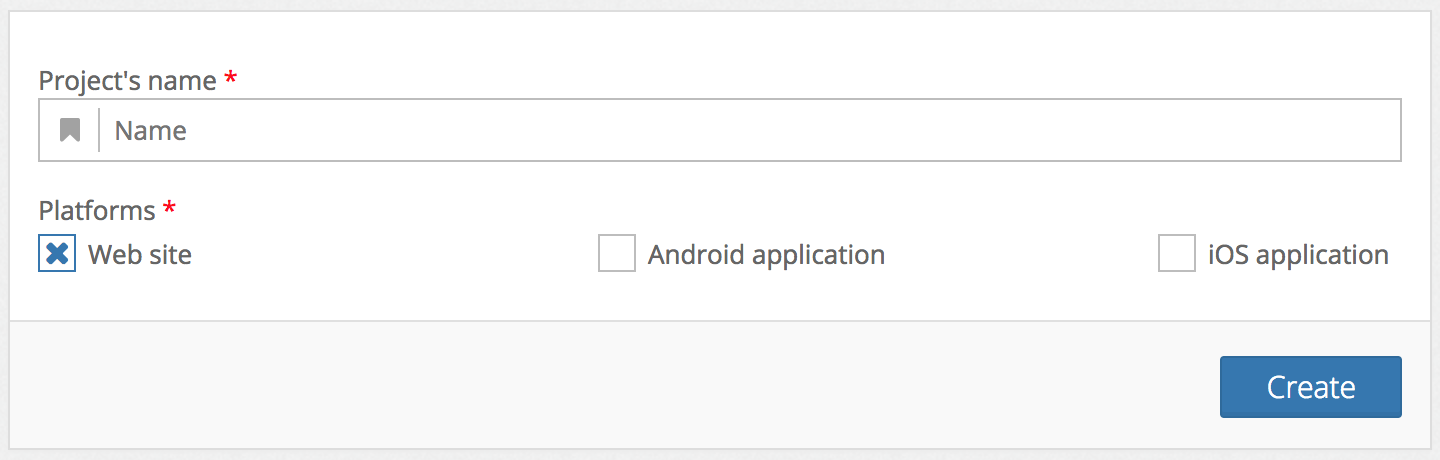
Choose a name for your project and select Website as a platform then click Create:
Already have a project?Just add the Website platform to any existing project by going to Settings, selecting the first tab named after your project and clicking Edit. You'll be presented a form that lets you add a platform.
Step 1. Fill-in website information
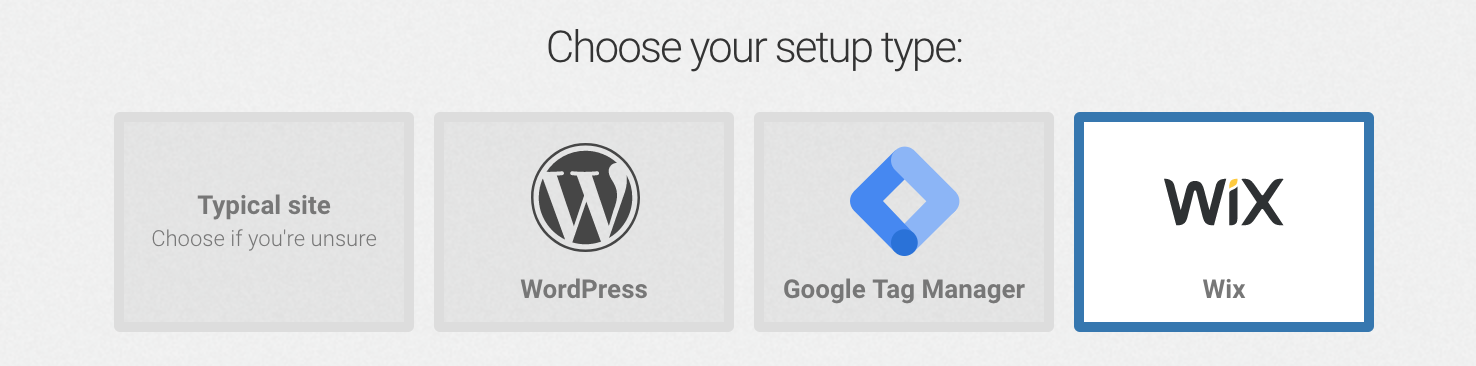
Choose Wix as your setup type:
Then fill in your website information:
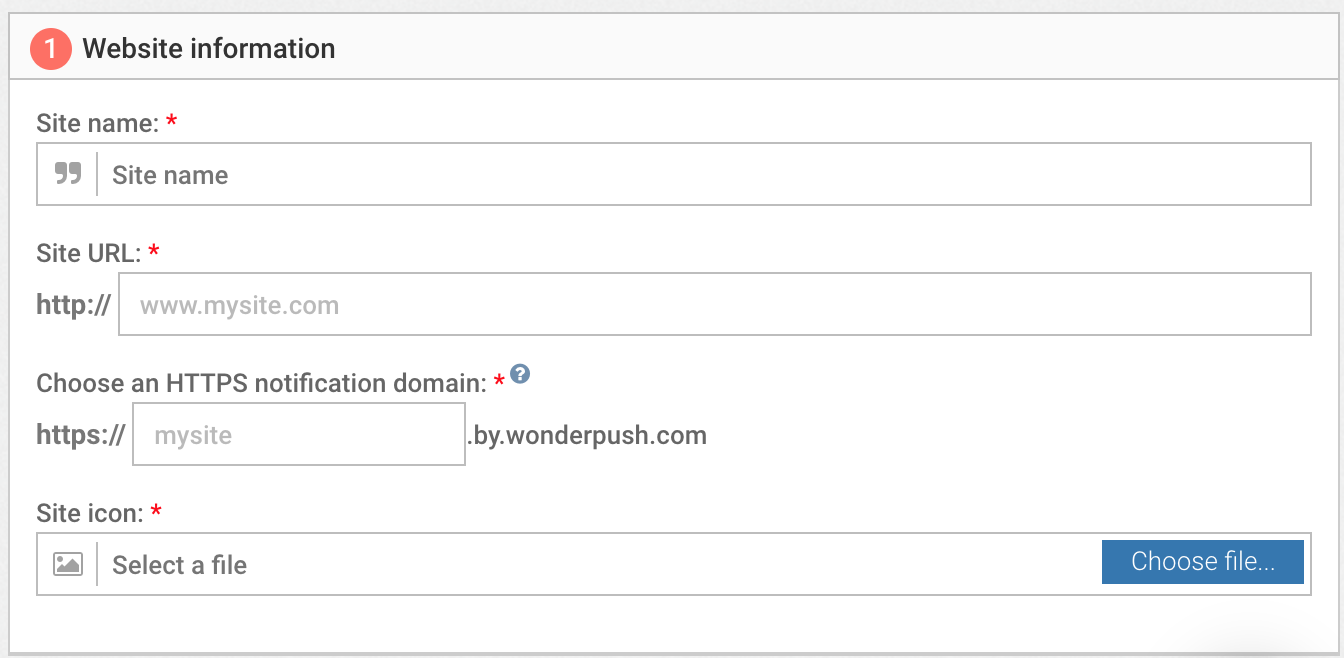
Site name
Enter the name of your website. This name might be displayed when users subscribe to push notifications.
Site URL
Enter the base URL of your site (e.g. https://example.com). This will be the default URL users will be redirected to when they click on a notification.
If your site is accessible from both www. and non-www. URLs (e.g. example.com and www.example.com) we recommend you redirect traffic to one of the URLs and use that to fill-in the URL field.
HTTPS notification domain
Your push notification domain will be displayed in every notification you send:\ 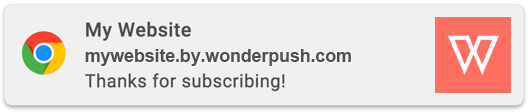
In this example, the notification domain is mywebsite.by.wonderpush.com.
When users subscribe to push notifications, they grant your domain the permission to send them push notifications. When you change the push notification domain, users have to subscribe again!
For these reasons, it is especially important to choose the right push notification domain from the start.
Enter Icon
Enter the URL to your website icon or choose a file from your computer. Your website icon will be displayed in notifications. It should be a square image file. Prefer HTTPS.
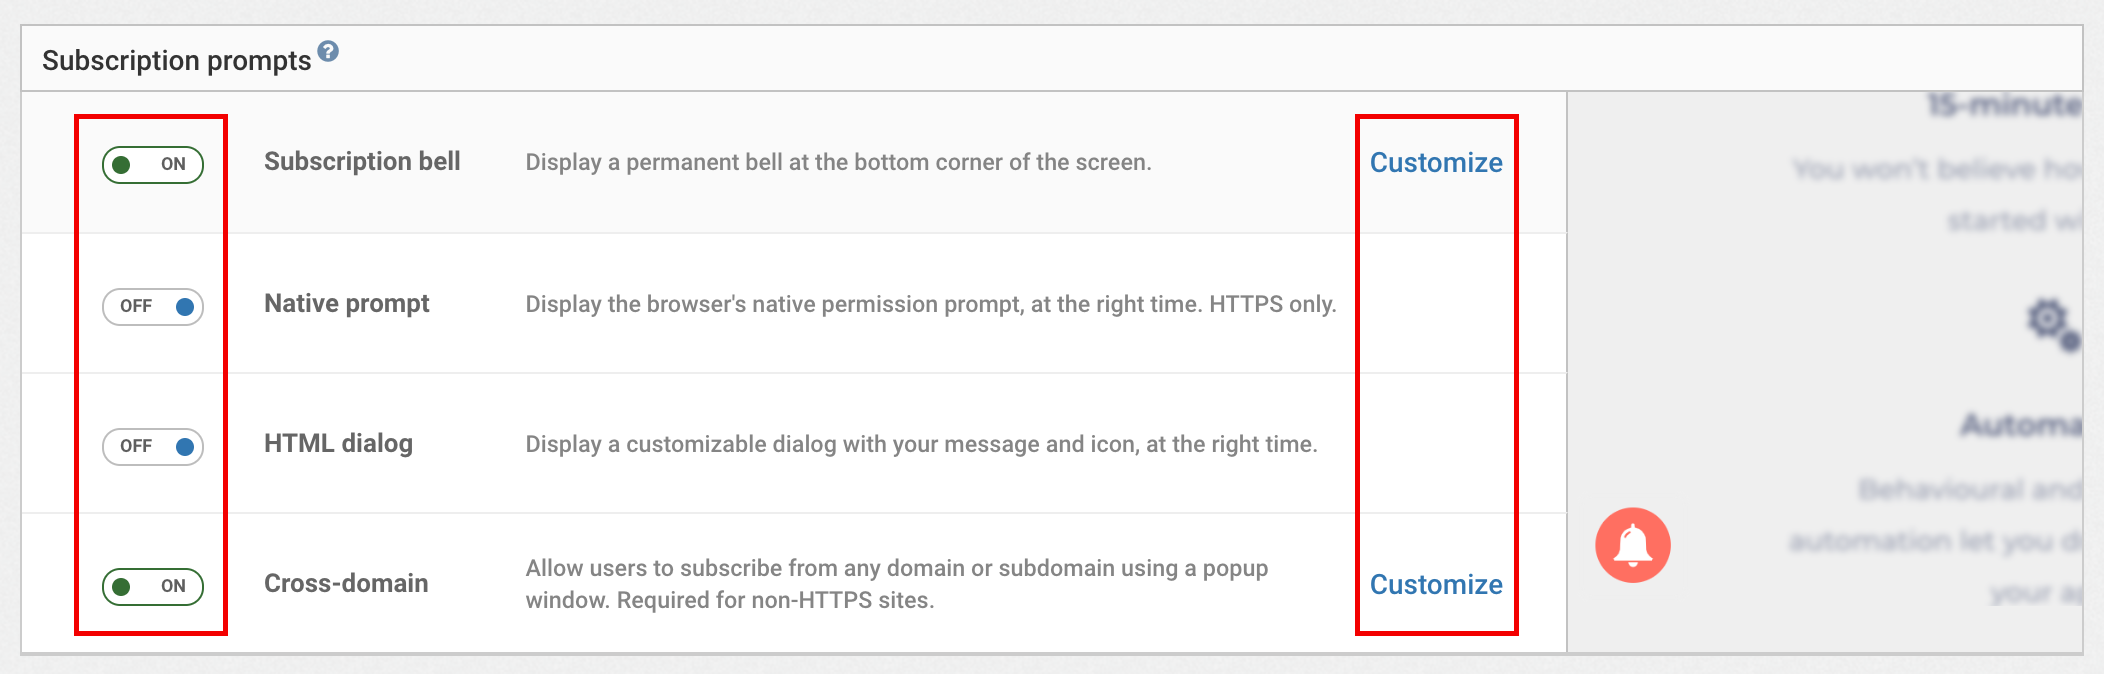
Step 2. Configure subscription prompts
In this section, you can configure subscription prompts for your website. Subscription prompts are ready-made user-interfaces you can use to let users subscribe to push notifications.
To activate a subscription prompt, simply click the switch in front of its name so that it shows as ON. To customize it, click on Customize.
You can find out more about subscription prompts in our dedicated guide.
Hit Save.
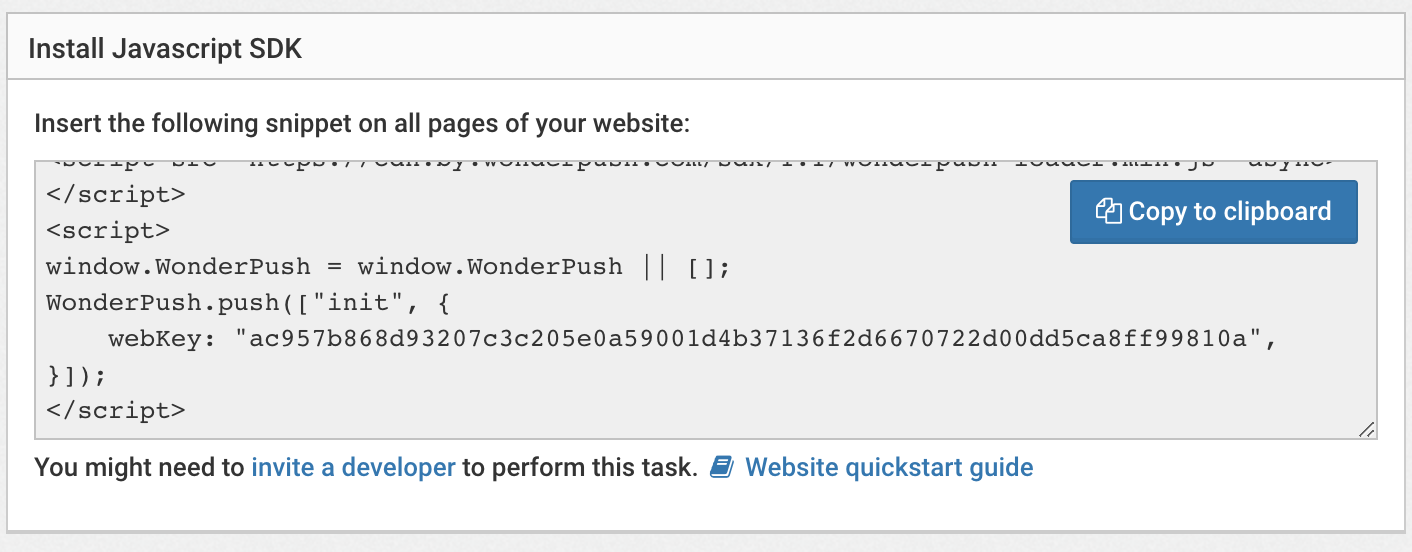
Step 3. Copy code
In this step we'll add the WonderPush SDK to your Wix site.
Copy the Javascript code to your clipboard:
Navigate to your Wix dashboard and select Settings in the left menu.
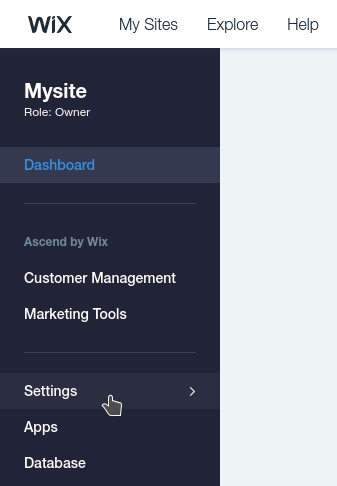
Then click Tracking & Analytics in the left menu.
If you're on a free plan, you will see a prompt to upgrade to a paid account.
Click the + New Tool button and select Custom.\ 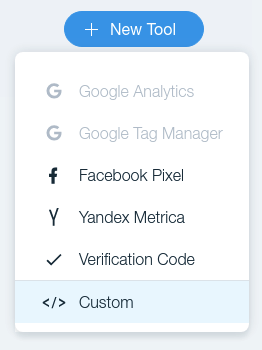
Paste the snippet in the top.
Name it WonderPush.
Select Add Code to Pages: Load code on each new page.
Select Place Code in: Body - end

Receive your first push!
Head over to your Wix site and refresh the page until you see the subscription dialog and click the Subscribe button:

Wait a couple of minutes and receive the default welcome notification:
Congratulations, you're done!
Updated 12 months ago
What’s Next
Customize your subscription prompt using one of our pre-made UIs. Set properties on users and send events using our Website SDK (javascript).