
Joomla Web Push Notifications
How to set up Web Push notifications on Joomla! websites in minutes
Easy install web push on Joomla
Setting up push notifications for your Joomla website is very easy. Web push notifications are the ideal solution to re-engage users and bring them back to your website.
Estimated setup time: 10 minutes
If you haven't already, sign up for a free account on wonderpush.com.
This guide is for Joomla websites. For typical websites, follow this How to set up Web push
Before we start: create your project
If you haven't already, sign up for a free account on wonderpush.com.
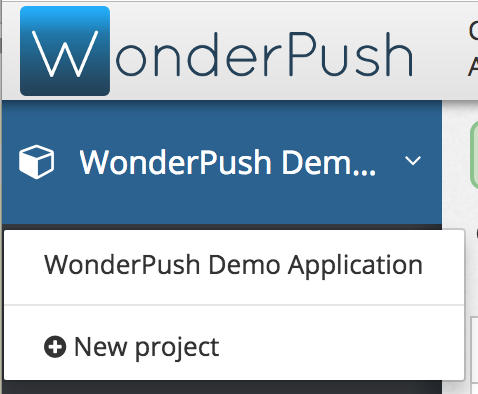
Click on New Project:
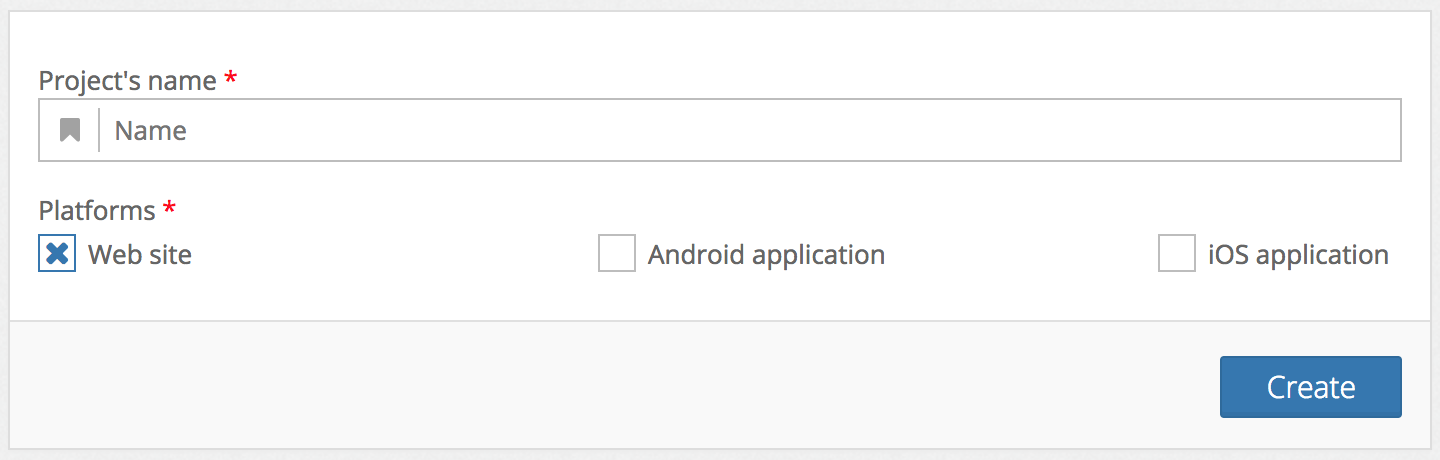
Choose a name for your project and select Website as a platform then click Create:
Already have a project?Just add the Website platform to any existing project by going to Settings, selecting the first tab named after your project and clicking Edit. You'll be presented a form that lets you add a platform.
Step 1. Fill-in website information
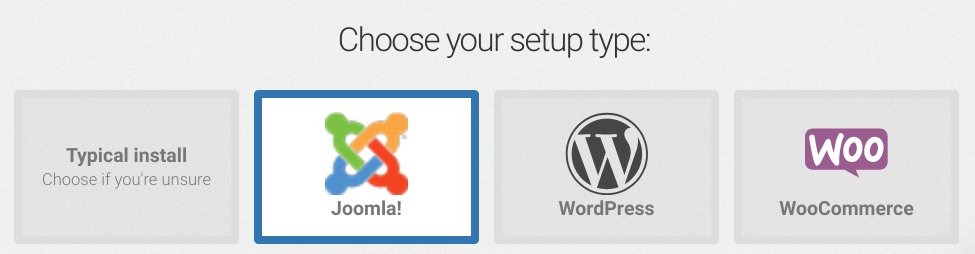
Choose Joomla! as your setup type:
Then fill in your website information:
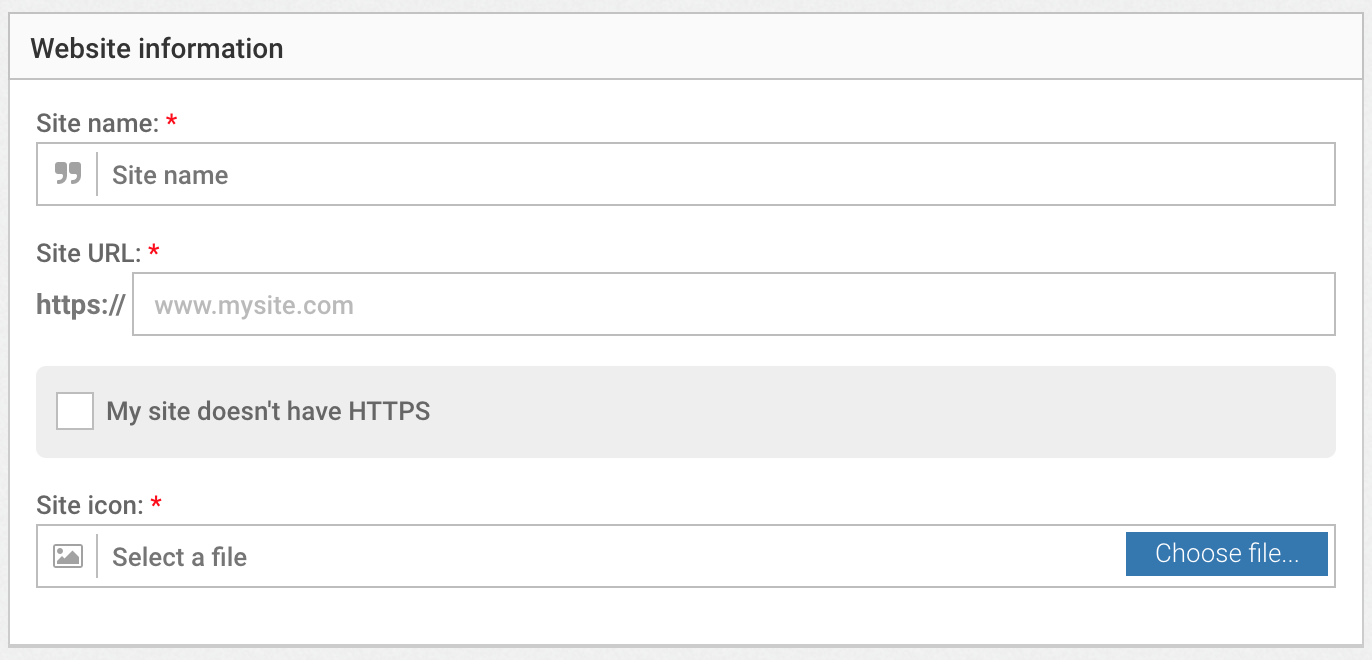
Site name
Enter the name of your website. This name might be displayed when users subscribe to push notifications.
Site URL
Enter the base URL of your site (e.g. https://example.com). This will be the default URL users will be redirected to when they click on a notification.
If your site is accessible from both www. and non-www. URLs (e.g. example.com and www.example.com) we recommend you redirect traffic to one of the URLs and use that to fill-in the URL field.
Enter Icon
Enter the URL to your website icon or choose a file from your computer. Your website icon will be displayed in notifications. It should be a square image file. Prefer HTTPS.
My site doesn't have HTTPS
If your site doesn't have HTTPS, check this box. Please note that HTTPS certificates are FREE these days, and very easy to install. Take a look at let's encrypt.
HTTPS is required for push notifications to work, and fortunately WonderPush can provide you with a free HTTPS enabled domain.
Choose an HTTPS notification domain.

About the Web push notification domain
Your push notification domain will be displayed in every notification you send:\ 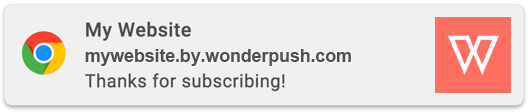
On this example made with the chrome browser, the notification domain is mywebsite.by.wonderpush.com.
When users subscribe to push notifications, they grant your domain the permission to send them push notifications. When you change the push notification domain, users have to subscribe again!
For these reasons, it is especially important to choose the right push notification domain from the start.
Using your own push notification domain\ Recommended
This is the best option. It is only available for HTTPS websites. If your website does not support HTTPS, or if you can't upload SDK files, use .by.wonderpush.com.
Using aby.wonderpush.com subdomain
If your site does not support HTTPS, or if you can't upload SDK files, that's your only option.
Step 2. Configure subscription prompts
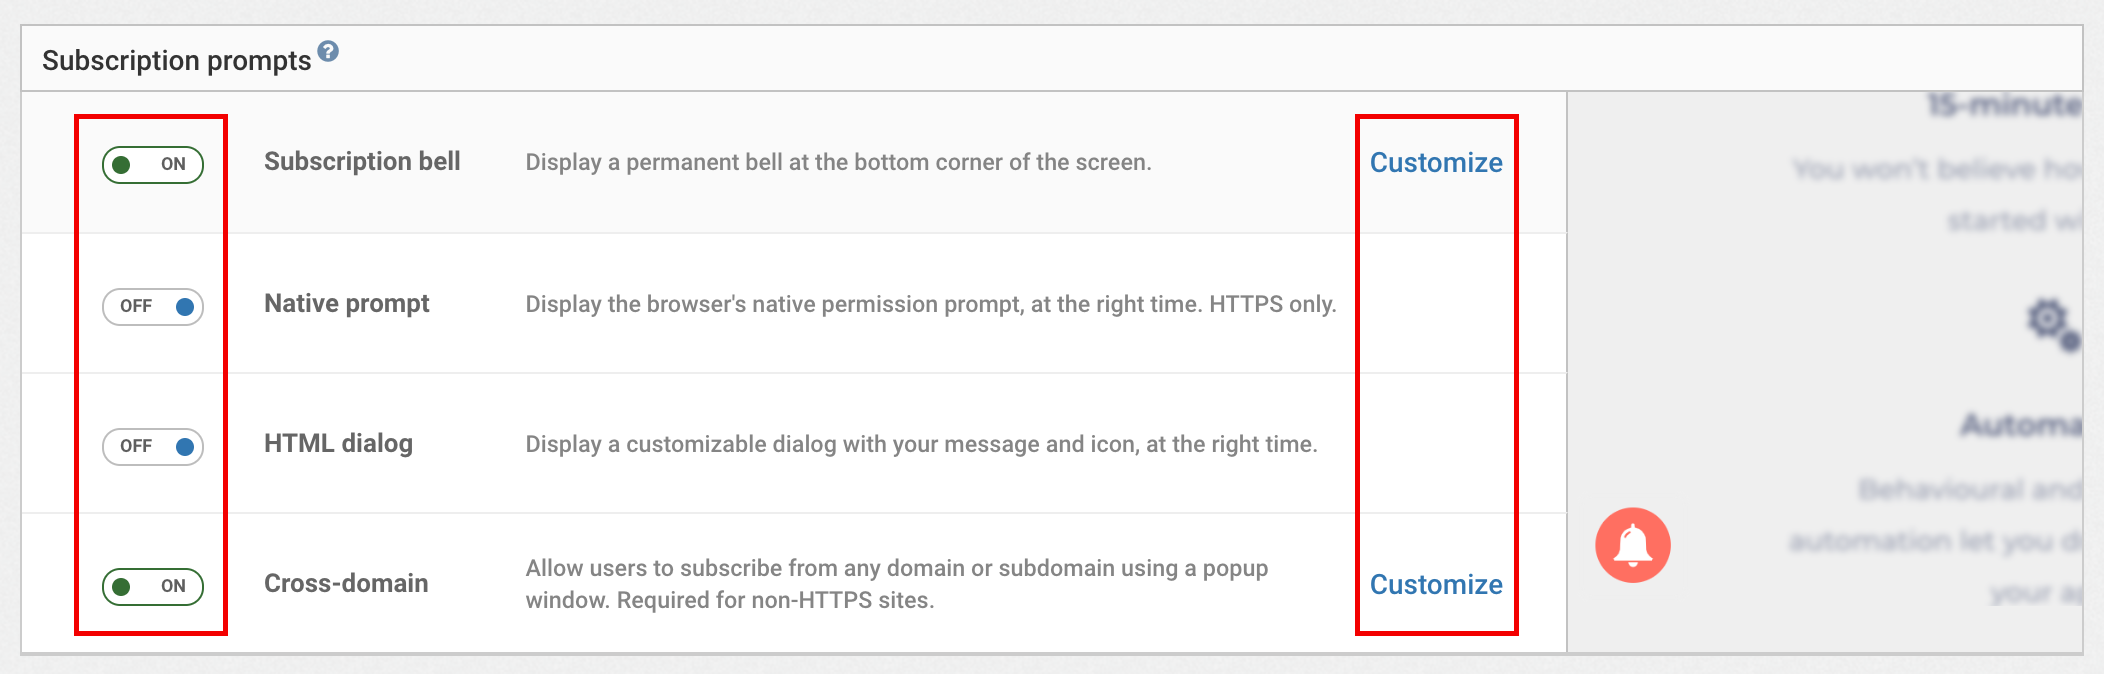
In this section, you can configure subscription prompts for your website. Subscription prompts are ready-made user-interfaces you can use to let users subscribe to push notifications.
To activate a subscription prompt, simply click the switch in front of its name so that it shows as ON. To customize it, click on Customize.
You can find out more about subscription prompts in our dedicated guide.
Hit Save.
Step 3. Copy code
In this step we'll add the WonderPush SDK to your Joomla site.
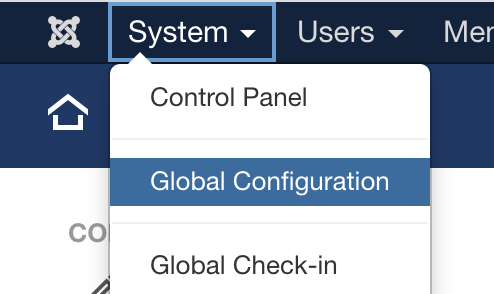
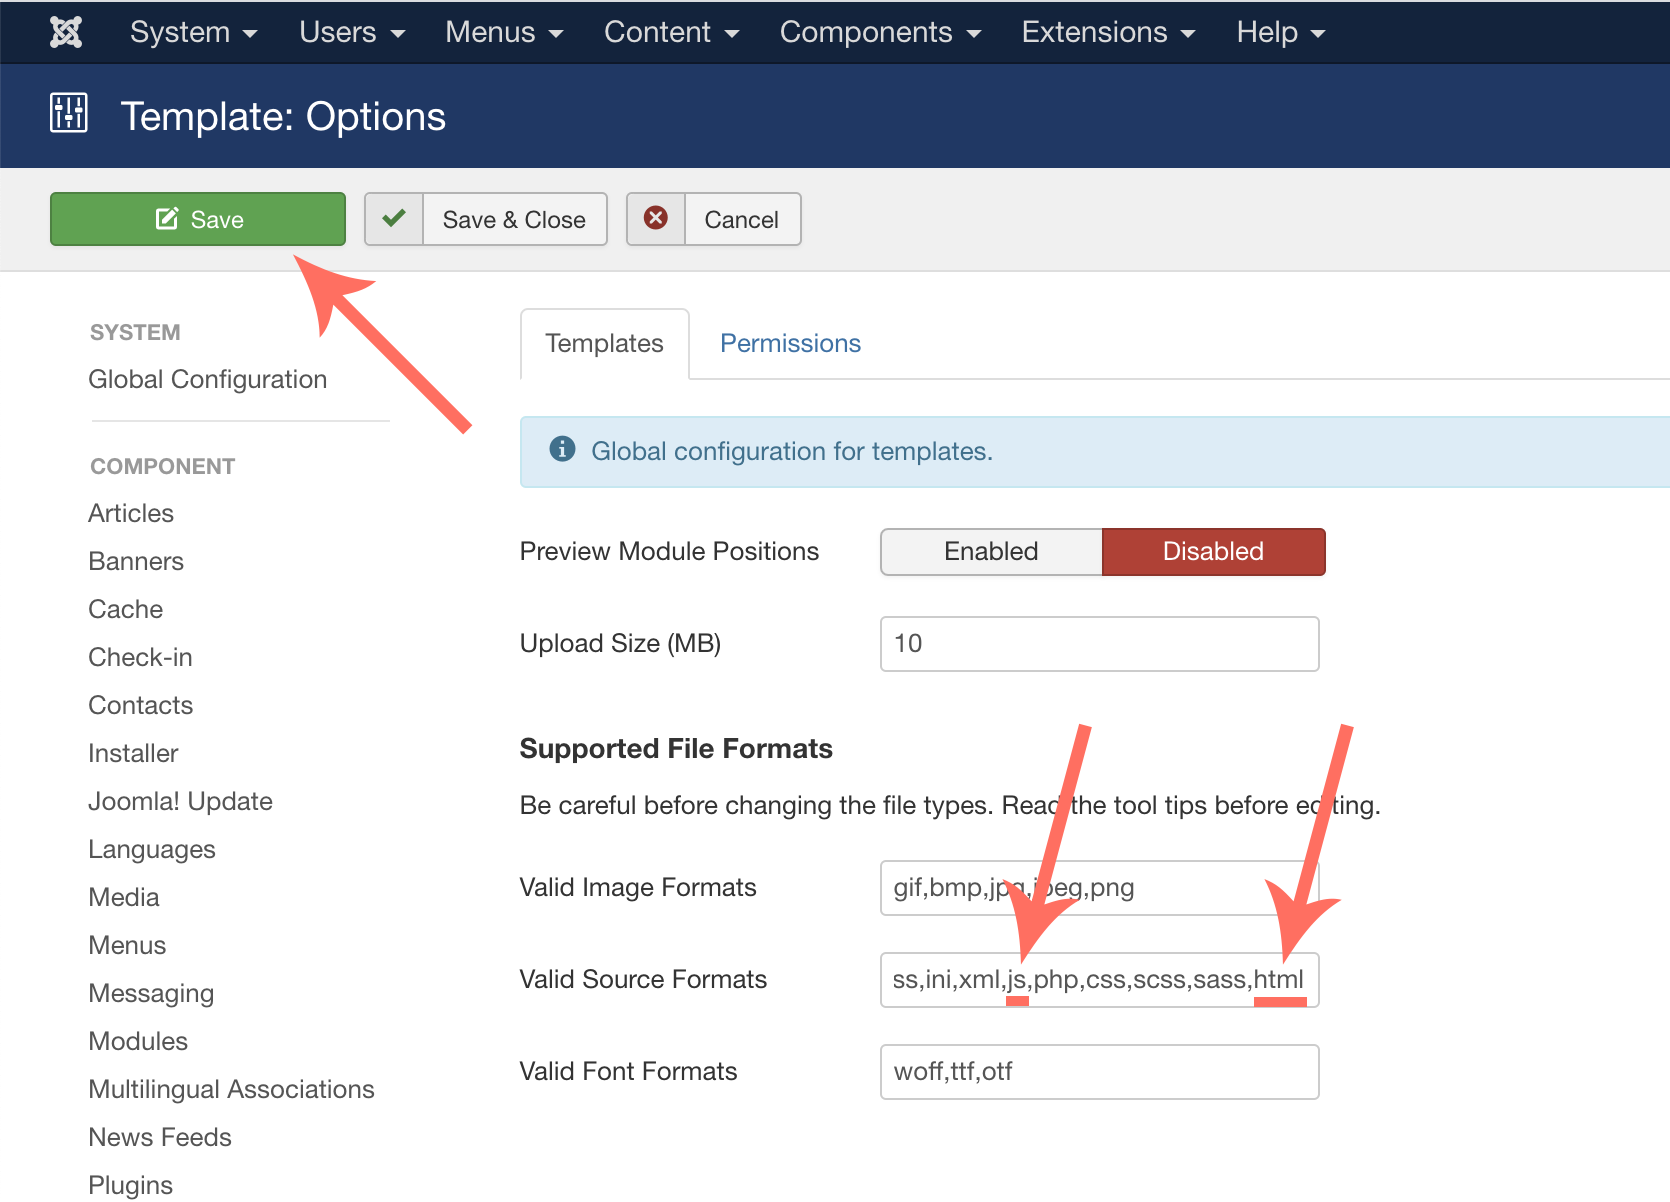
Before, we need to change a setting in Joomla. Go to the System / Global Configuration menu:
Choose templates:
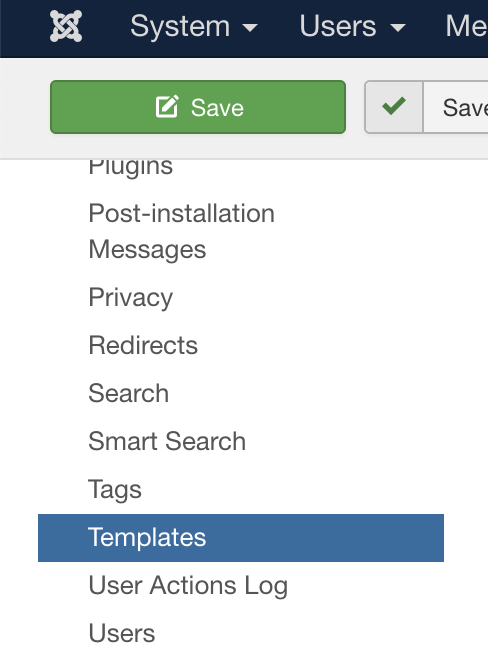
Make sure js and html are both present as Valid Source Formats and hit Save
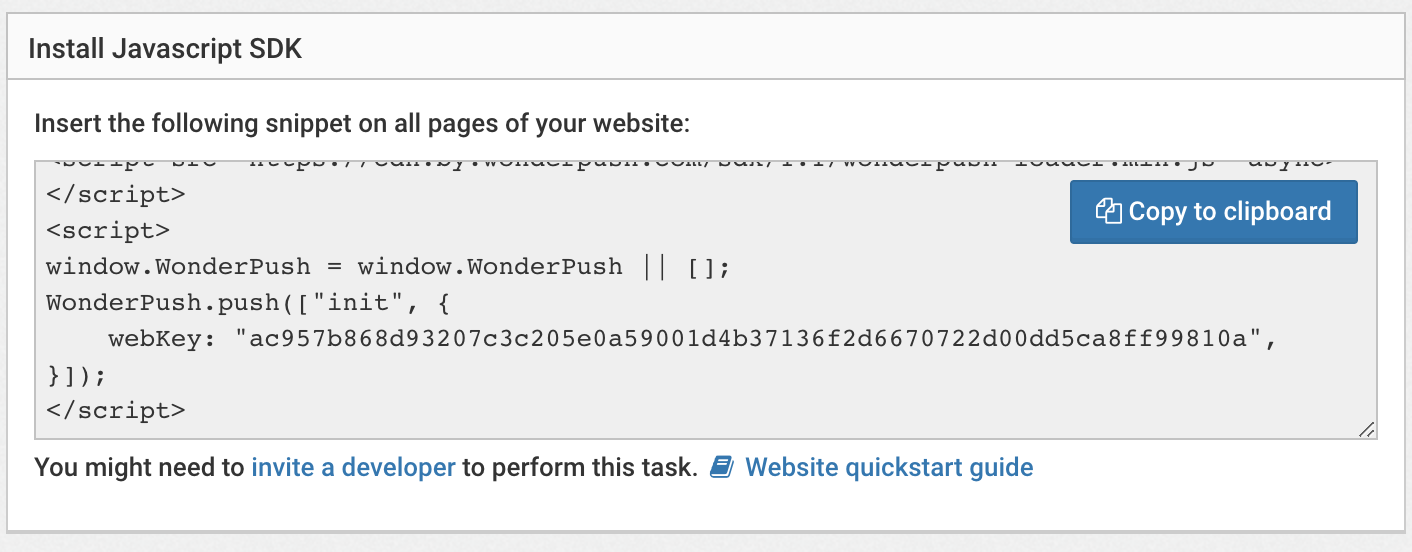
From your WonderPush dashboard, copy the Javascript code to your clipboard:
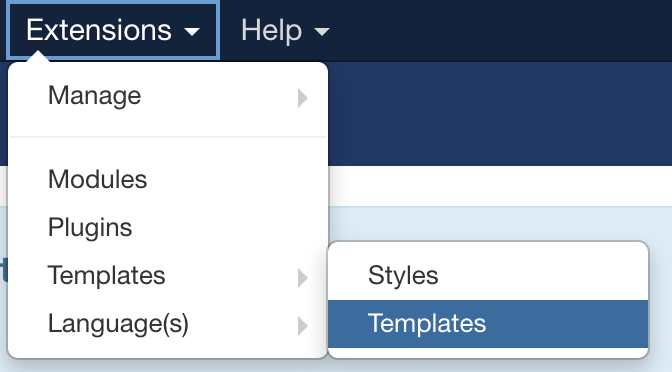
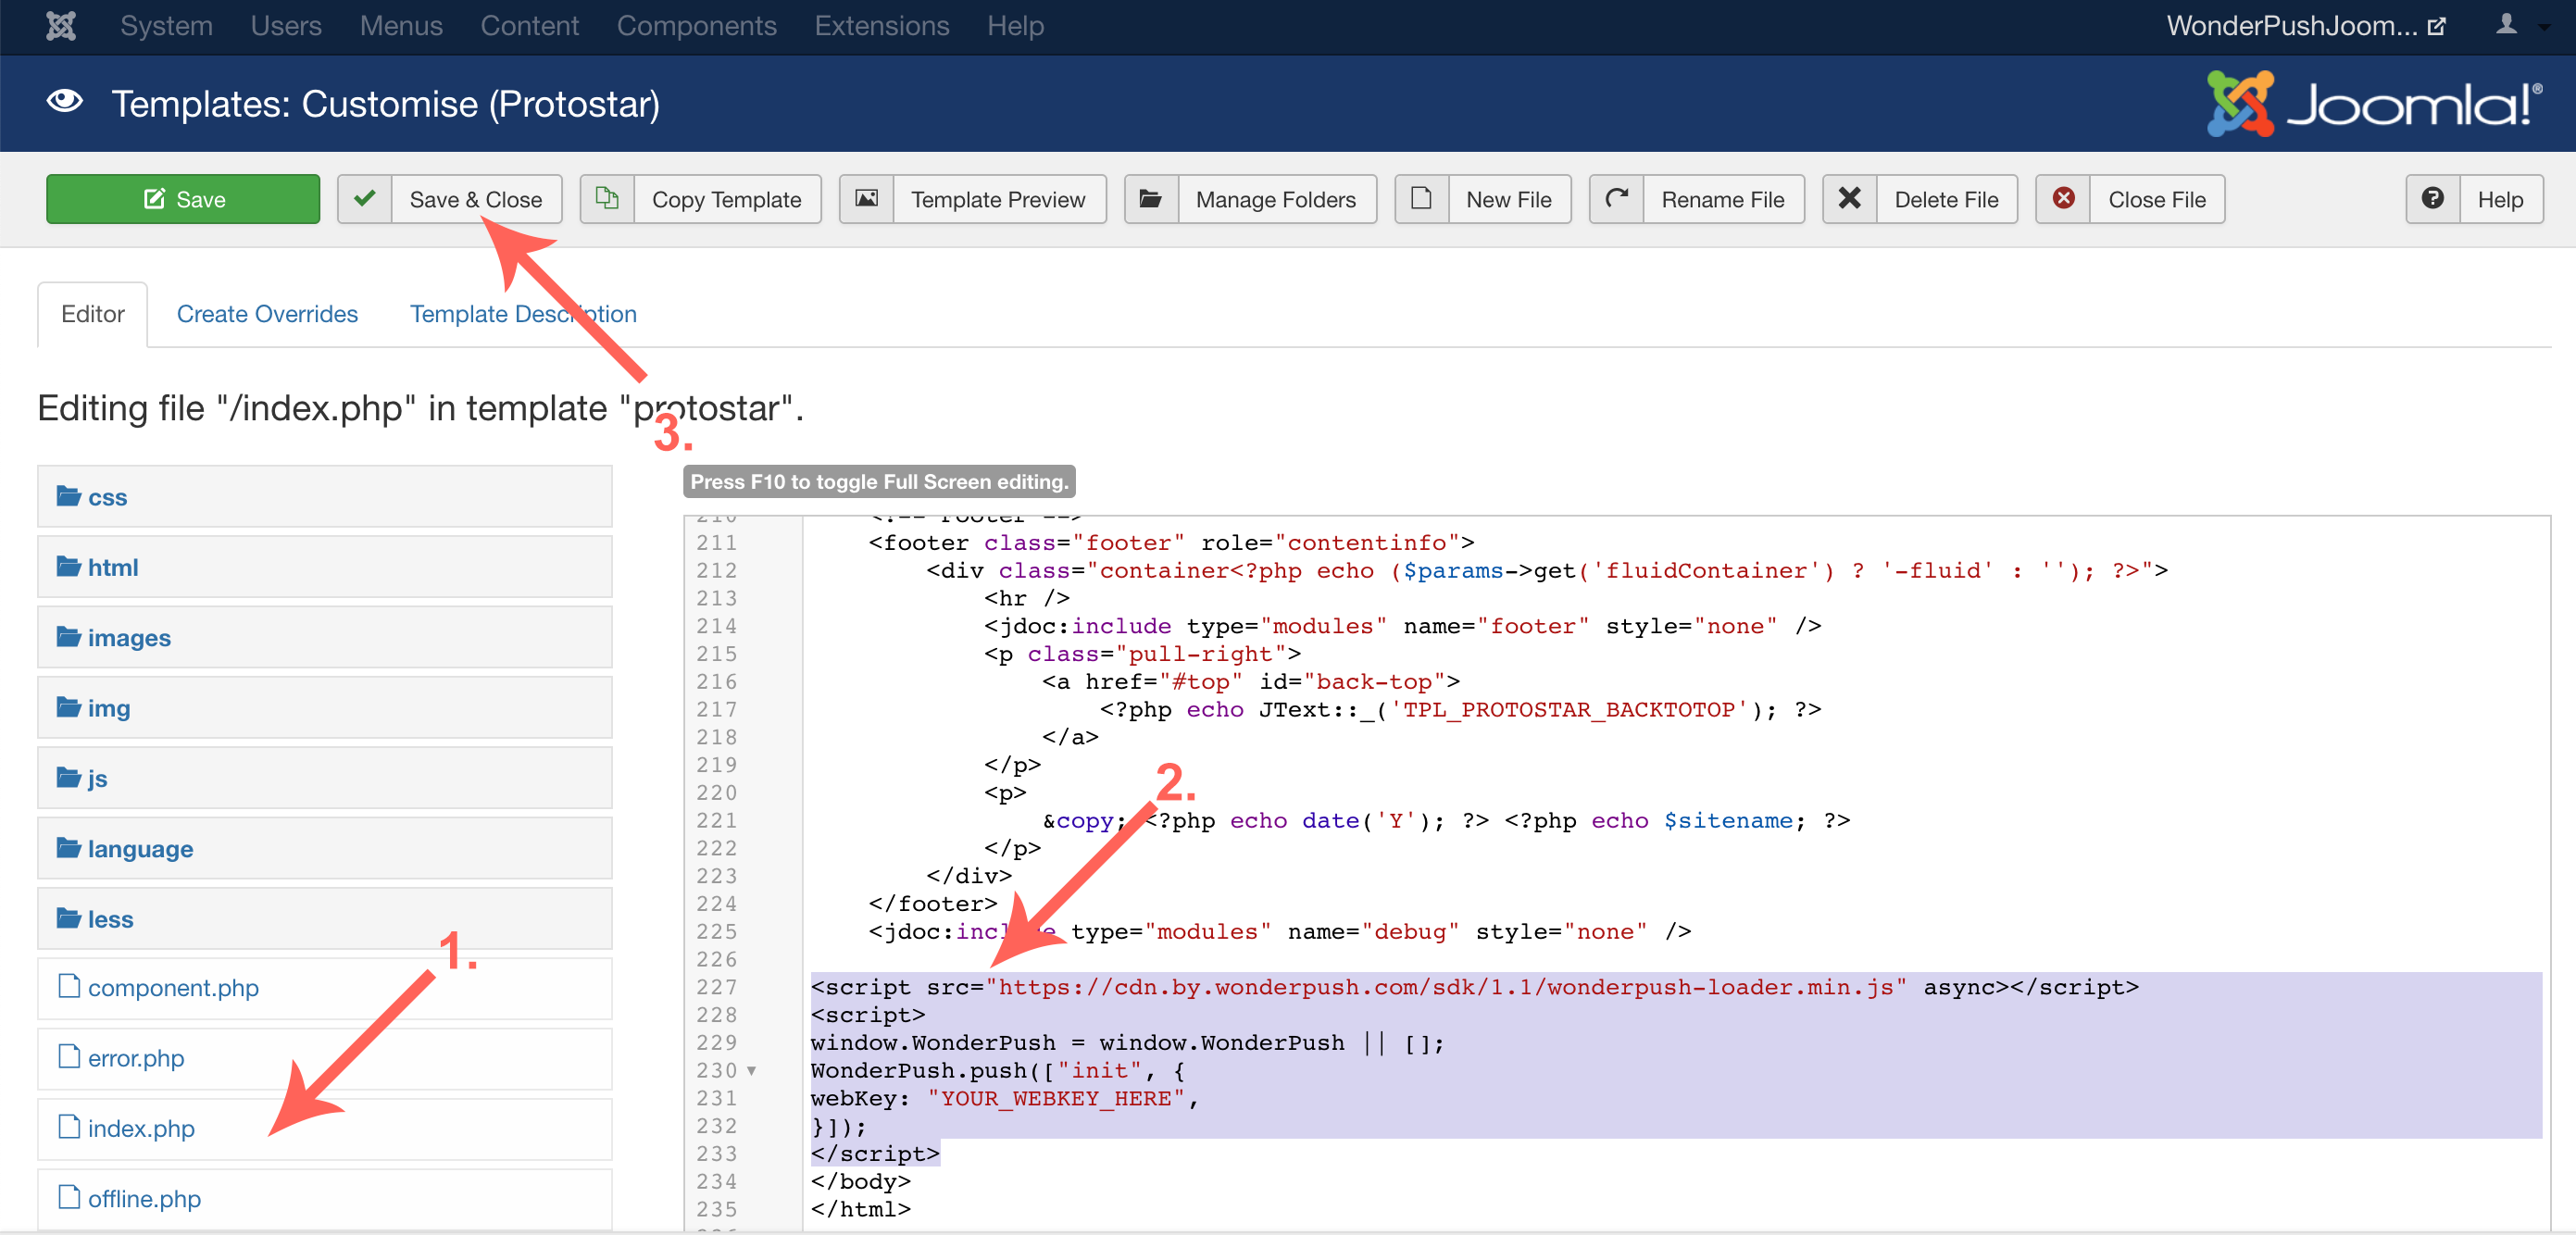
Log into the administrator dashboard of your Joomla site and select the Extensions / Templates / **Templates menu:
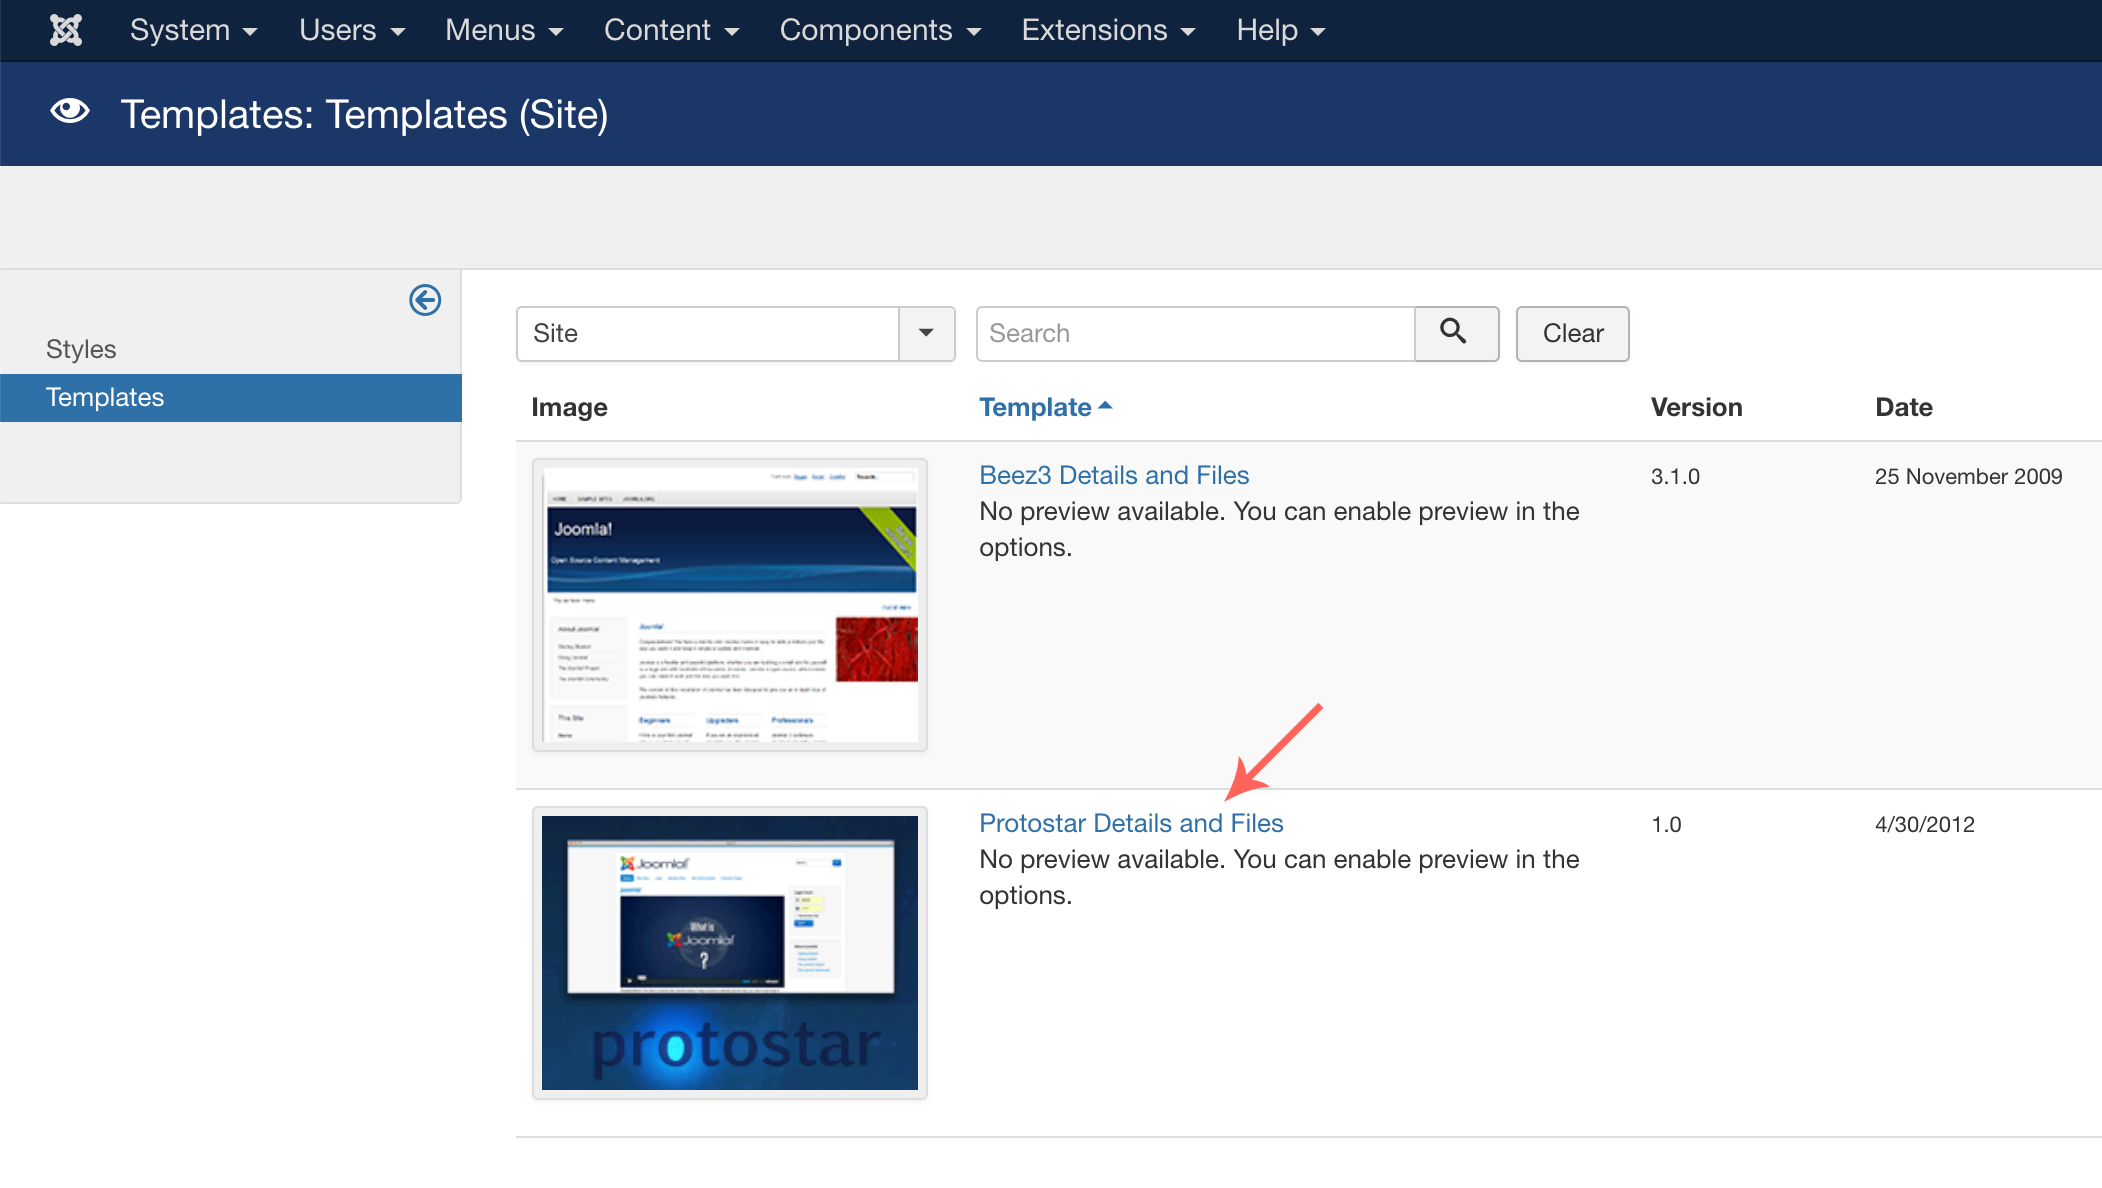
Click on the template that you have installed at the website (in the example below we choose Protostar, but this might be another template for your website, if you're unsure, the Styles tab will mark the right template with a star):
Select index.php in the left column, and paste the javascript snippet from your WonderPush dashboard right before the </body> tag, then hit Save & close.
Step 4. Upload SDK files
Download the WonderPush SDK files.
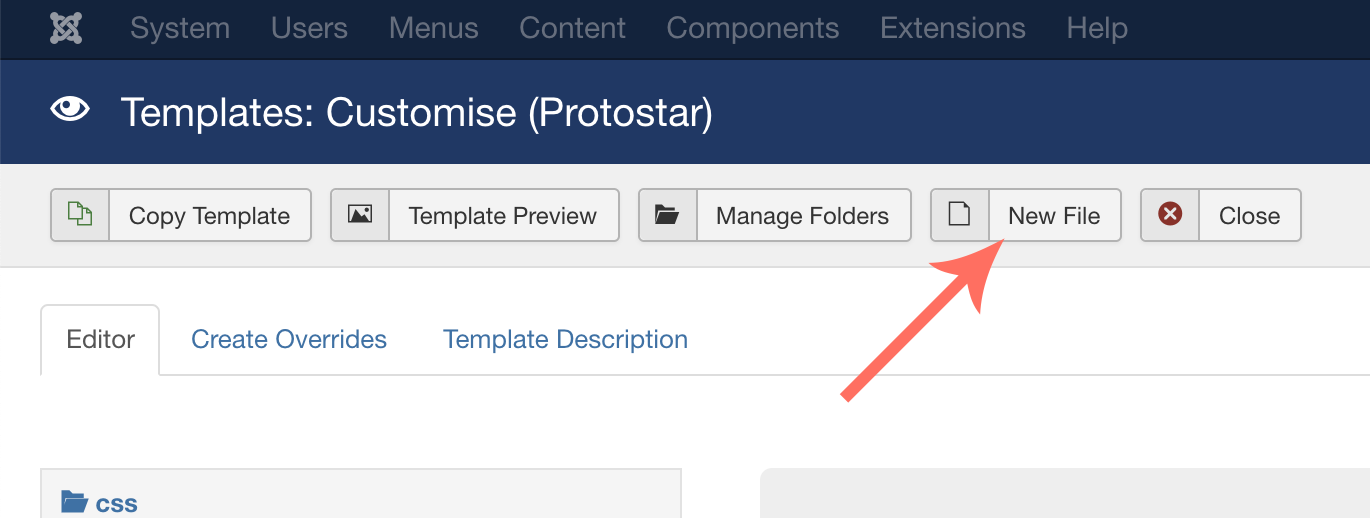
From the same template editor as the previous step, hit New file:
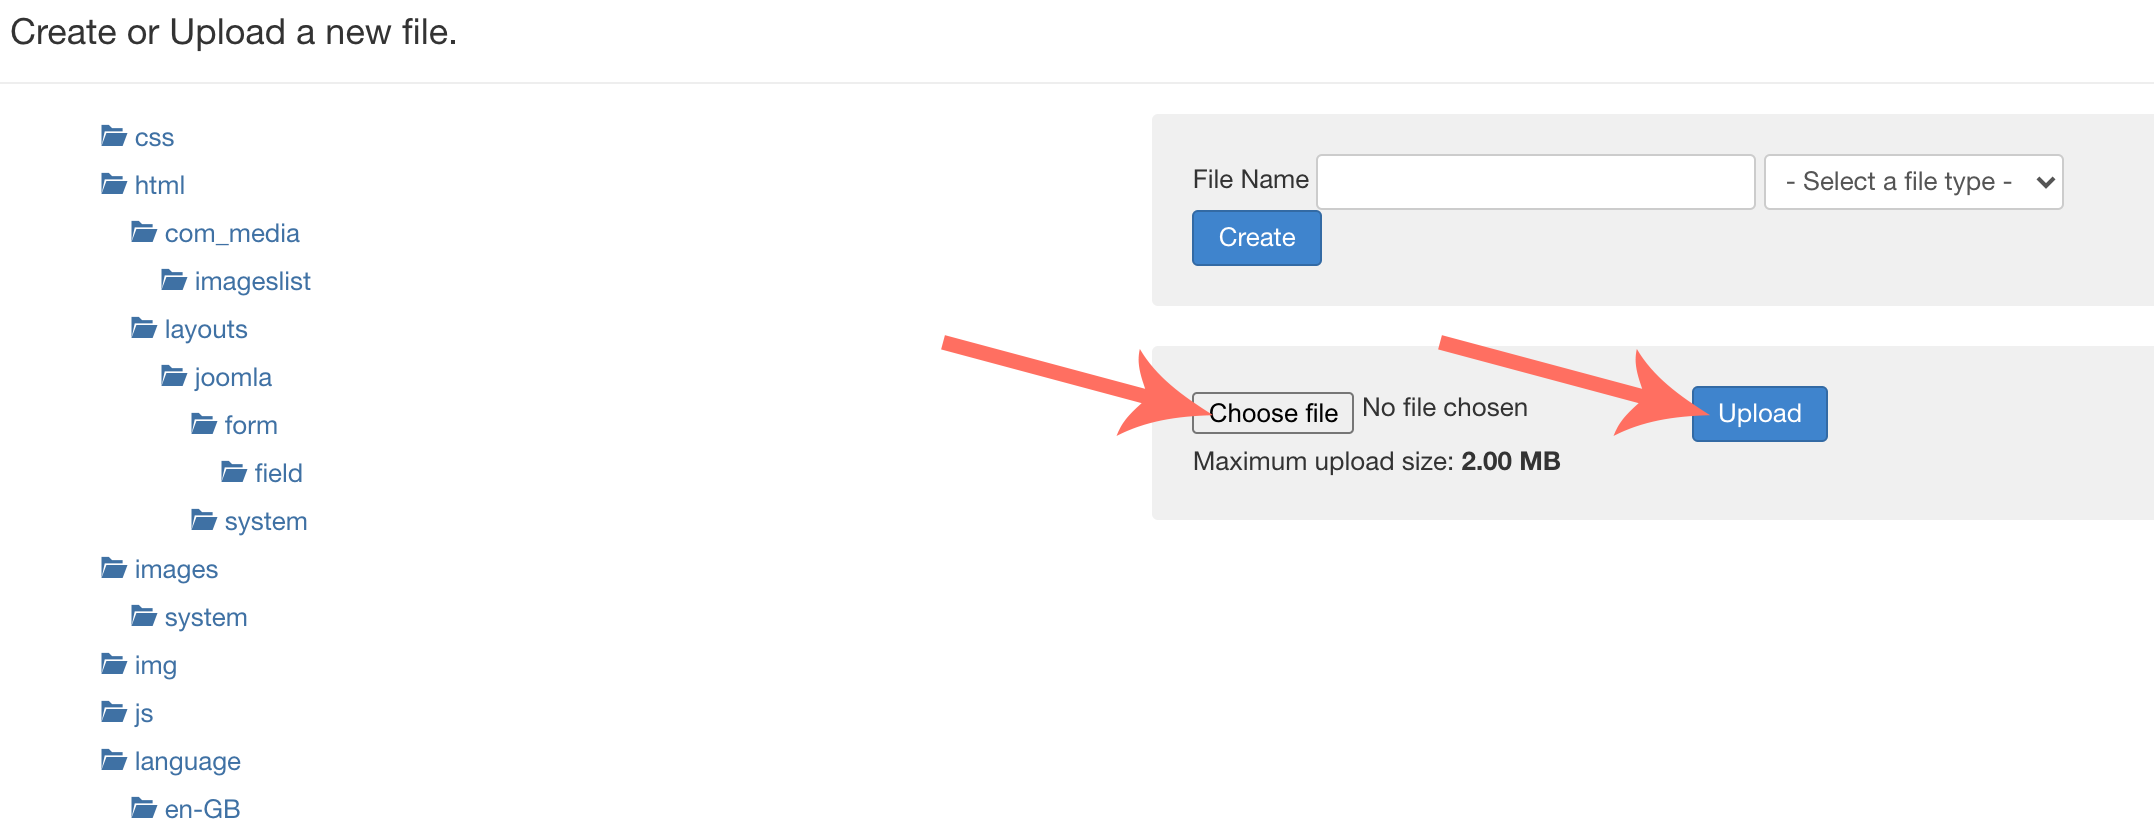
Upload both wonderpush.min.html and wonderpush-worker-loader.min.js using the Choose file and Upload buttons:
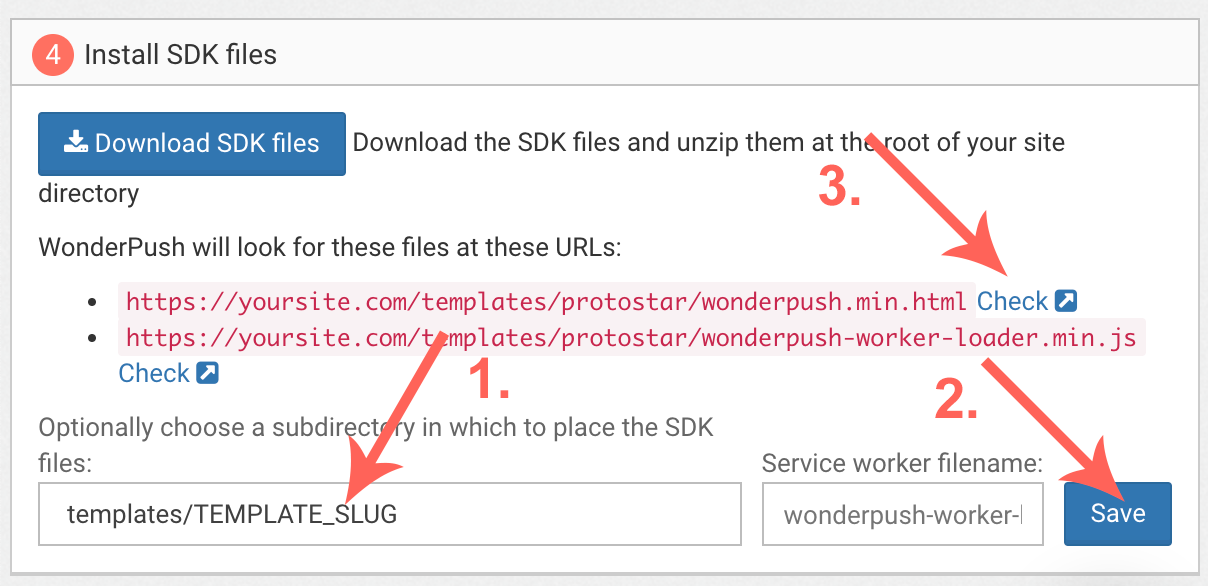
After uploading each file, you'll be presented with the following screen. Please take note of the template slug that we've marked with an arrow below, we'll need it below:
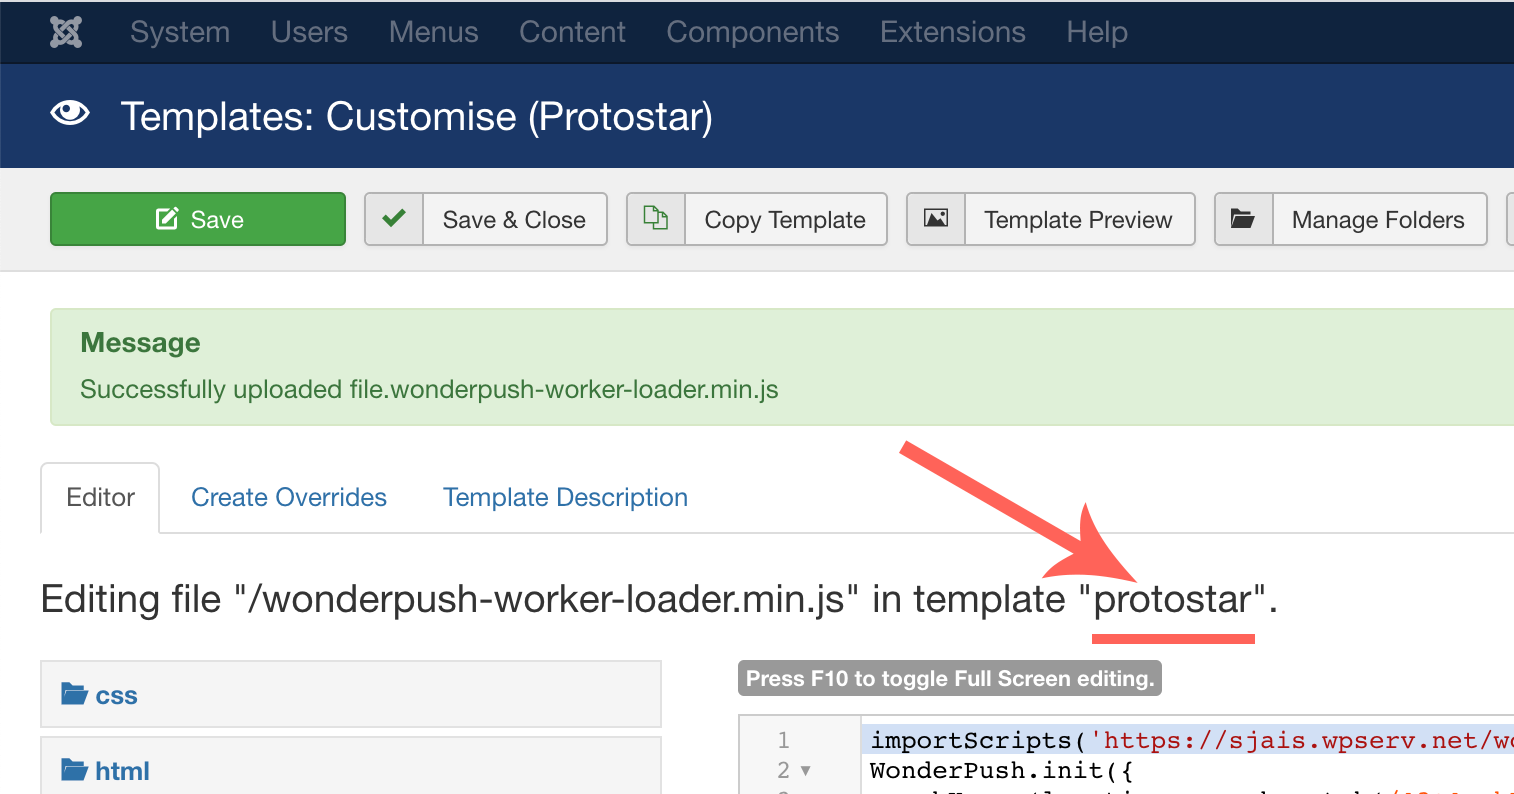
Back to your WonderPush dashboard, after hitting Save on the configuration screen of Step 2, fill out the subdirectory field with the value templates/TEMPLATE_SLUG (you'll need to adapt TEMPLATE_SLUG with the value you've noted above), hit Save, then Check and ensure the files are indeed present :
Receive your first push!
Head over to your Joomla site and refresh the page until you see the subscription dialog and click the Subscribe button:

Wait a couple of minutes and receive the default welcome notification:
Congratulations, you're done!
Updated 12 months ago