
Subscribe to topics
Let users subscribe to topics and push notifications at once, then target them based on the topics they chose to follow.
Letting users subscribe to topics is a powerful way to both acquire new push subscribers and target them efficiently. WonderPush provides a very simple way to create user interfaces similar to this:
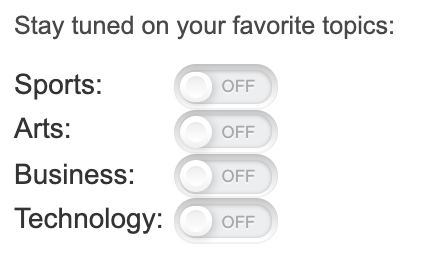
When users activate a switch, here's what happens:
- if they are not subscribed to push notifications, they will by prompted to subscribe,
- if they are subscribed, their data on WonderPush will simply be updated.
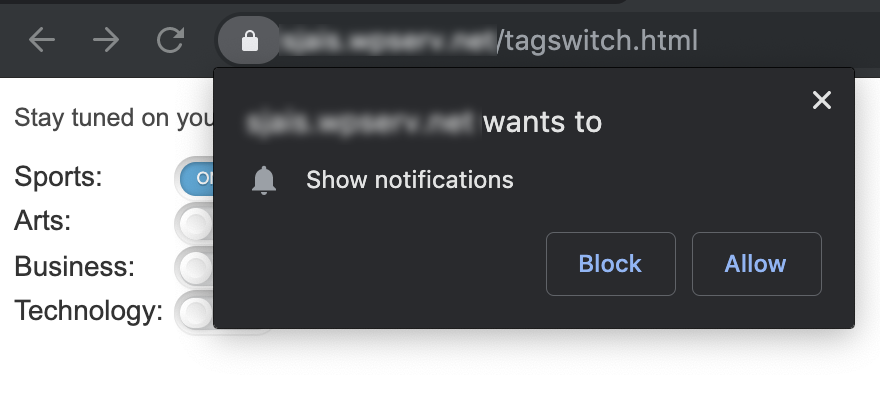
Here's what the subscription looks like:
Step 1. Adding the required HTML
To add a topic switch, all you need is to add a little bit of HTML within the page.
Adding multiple switches for Sports, Arts, Business and Technology would require the following HTML:
<div class="wonderpush-tag-switch" data-tag="sports" data-sentence="Sports: "></div>
<div class="wonderpush-tag-switch" data-tag="arts" data-sentence="Arts: "></div>
<div class="wonderpush-tag-switch" data-tag="business" data-sentence="Business: "></div>
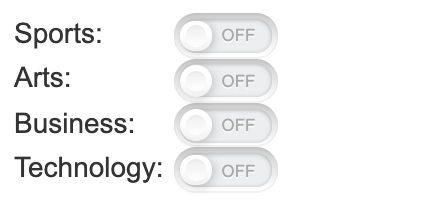
<div class="wonderpush-tag-switch" data-tag="technology" data-sentence="Technology: "></div>And would render something like this:
The complete reference of customization options for the tag switch is available in the Website SDK reference.
Step 2. Testing your changes
It's time to test your changes:
- go to your web page and click on a switch,
- make sure you are prompted to subscribe to push notifications if you haven't already
- activate one or more switches.
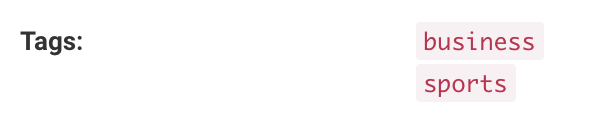
Go to your dashboard and find your installation in Segments / All users, make the right tags have been added to your installation:
Step 3. Creating segments to target users
We're now going to create a segment to target users that have checked the sports switch. In your dashboard go to Segments and click Create segment.
Create a new segment with the following data:

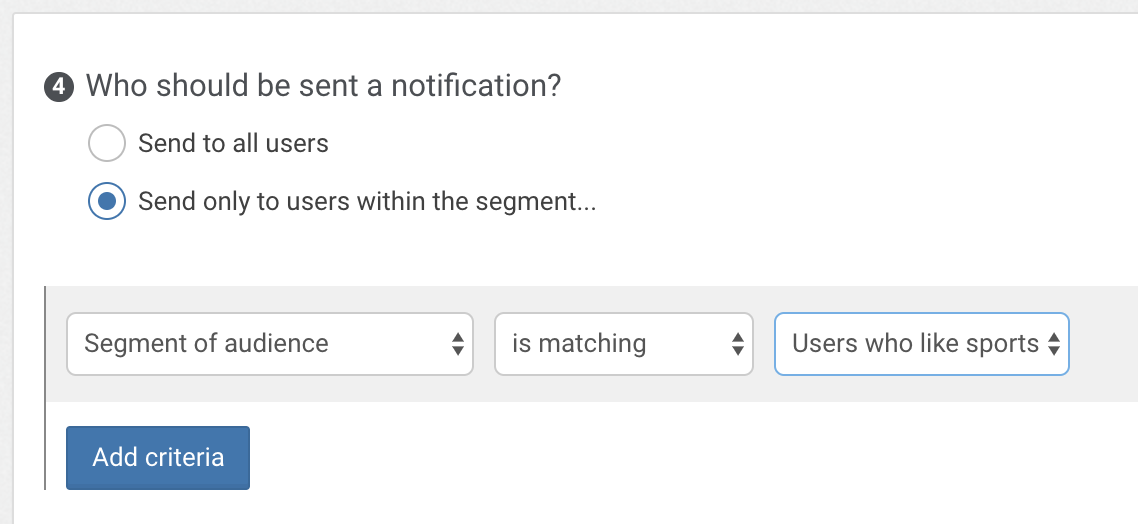
That's it! Now all you have to do to reach users who like sports is create a new notification with the following audience:
Updated 12 months ago