
Sending push notifications to WordPress users
Target users by ID or username and send personalized push notifications.
This guide will show you how to target WordPress users by their ID or username, as well as how to send them personalized messages that call them by their name.
This guide assumes that you have setup WonderPush on your WordPress website. If you do not have WordPress, head over to our Web Push notifications quickstart guide.
Choosing an audience from the WordPress editor
You can choose the audience that will receive a push notification when you publish a post directly from the WordPress editor. You can target:
- users of one or more segments of your choice
- users with one or more tags
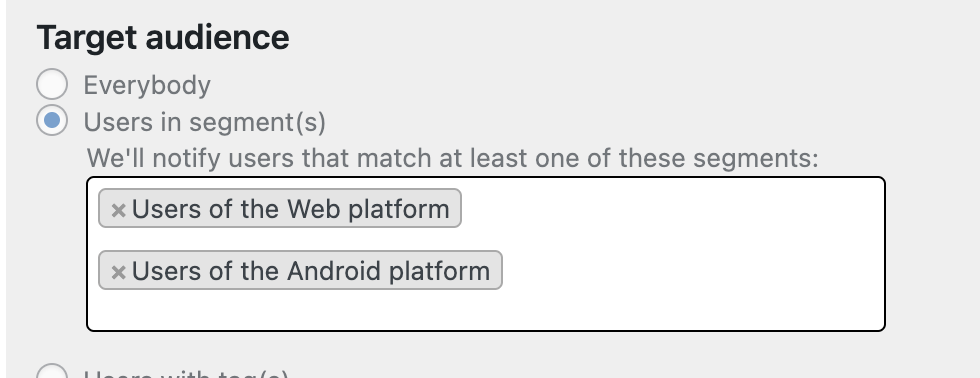
Targeting by segment
You can select one or more segments (segments are defined in the dashboard) to notify users of all selected segments of your new post. Please note that the audience is the union of all specified segments.
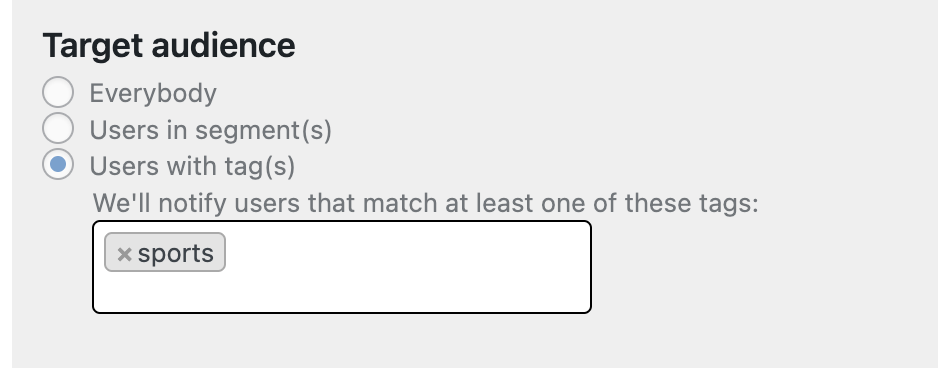
Targeting by tags
You can specify one of more Tags to notify users of your new post. The audience will be the union of users with specified tags.
Targeting users by ID
Our WordPress plugin can send the user ID of logged-in users that subscribe to push notifications back to WonderPush. This enables you to send push notifications to a specific user given his ID.
To achieve this, make sure the following setting is active in the WonderPush section of your WordPress admin:
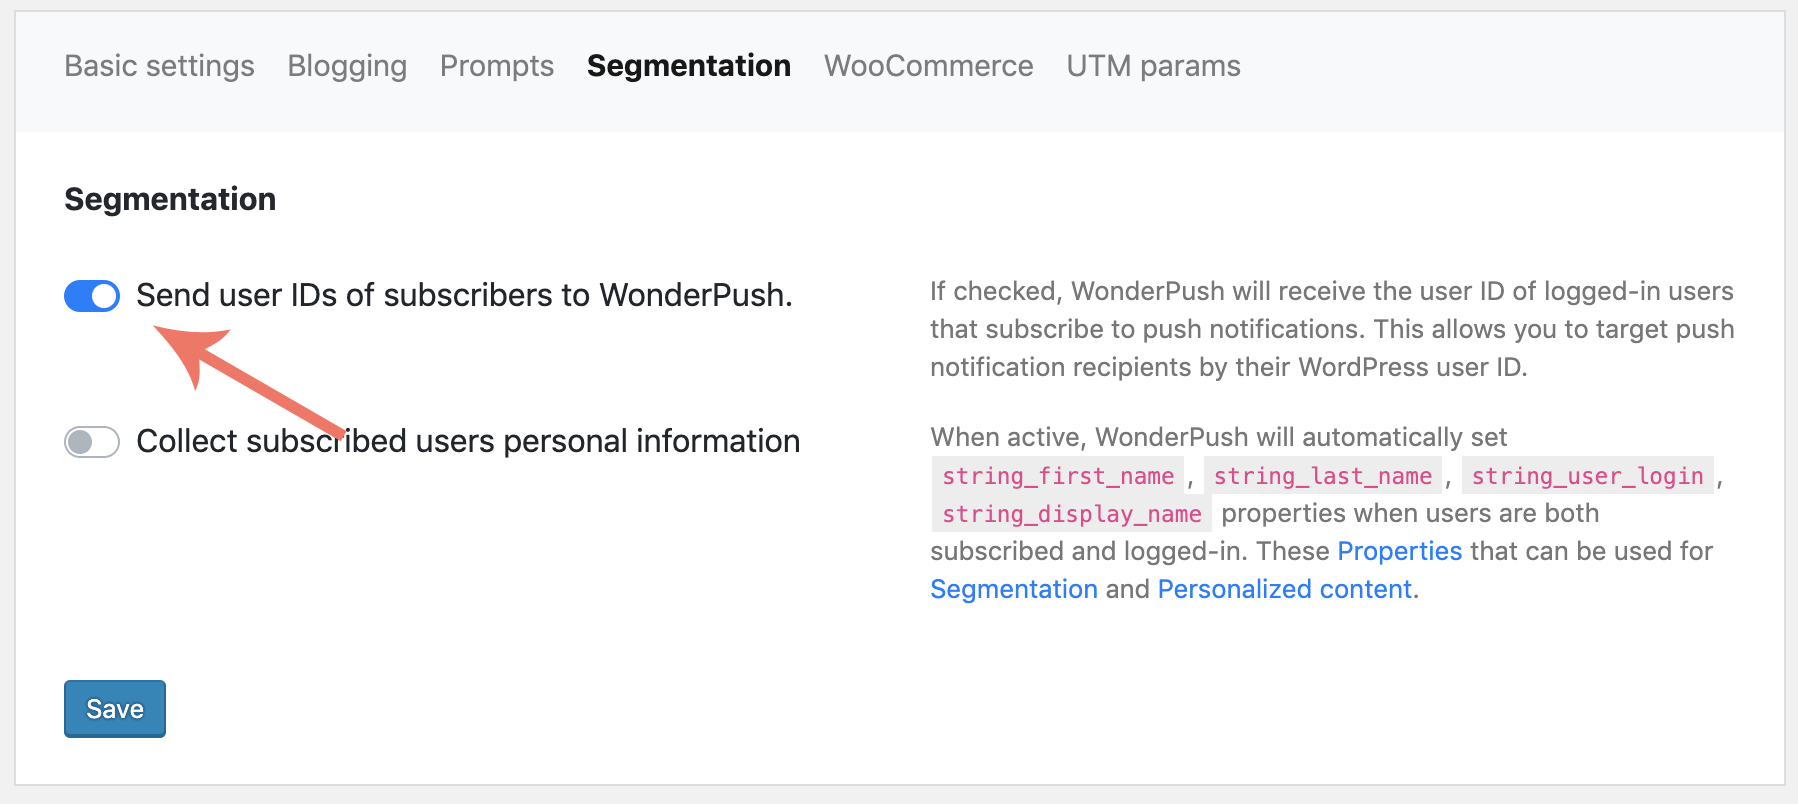
When this setting is active, the WordPress user ID of logged-in users is sent to WonderPush and you can send a notification to a particular user ID by adapting this targeting rule:

Targeting users by username
To target users by username, you need to send the usernames of logged-in users. This can be achieved by activating the setting called Collect subscribed users personal information:
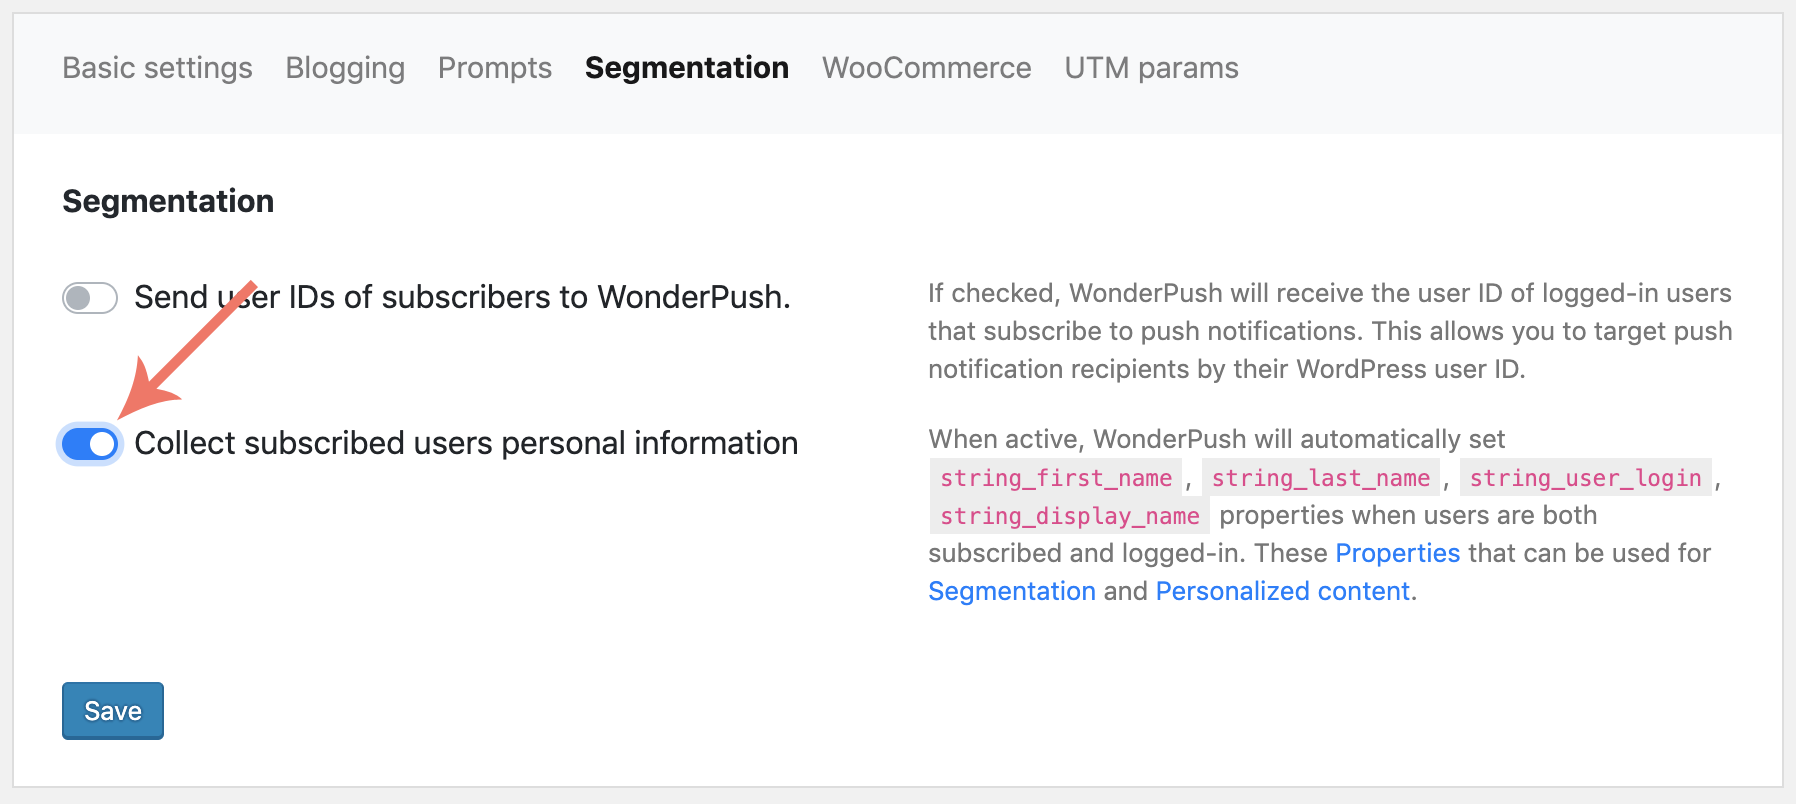
This will set the property string_user_login to logged-in users that subscribed to push notifications. You can then target a specific username by adapting SOMELOGIN in the following targeting rule:

Sending personalized push notifications to logged-in users.
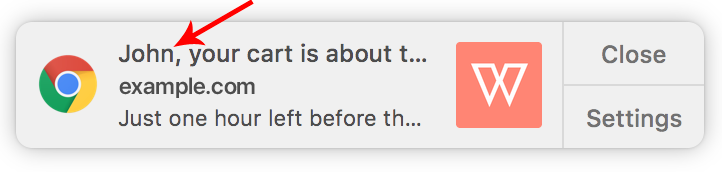
After you've activated Collect subscribed users personal information, you can use that user information to compose the message of your push notification. Find our more about personalized content.
Here's an example of calling users by their first name, with a fallback to the string "there":

Adding any Javascript snippet to your pages
Whenever you need to add Javascript code that uses our Website SDK to your pages in order to implement something that's not done by our plugin, head over to the Theme Editor, select the Header and place your cursor right below the <?php wp_head(); ?> line:
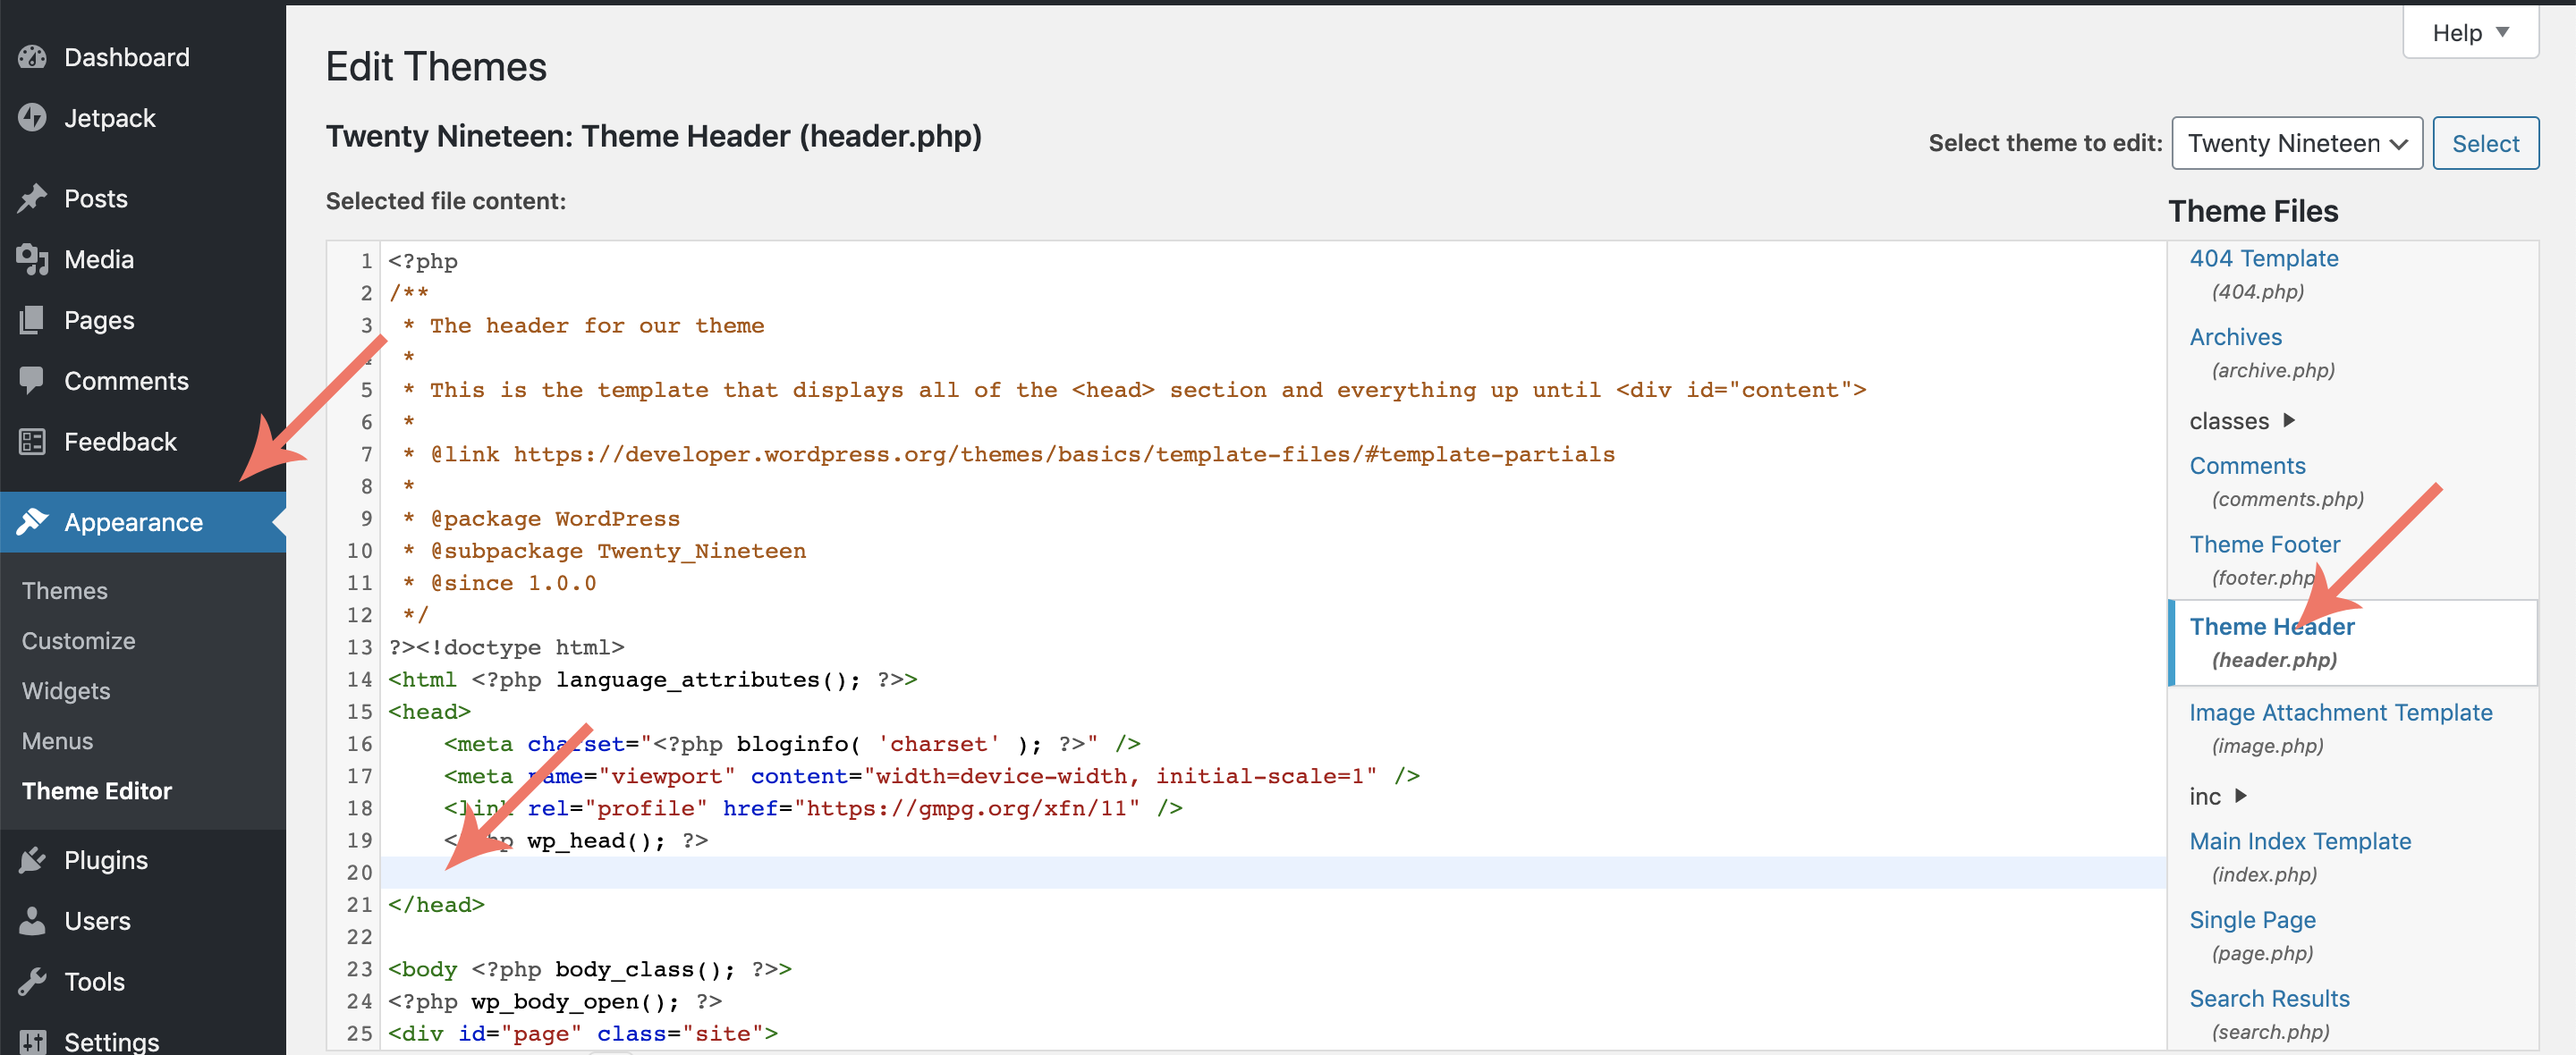
Paste the snippet right below <?php wp_head(); ?>, make sure it has <script></script> enclosing tags.
Here's an example of incrementing a page view counter:
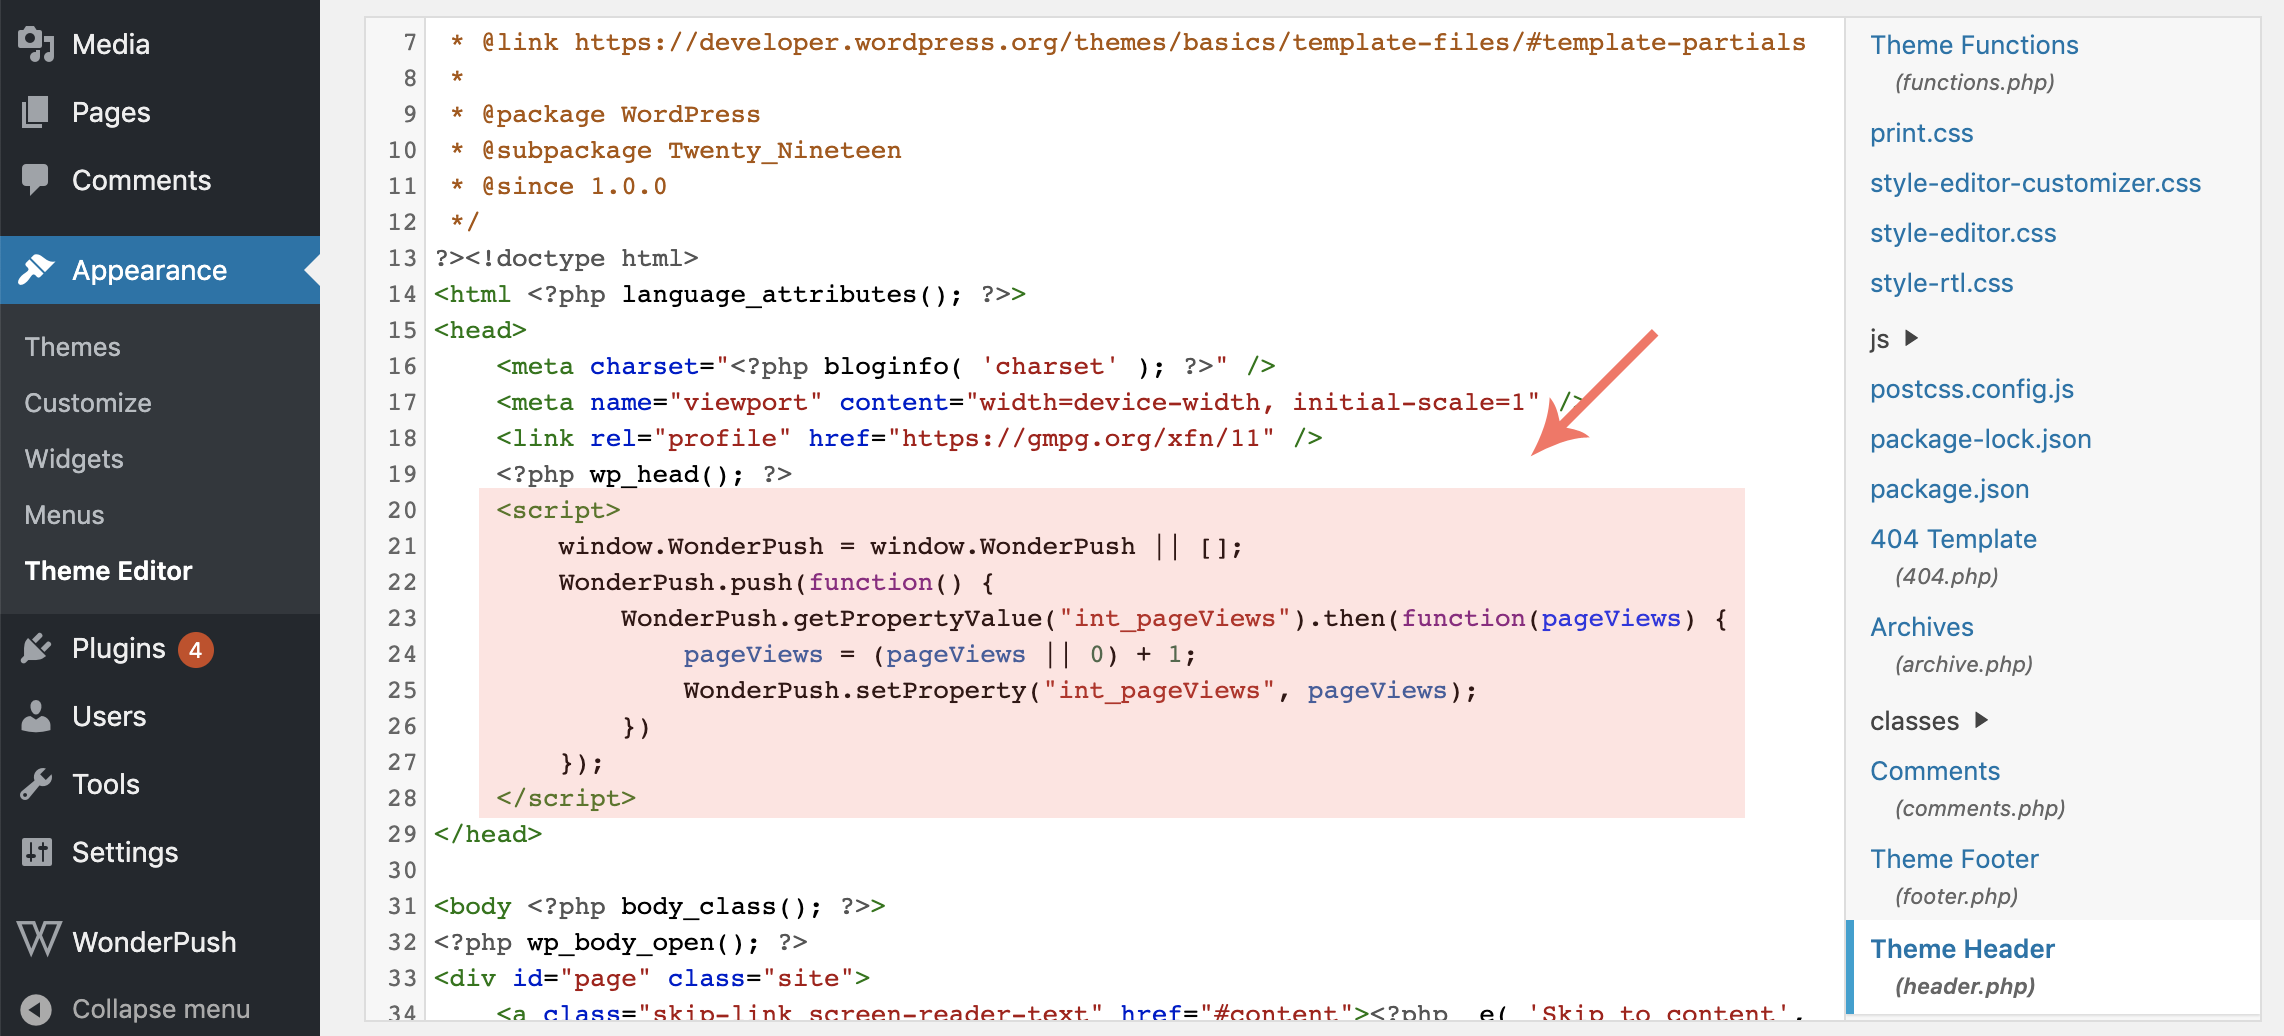
Here is the code:
<script>
    window.WonderPush = window.WonderPush || [];
  WonderPush.push(function() {
    WonderPush.getPropertyValue("int_pageViews").then(function(pageViews) {
      pageViews = (pageViews || 0) + 1;
      WonderPush.setProperty("int_pageViews", pageViews);
    })
  });
</script>
Sending notifications from PHP code
The WonderPush WordPress plugin supports sending notifications for just-published posts written in the built-in WordPress editor.
If you need to send a notification from PHP code, to automate sending notifications from another plugin for example, here is a snippet to get you started:
function sendNotification($title, $subject, $link) {
  if (!class_exists('WonderPushAdmin')) {
    return;
  }
  $client = get_wonderpush_client();
  $client->deliveries()->create(array(
    'notification' => array(
      'alert' => array(
        'title' => $title,
        'text' => $subject,
        'targetUrl' => $link,
      ),
    ),
    // Option 1: Target all your users
    'targetSegmentIds' => '@ALL',
    // Option 2: Target specific user by ids
    //'targetUserIds' => array('johndoe', 'janedoe'),
    // Option 3: Target by tags
    //'targetTags' => array('news'),
    // More options are available, read our Management API documentation at: https://docs.wonderpush.com/reference/post-deliveries
  ));
}
You can adapt this snippet to include all the fields described in the /deliveries call to our Management API.
Updated 12 months ago