
Reservation form template
An easy way to grow your phone and e-mail databases by letting users book a date.
The reservation form popup can handle multiple situations:
- let users opt-in to receive emails and SMS
- collect customers' preferred date and time to be called back.

Collected data
This popup collects the **name, e-mail, phone number and preferred date/time" of your visitors.
Whenever the form is submitted, an Event is sent to WonderPush. This event is called Reservation and it contains several attributes with the data filled by your visitor:
string_namecontains the name of your visitor,string_emailcontains his email address,string_phone: contains his phone number,date_datetimecontains the date/time selected for the reservation,string_date,string_time: .
You can adapt the name of the event:
window.WonderPushPopupSDK.trackEvent('Reservation', eventData).then(function () {
            window.WonderPushPopupSDK.dismiss();
          });
You can view and download the collected data on the detail page of your popup:

A list of email addresses collected, along with the download button
Audience
By default, the audience is set to Everybody.

But you could limit the audience to users who haven't made any Reservation event yet.
You can further restrict the audience by adding more criteria by clicking "Add criteria". There is a complete reference of the data you can use to segment your audience, there is also a guide to get started with audience segmentation
Trigger
By default, the popup will show immediately after the user made the ShowReservationForm event. To trigger the event, put a link or a button on your page with the following onclick script:
<button type="button" onclick="(window.WonderPush = window.WonderPush || []).push(['trackEvent', 'ShowReservationForm']);">Reserve your seat!</button>You can adapt the name of the event in the popup editor:

Triggering the popup immediately on first visit, then 24 hours later
Adapting the content
The reservation form template contains:
- a title, "Make a reservation"
- an image
- an email field
- a phone number field with country code
- a date and time picker
- a subscribe button, "Reserve"
- a dismiss button, "Maybe later"
Adapt the title by changing this line:
<h1>Make a reservation</h1>Adapt the image by changing this line and putting the URL of another image in the src attribute:
<img src="https://cdn.by.wonderpush.com/upload/01d48biaffai1lb2/17be02b50c2956b97ce51a3d83eb50e922c90b24/v1/large"/>Adapt the email field placeholder by changing the placeholder attribute of this line:
<input id="email" type="email" placeholder="Email" required/>Adapt the dismiss button text by changing this line:
<button id="decline" class="btn-text" type="submit">No, thanks.</button>Look and feel
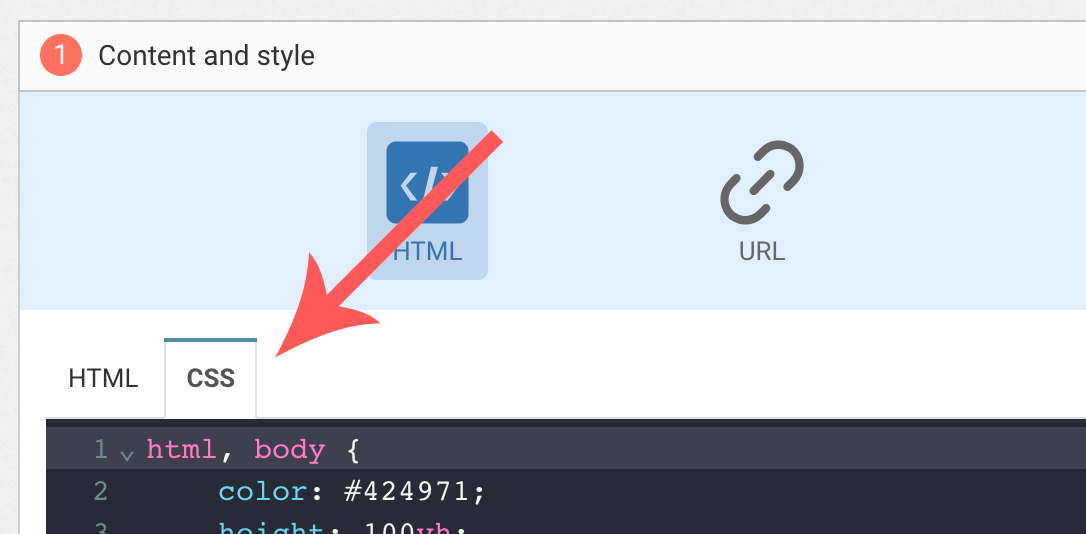
Colors and fonts of texts and buttons can be adapted in the CSS editor:
Adding a background image
Add the following CSS (adapt https://example.com/image.png) to add a background to the main section, making sure the background is stretched to cover the entire section (but keeping its aspect-ratio):
#content {
  background-image: url(https://example.com/image.png) !important;
  background-repeat: no-repeat;
  background-size: cover;
}
Button colors
Add the following CSS.
.btn-primary {
  background-color: blue !important; /* Adapt "blue" to the desired color */
}
Text color
To adapt the colors of the title, input, button and dismiss button, adapt the following.
/* Use the following for the main button */
.btn-primary {
  color: red !important; /* Adapt "red" to the desired color */
}

/* Use the following for the dismiss button */
.btn-text {
  color: red !important; /* Adapt "red" to the desired color */
}

/* Use the following for the title */
h1 {
  color: red !important; /* Adapt "red" to the desired color */
}

/* Use the following for the placeholder input */
input::placeholder {
  color: red !important; /* Adapt "red" to the desired color */
}

/* Use the following for the user content input */
input {
  color: red !important; /* Adapt "red" to the desired color */
}
FAQ
How do I remove the "Powered by WonderPush"
Just remove this line:
<a href="https://www.wonderpush.com/" target="_blank" class="powered-by-wonderpush">Powered by <strong>WonderPush</strong></a>