
Push notification editor
How to create and automate notifications step by step and for all platforms
The notification creation and edition page can be reached through the controls on the Notifications page or Notification detail page.
The creation and edition process is divided into 4 sections:
- Your message: compose the notification content
- Attach a popup
- Audience: choose who should receive the notification
- Schedule: specify how and when the notification must be sent
Step 1. Compose Your message
The Compose section is where you edit the notification content. This unique form allows you to create all types of notifications possible in the market, from the simplest containing just a text, to the most sophisticated with multiple buttons, a large image or a video.
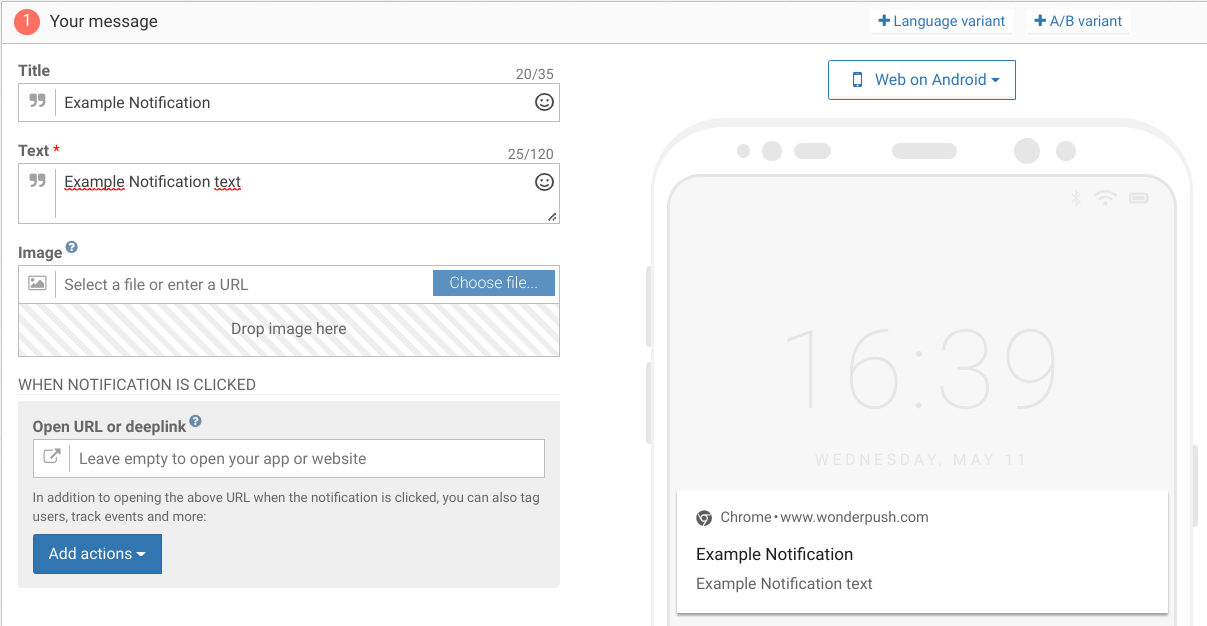
Only the Text field is mandatory. You can also add a Title. In this case, those will be displayed on two different lines, as the preview shows.
Image
To include a picture, specify its URL (it must be HTTPS) or simply drag and drop an image on the Drop image here zone.

On-click actions
Open URL or deeplink allows you to determine the destination URL when you click on the notification. If you leave it empty, clicking the notification will just open your app or website.
See also Advanced click handling.
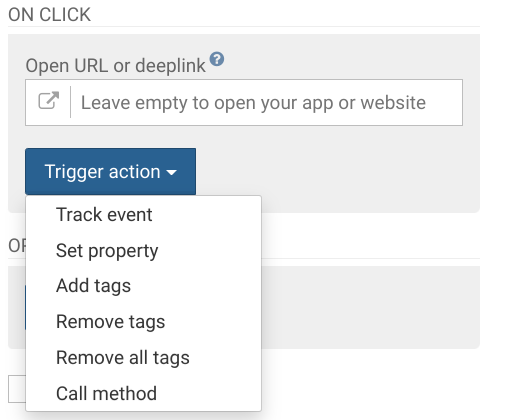
Trigger actions lets you attach additional actions to perform upon clicking the notification:
- Track event: track the event of your choice. Learn about event-based segmentation
- Set property: define key/value pairs you can use to describe a user who clicked the notification. Learn how to use properties-based segmentation
- Add tags: stick labels on users who clicked the notification. Learn how to use tag-based segmentation
- Remove tags and Remove all tags: unstick labels.
- Call method: WonderPush will trigger an callback you've registered in your code. Trigger a registered callback.
WonderPush automatically tracks a @NOTIFICATION_OPENED event whenever users click on a notification.
👍 Every text field supports emoji!Just Copy/Paste any standard emoji from emoji directories such as Getemoji or emojipedia
Auto UTM taggingBy setting up automatic UTM tagging in UTM parameters settings, you just need to enter URLs without UTM settings as they will be added automatically.
If you add other UTMs with this feature enabled, the UTMs that you set manually will override the UTM parameters configured in the settings.

Preview and Test
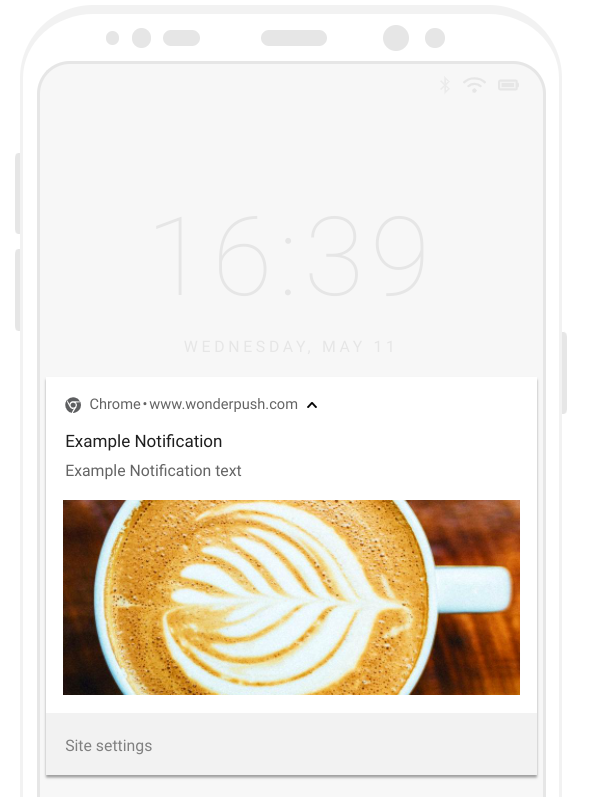
Preview
On the right hand-side of the edition form, you'll find a preview that shows how the notification will look on: iOS app, Android app, web on Android, web on MacOS, web on Windows:
Test on real devices
What better preview than testing on a real device? WonderPush lets you send push notifications to test users of your choice, even as you are editing content.
Read more about how to use thePreview on test users feature

Buttons
Buttons appear directly on the notification and can be configured using the button form:
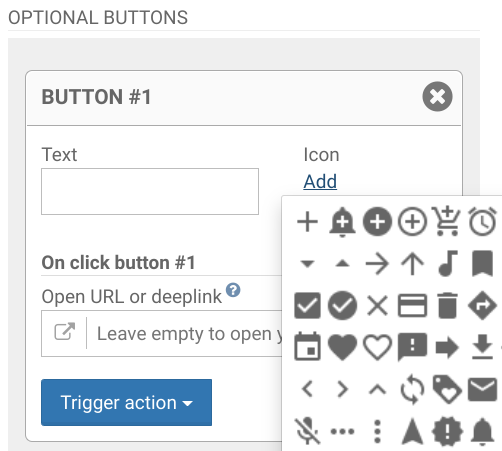
You can choose a label, an icon and an action to perform upon button click. You can also attach additional actions to send events, update the installation or trigger a registered callback. See on-click actions.
Buttons on iOS devices are supported starting v3.3.3 of our iOS SDK.
Platforms settings
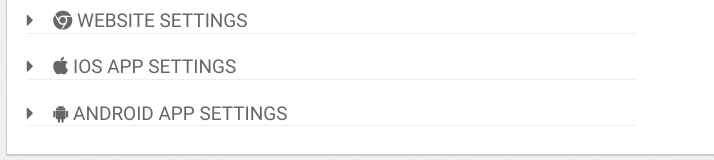
Some settings may be specific to each platform. So, for example, this is where you can choose a different URL depending on whether the notification will be received on iOS, Android, or a web browser.
Website settings
- On click: Open URL.
iOS app settings
- On click: Open URL.
- Badge number: the integer value of your iOS app's badge to be set upon reception of the notification.
- Sound file name: the name of an iOS bundle resource already packaged in your app that contains the sound to be played. Enter "default" if you want to play the default notification sound.
- In foreground: lets you drop the notification if the application is already in foreground.
Android app settings
- On click: Open URL.
- Sound resource name: the name of an Android app resource already bundled in your app that contains the sound to be played. By default, a sound will be played.
- Notification channel id: specifies the Android notification channel.
- In foreground: lets you drop the notification if the application is already in foreground.
Payload and Push data
- Payload: Push notifications may specify a JSON dictionary to be merged with its payload. This data is made available to your application.

- Data-only push: On the iOS and Android platforms, you can choose to send “silent” notifications that will not be displayed but can be used to trigger behaviors in your app. See Push data.
See Push data for more about using that payload in your app or website.
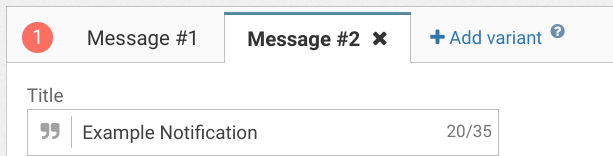
A/B testing variants
WonderPush lets you setup A/B tests for your notifications. Setting up an A/B test is done by clicking the Add a variant button. An additional edition form will appear in a tab. When it is time to send your notification, WonderPush will alternatively pick one version. Find out more about A/B testing.
Step 2. Choose to attach a popup (formerly known as in-app message)
On all platforms, you can include popups that will be displayed when the notification is clicked.

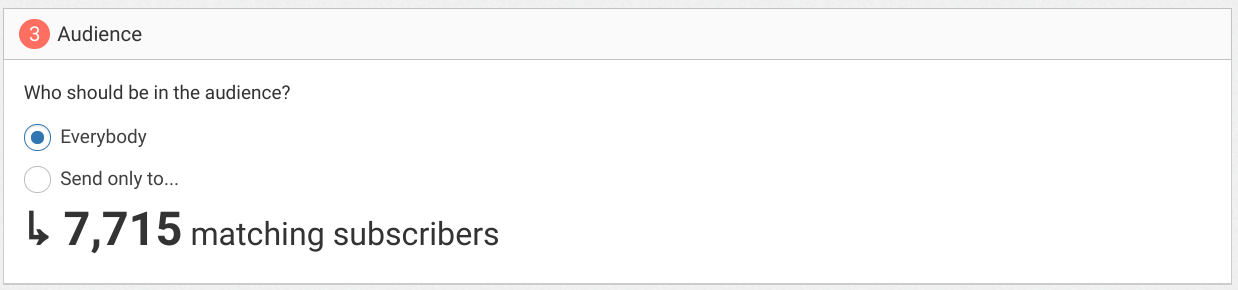
Step 3. Target your audience
The Target tab lets you decide who receives your notification. You can choose to send your notification to your entire audience or to a segment of your choice.
We do not recommend you send notifications to your entire audience, as broadcast notifications tend to generate more un-subscriptions than targeted notifications.
Once you choose Send only to users within the segment…, a form allows you to specify segment rules.
Please note that you can use any segment you've configured beforehand by selecting the Segment of audience rule type:

Step 4. Schedule when it must be sent
In this part of the creation and edition process, you choose the notification name and determine when is the notification sent.
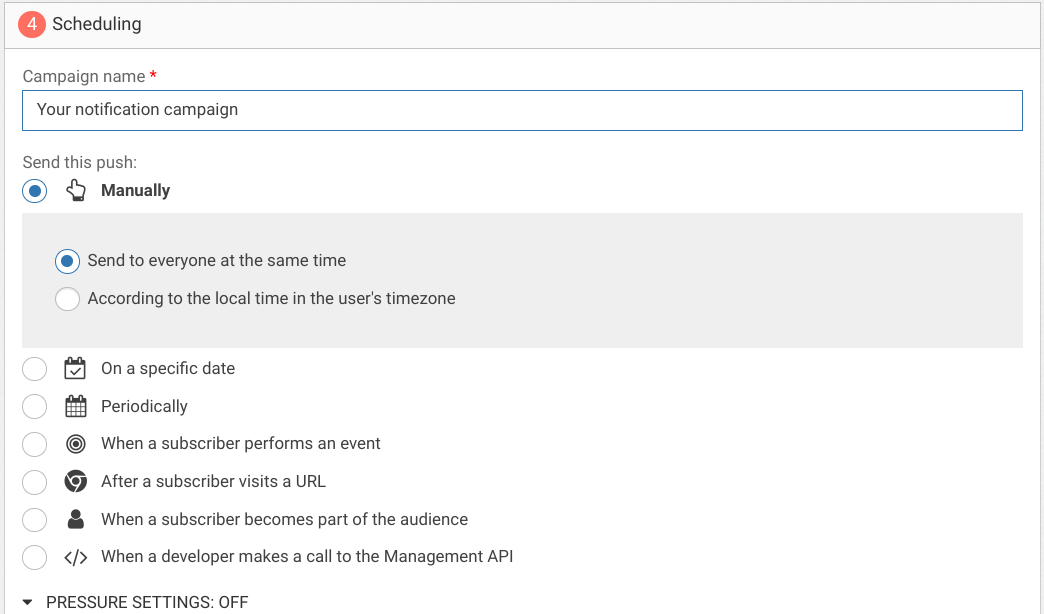
Campaign name
The campaign name is only here to help you distinguish notifications from each other. It is never shown to end-users.
Trigger
WonderPush offers 5 ways to trigger your sending:
Manually
The notification is sent when you press the Fire button of the Notifications page or Notification detail page.
When a subscriber performs an event
The notification is sent whenever subscribers perform an event. See Event-based automation.
After a subscriber visits a URL
The notification is sent to the subscriber after they visit a specific URL of your choice. See URL-based automation.
On a specific date
The notification is sent on a date you specify.
See Scheduled sending.
Periodically
The notification is sent periodically.
See Periodical sending.
When a subscriber becomes part of the audience
The notification is sent to users entering a segment.
See Segment-based automation.
When your developer makes a call to the Management API
The notification can only be sent via the REST API.
See Sending notifications with the API.
Pressure settings
The pressure management setting helps you:
- cap the number of notifications you send to a particular user.
- set a TTL to your push notifications after which the push gateways (Apple, Google, Microsoft, etc.) must delete them if the targeted devices have retrieved them.
See Pressure management.
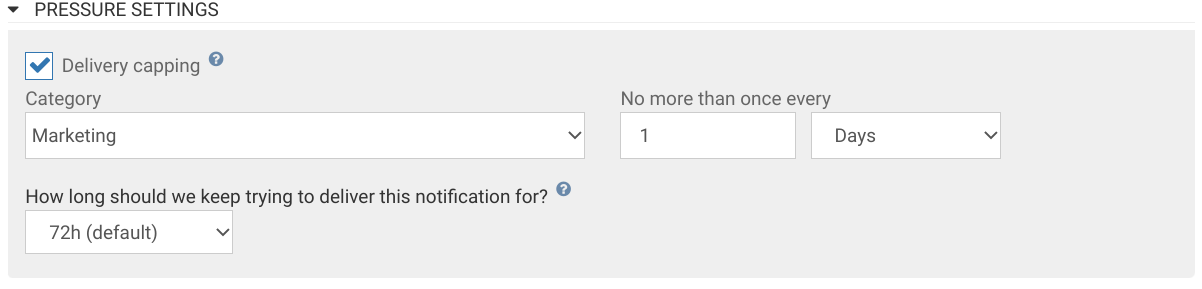
Delivery capping
The delivery capping setting help you limit the number of notifications you send to a particular user. To enable delivery capping:
- check the box Delivery capping,
- choose a category for your notification,
- specify a maximum frequency.
How long before expiring
Some notifications should not be seen by users after a certain amount of time. For example, you might not want a notification advertising a limited-time offer to be delivered after the offer expires. The following setting allows you to do exactly this by dropping any notification past a certain delay.
Step 5. Save and activate

It's almost over:
- If you have programmed a manual trigger notification, then it will be sent when you click the Fire button in the notifications page.
- If you have programmed a notification with automatic triggering, it will be sent according to the rules that you have defined as soon as you have switched itON in the notifications page.
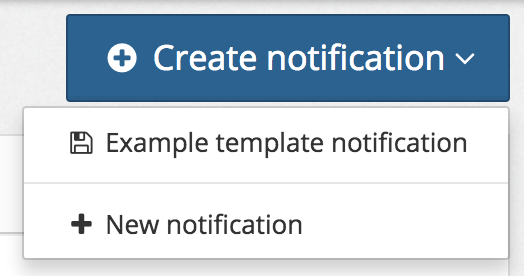
- If you want to make this notification a reusable template for your next campaigns, check the corresponding box. You will then be able to create notifications by duplicating this notification directly from the Create notification button:\
That's it! Your push notification is ready.
FAQ
How to close notification when clicked without opening website or app?
By simply entering wonderpush://notificationOpen/noop in the URL field, you tell the SDK to close the notification, without leading the user to your website or application.
This is very useful when you offer two "call to action" buttons in your notification, one of which says "no, thanks".
Updated 12 months ago