
Huawei mobiles support
How to activate push notifications for new Huawei mobile phones
What is Huawei Mobile Services?
Since the United States administration banned the possibility for US-based companies to make business with them, Huawei was obliged to withdraw Google Play Services from their new phones, removing support for Firebase Cloud Messaging (FCM) the de facto default push notification carrier.
Huawei has taken a big move by providing their own solution for replacing Google Play Services for their phones, that's Huawei Mobile Services.
WonderPush supports Huawei Mobiles Services so you can send push notifications to Huawei devices that do not ship with Google Play Services.
The WonderPush SDK has a module that integrates with Huawei Push Kit and our servers use the Huawei Cloud Messaging (HCM) service to send push notifications to your users.
For the devices that come with Google Play Services, you do not need to do anything more than integrating the WonderPush SDK with Firebase.
Prerequisites
You need to complete the steps of the classical Android Push Notifications guide.
Step 1. Register your app in AppGallery Connect
Follow Huawei's instructions in the Configuring App Information in AppGallery Connect article.
You will be asked to register as a developer, create an app and give your signing certificate fingerprint.
You may have already completed these steps, simply double check the proper SHA-256 certificate fingerprint is filled.
You do not need to enable Receipt status, iOS push agent, or Web push agent.
Step 2. Fill your HMS credentials in the dashboard
Go to the AppGallery Connect, click My Apps, select the app you want to configure, and grab the following values:
- App ID
- App secret
They are in the Distribute / Release app / App information section, if you get lost.
They are also present in the My Projects / Project Setting / Convention tab in the App information section, the values are the same as in the other places.
Head over to your WonderPush dashboard and go to the Settings page, then click Android application.
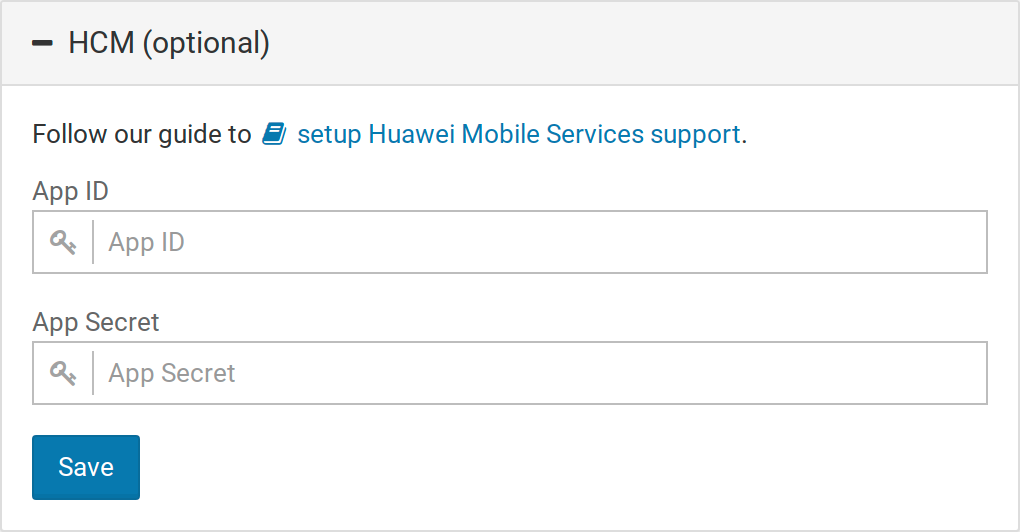
Expand the HCM (optional) section and paste your App ID and App Secret
Step 3. Integrate the HMS Core SDK into your app
Follow the steps in the Integrating the HMS Core SDK section.
Make sure to properly configure the signing for both release and debug build types.
Stop before you reach the 3. Configuring the Manifest File section, as the HCM module of our SDK does it for you.
If you use AndResGuard, you'll probably need to add some values to the allowlist as described in the Configuring Obfuscation Scripts section. But note that our SDK we already adds the proguard-rules.pro rules.
Step 4. Add the HCM module dependency to the SDK
Note: There is no need to remove the wonderpush-android-sdk-fcm module. You can very well have a single build that support both.
Android native SDK
Add the WonderPush Android SDK HCM module as a dependency of your app/build.gradle file:
dependencies {
    // Android Studio will recommend to replace the + range with a specific version.
    // If you do so, do not forget to upgrade it regularly.
    // See: https://github.com/wonderpush/wonderpush-android-sdk/releases
    // See: https://docs.wonderpush.com/changelog
    implementation 'com.wonderpush:wonderpush-android-sdk:4.+'
    implementation 'com.wonderpush:wonderpush-android-sdk-hcm:1.+'
}
Cordova SDK
Run the following command:
cordova plugin add wonderpush-cordova-sdk-hcmIonic SDK
Run the following command:
npm install wonderpush-cordova-sdk-hcm --saveFlutter SDK
Open pubspec.yaml and add the following dependency:
dependencies:
  wonderpush_hcm_flutter: ^1.0.2
Open a Terminal window in your flutter project directory and type:
flutter pub getReact Native SDK
Run the following commands:
npm install react-native-wonderpush-hcm  --save
react-native link react-native-wonderpush-hcm
Receive your first push!
Build and run your application.
Wait a couple of minutes and receive the default welcome notification:
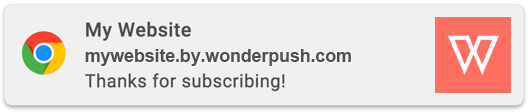
Congratulations, you're done!
Updated about 1 year ago