
Effortless segmentation using Google Tag Manager
Add tags, properties and events to your users without any coding.
If you're using Google Tag Manager on your Website, adding tags, properties and events to your users doesn't require any coding. This means that your Marketing team will be able to send targeted push notifications without the help of a Technical team.
Tags may refer to a couple of things in this article! They can be Google Manager tags, which represent a piece of code, or WonderPush tags which represent a label added to your users and used for segmentation.
Adding WonderPush tags to users
WonderPush tags are a simple way to mark users and easily create segments.
Using our Tag Template, you can add WonderPush tags to users based on triggers of your choice.
For example, if your site has categories for news items or products, it's easy to tag users with the categories they visit on your site.
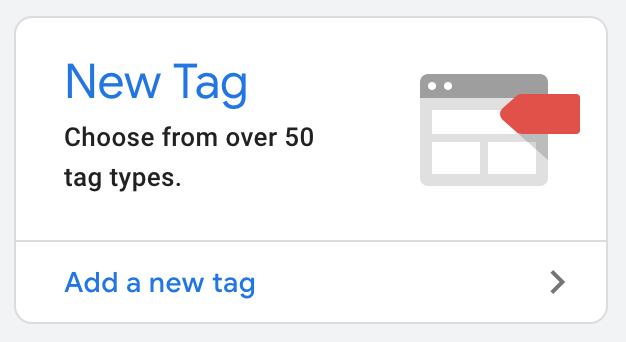
To get started with adding WonderPush tags, create a new Google Tag Manager tag based on our "Manage tags and properties" community template. Go to your Google Tag Manager project and choose "Add a new tag":
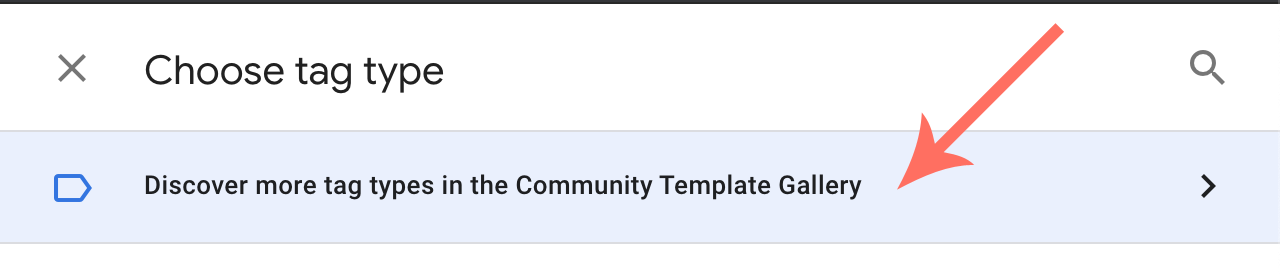
Navigate to the “Community Template Gallery”:
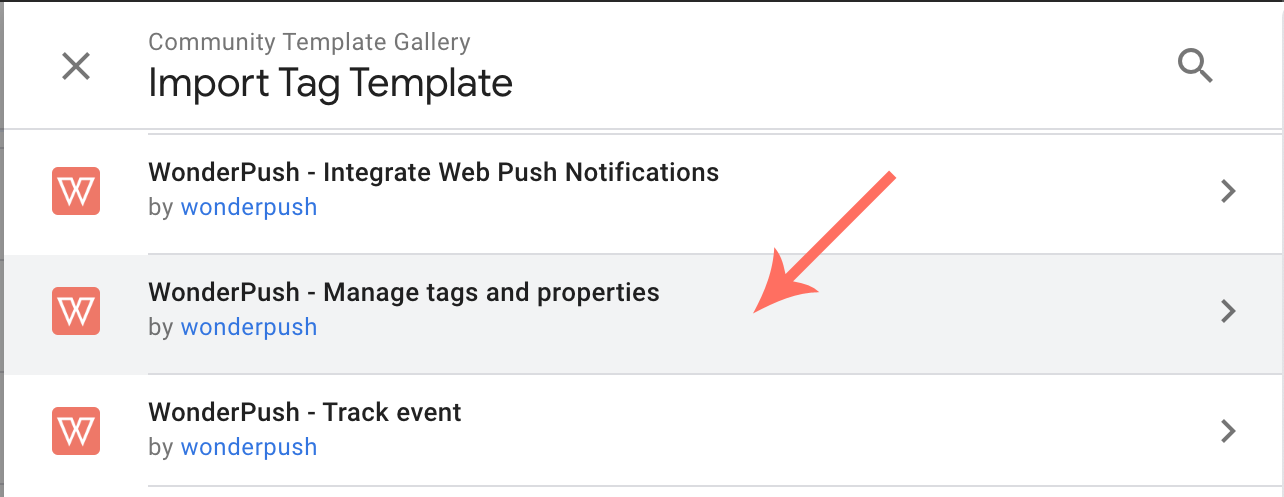
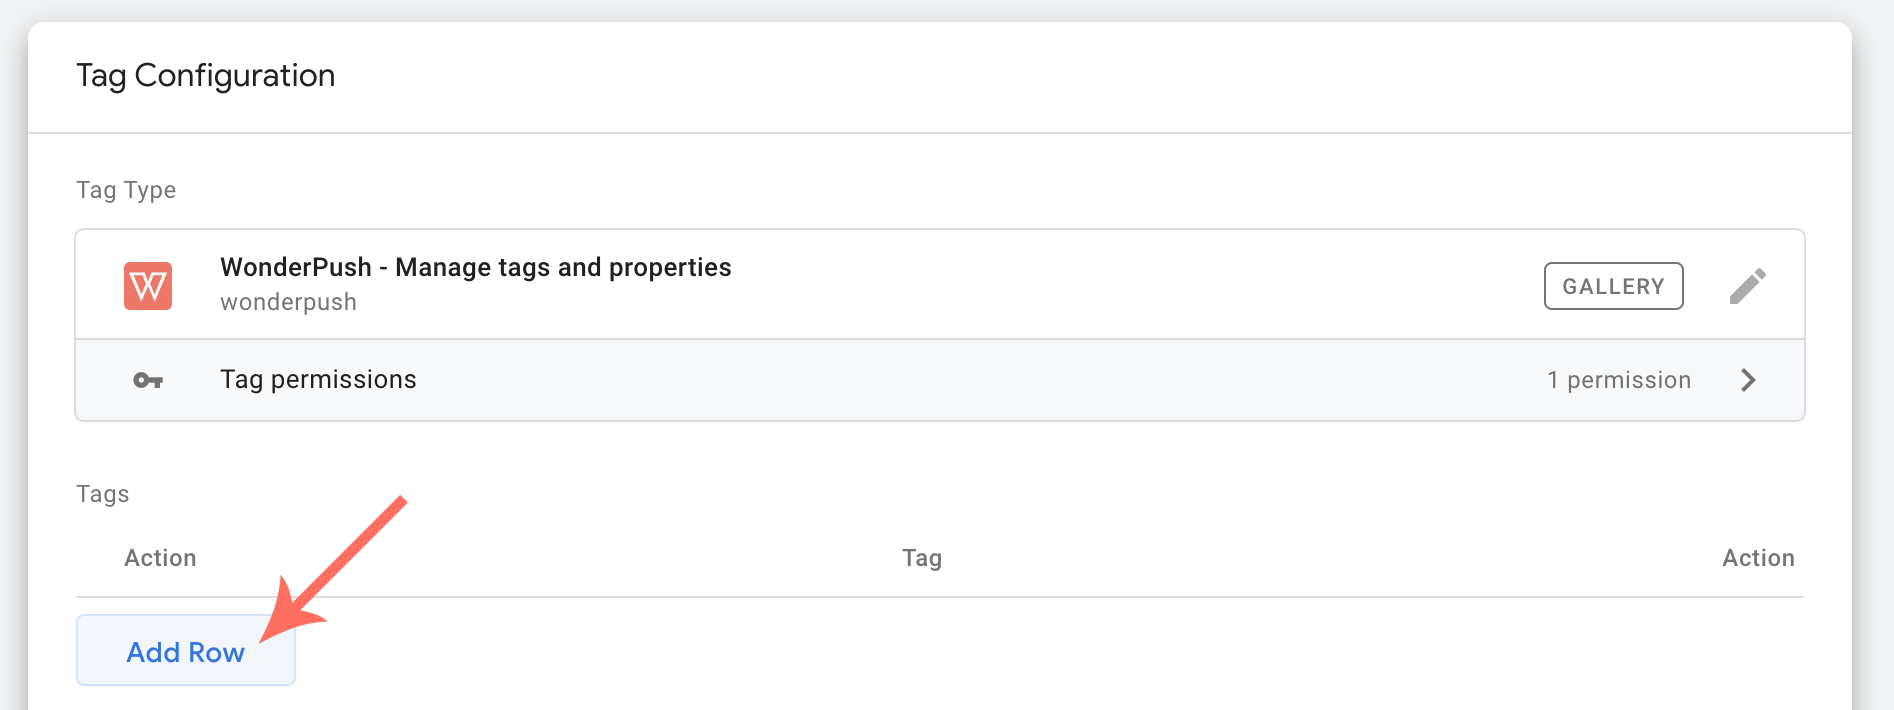
Choose “WonderPush - Manage tags and properties”:
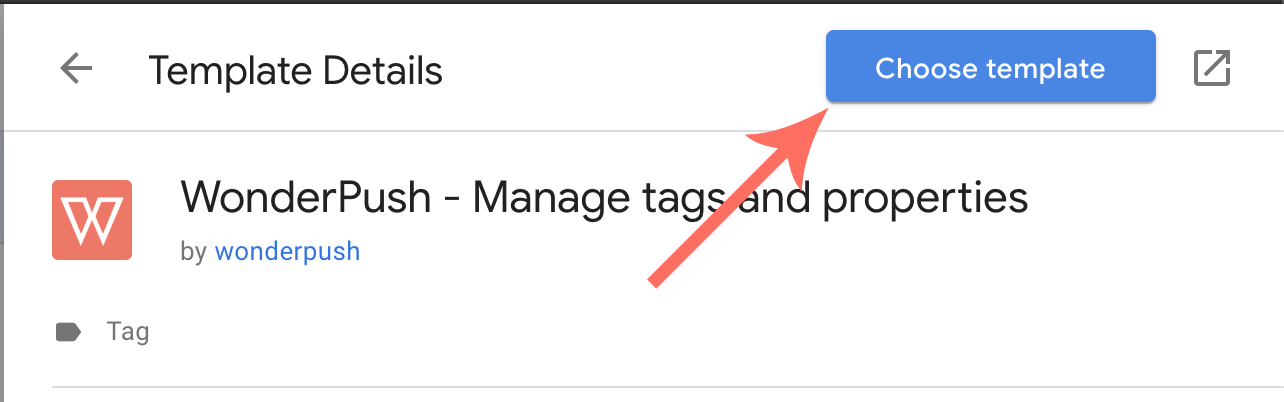
Confirm your choice by clicking “Choose template”:
You will then be presented with our template. Click “Add row” in the tags section:
Enter your tag:
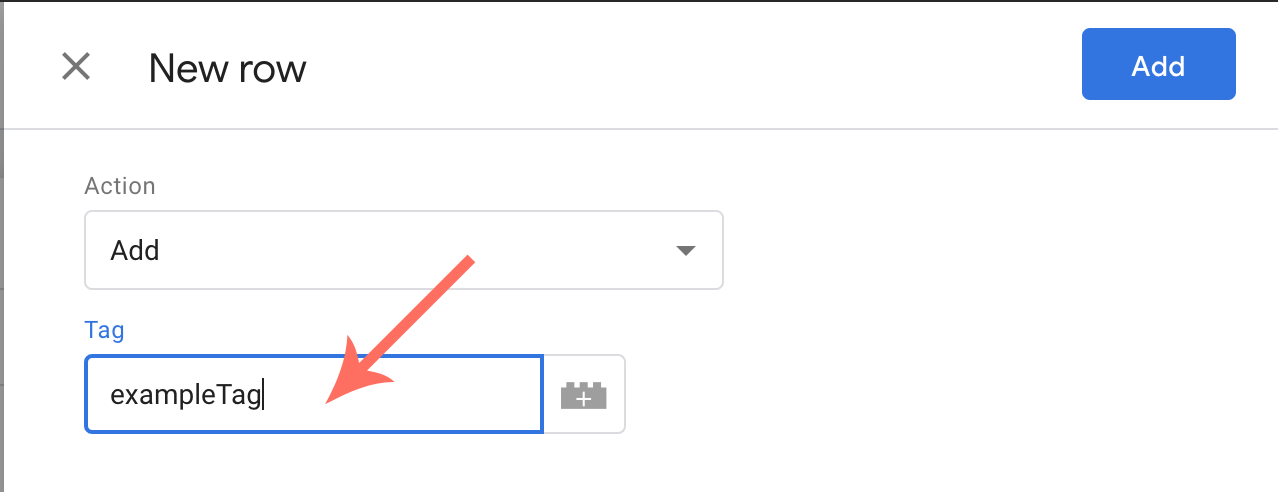
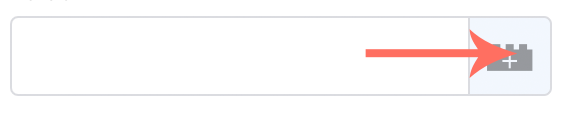
Please note that you can choose any global variable available to your Google Tag Manager container in this field by clicking on the “Add variable” button:
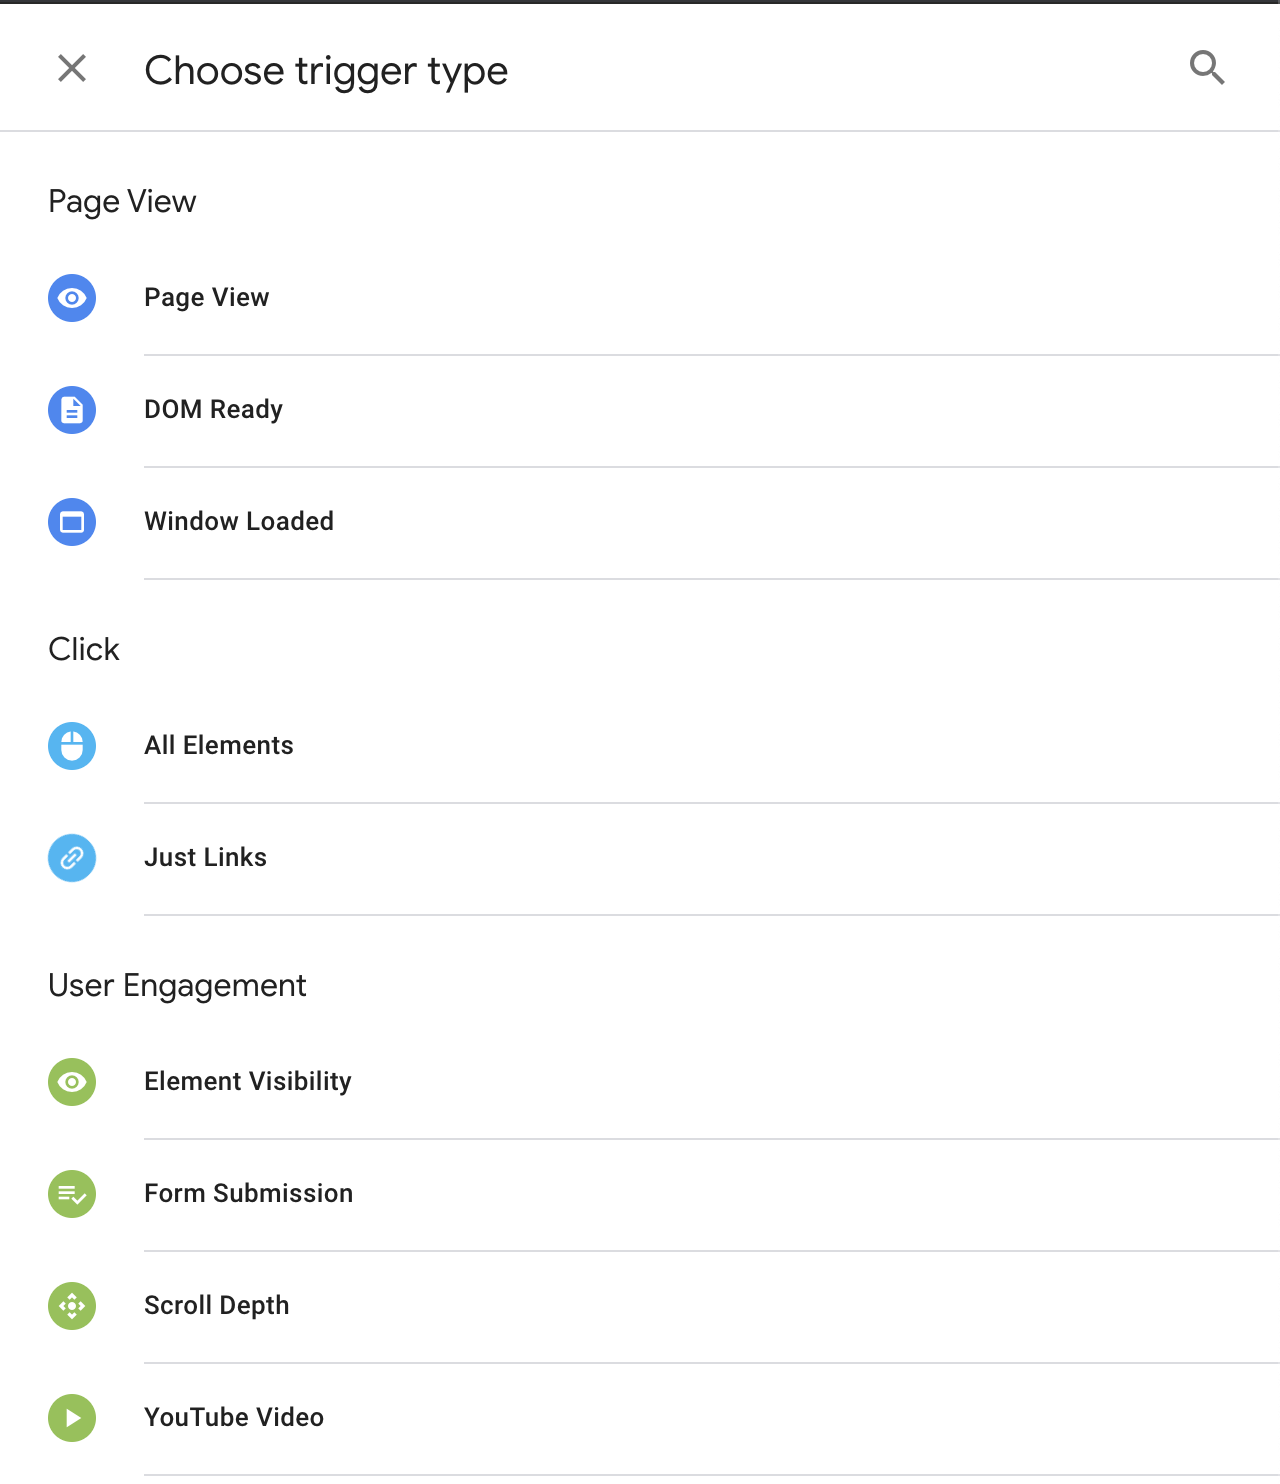
Add a trigger for your Google Manager Tag:
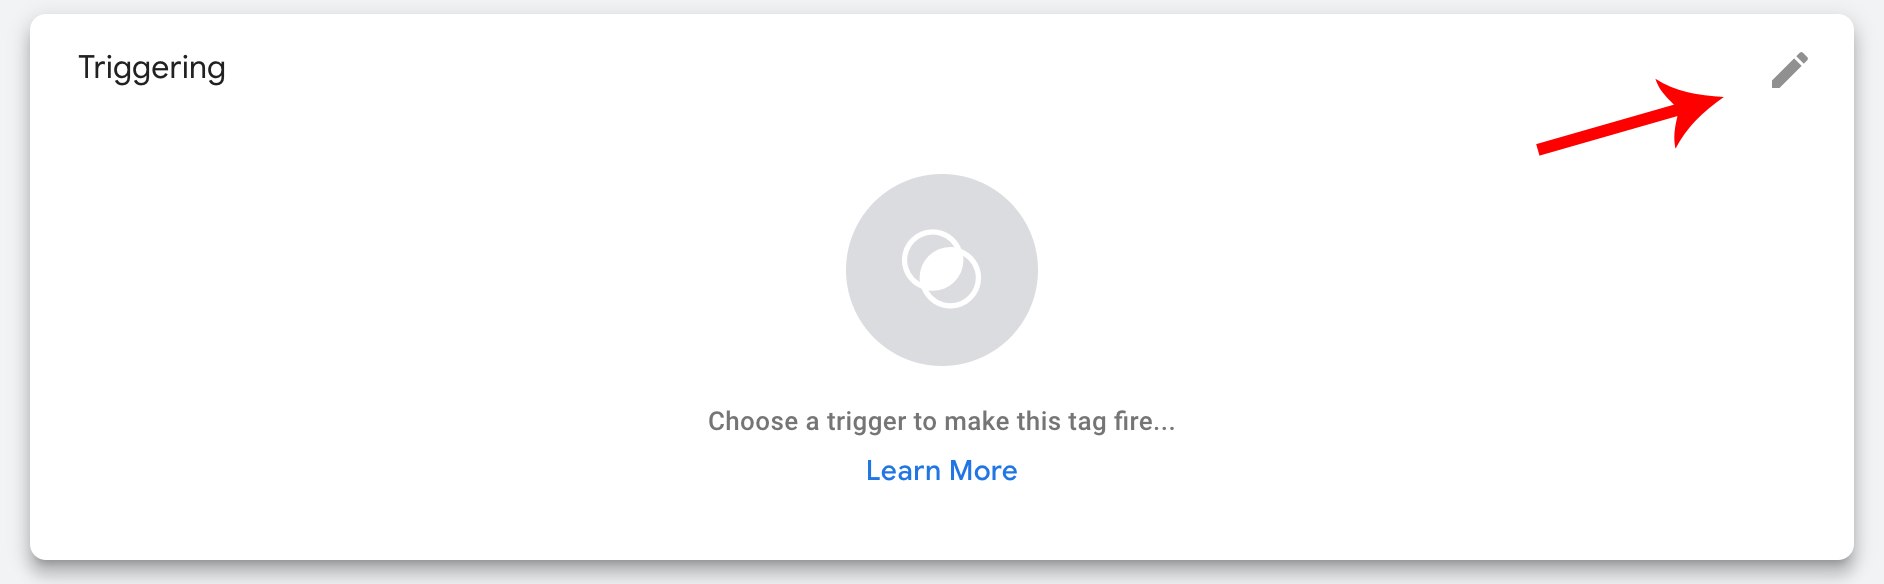
In Google Tag Manager, a trigger listens to your web page or mobile app for certain types of events like form submissions, button clicks, or page views. The trigger tells the tag to fire when the specified event is detected. Complete documentation on triggers is available on Google.
There are various built-in triggers (you can also add your own):
Once you're done with selecting an appropriate trigger, Save your Google Manager tag:
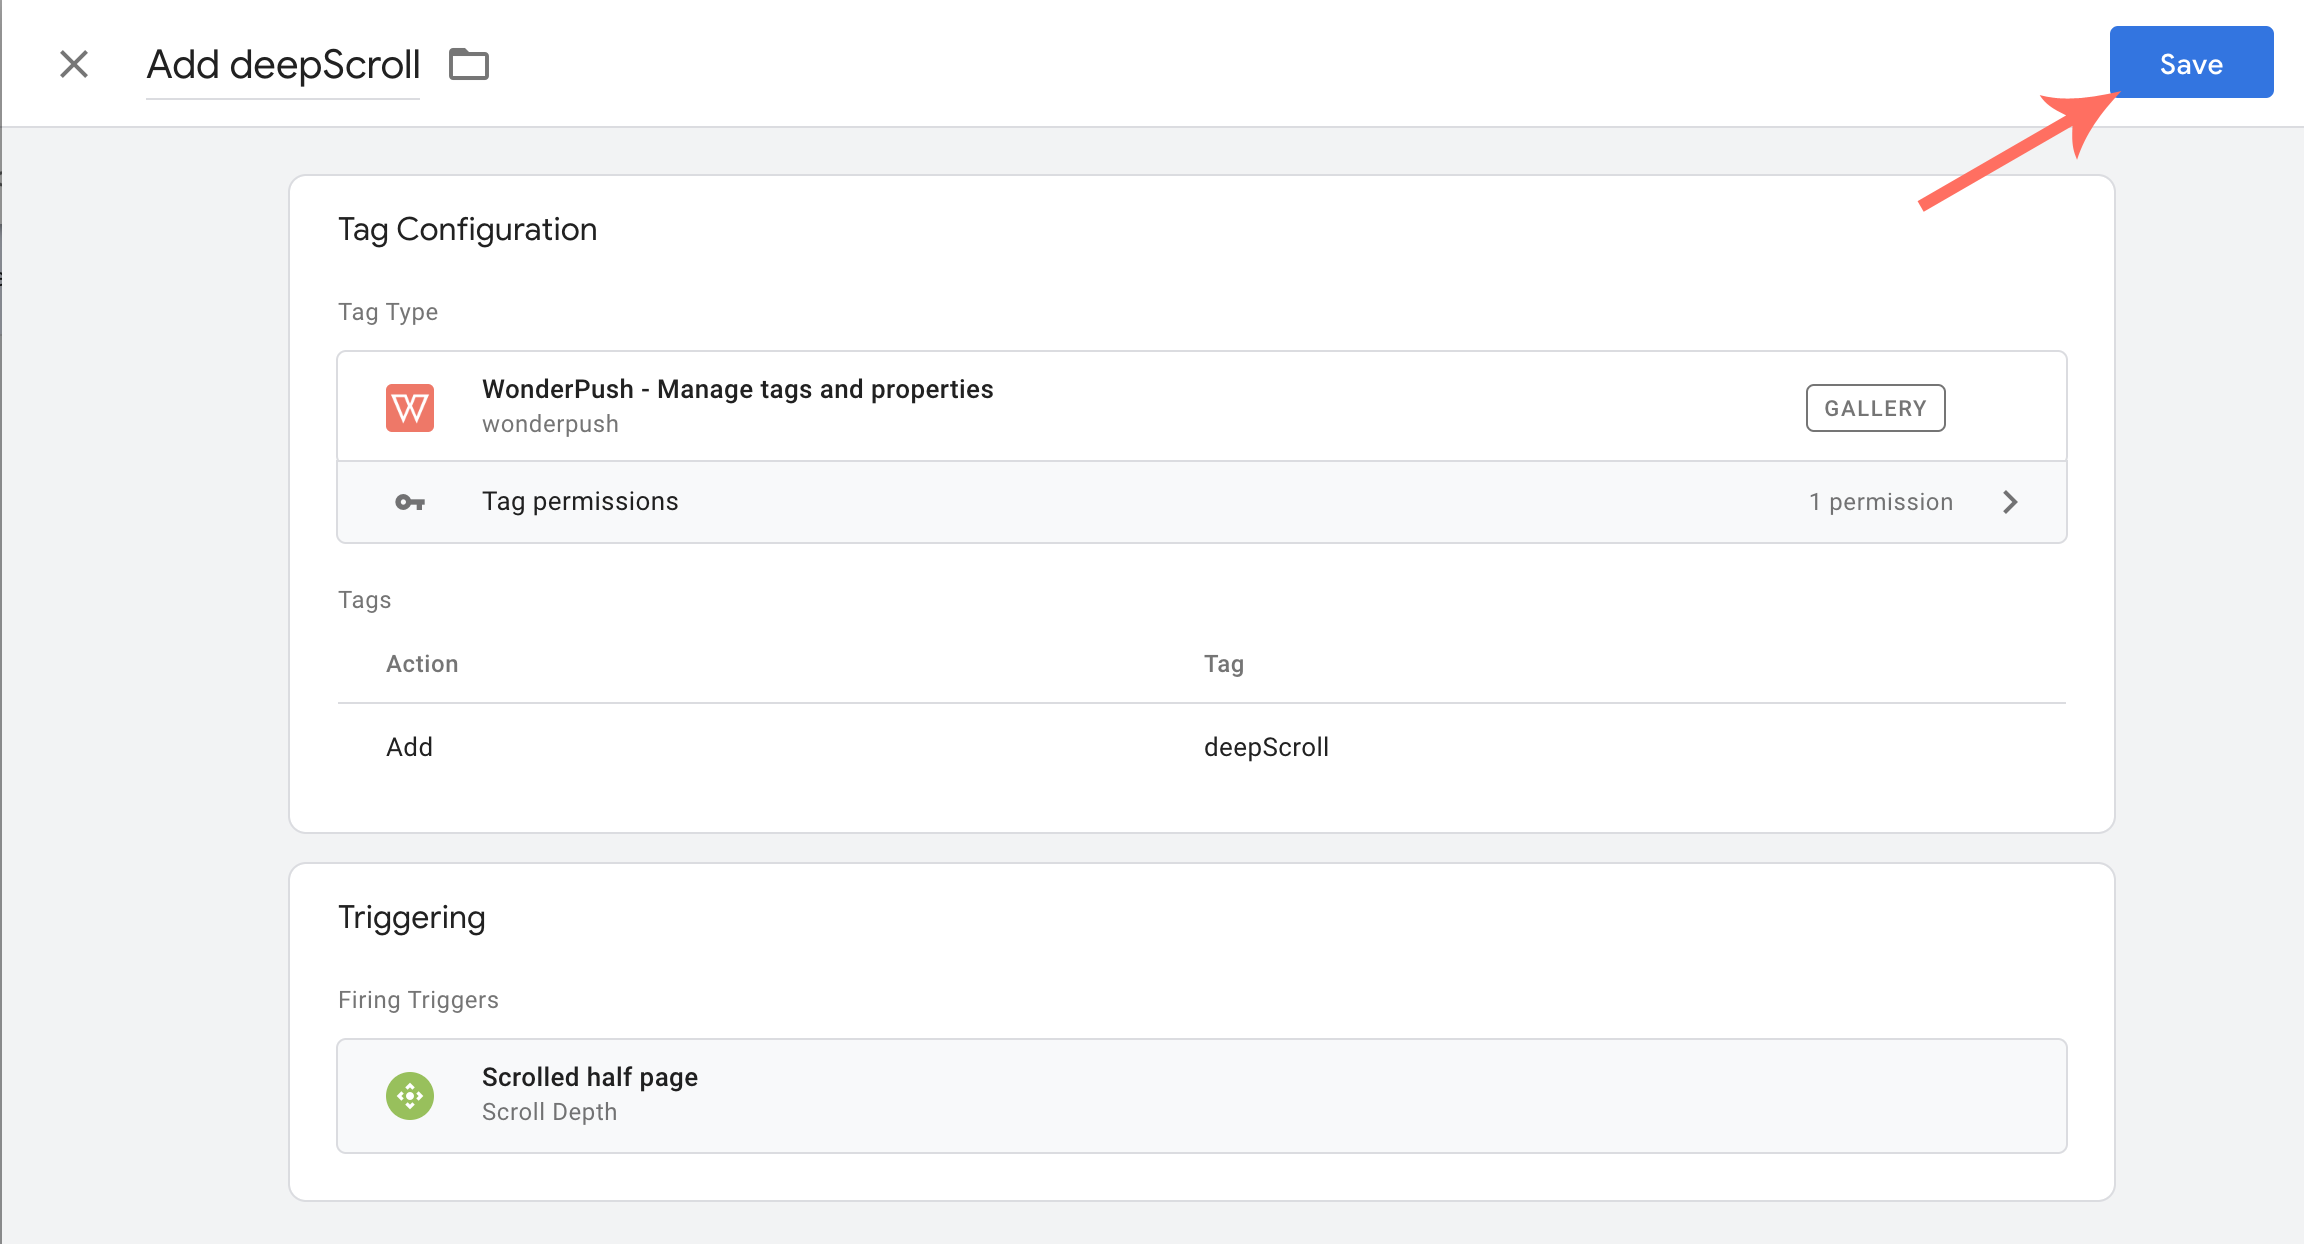
And you're done! Go test your changes and verify you see your WonderPush tag in your Installation detail page.
Adding Properties to users
Properties are a powerful way to mark users and create segments.
Using our Tag Template, you can add properties to users based on triggers of your choice.
For example, it's easy to add the number of page views as a property to users that visit your site.
To get started with adding properties, create a new Google Tag Manager tag based on our "Manage tags and properties" community template. Go to your Google Tag Manager project and choose "Add a new tag":
Navigate to the “Community Template Gallery”:
Choose “WonderPush - Manage tags and properties”:
Confirm your choice by clicking “Choose template”:
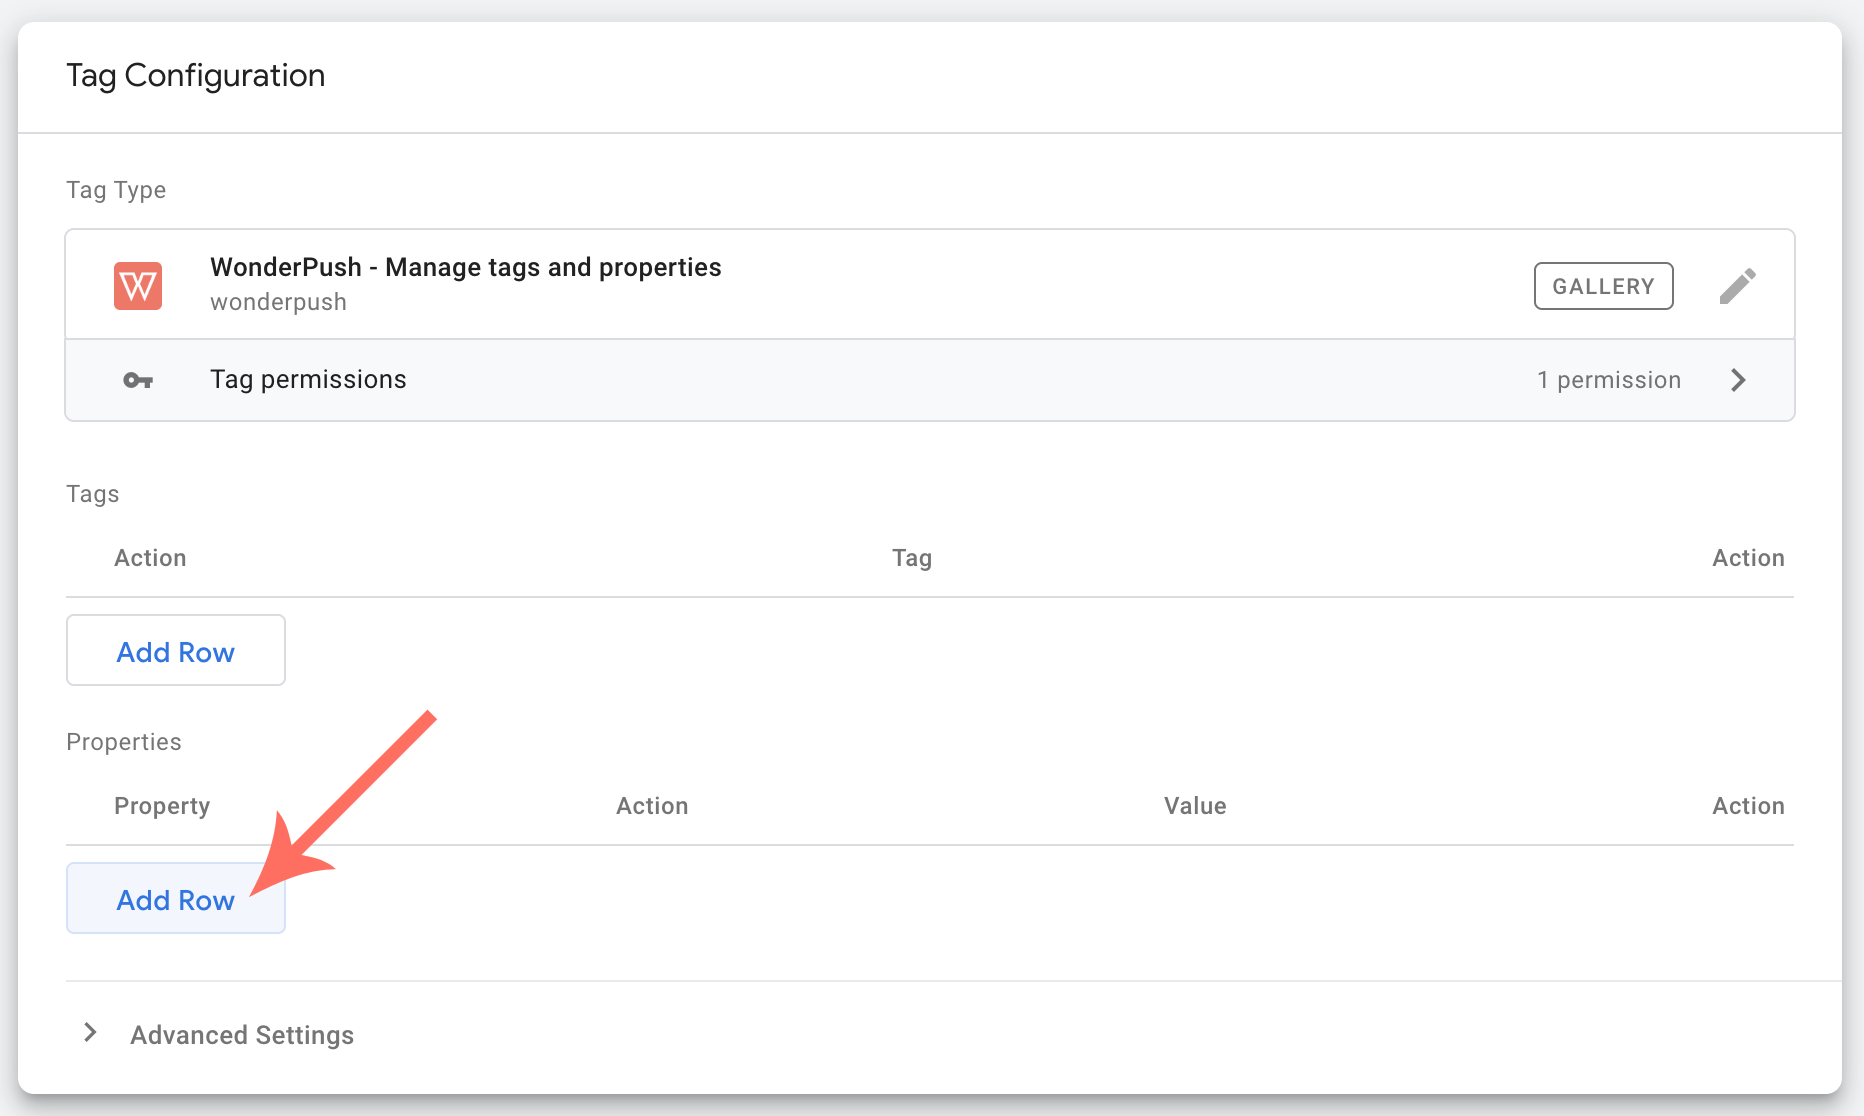
You will then be presented with our template. Click “Add row” in the Properties section:
Enter your property name and value:
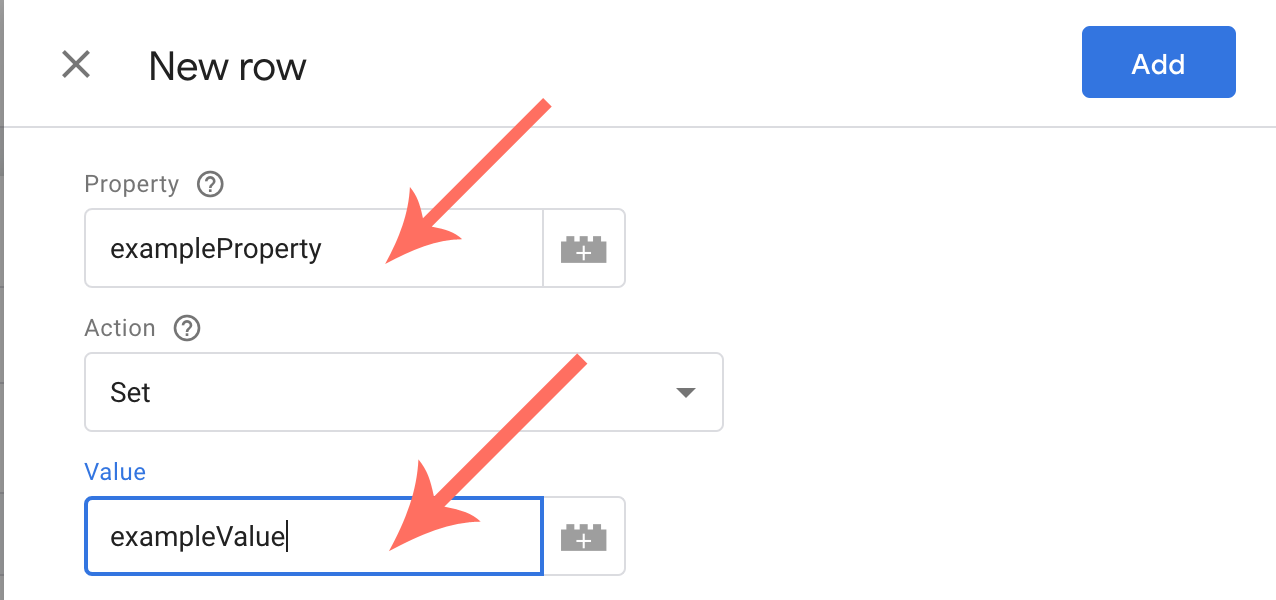
Please note that you can choose any global variable available to your Google Tag Manager container in this field by clicking on the “Add variable” button:
Add a trigger for your Google Manager Tag:
In Google Tag Manager, a trigger listens to your web page or mobile app for certain types of events like form submissions, button clicks, or page views. The trigger tells the tag to fire when the specified event is detected. Complete documentation on triggers is available on Google.
There are various built-in triggers (you can also add your own):
Once you're done with selecting an appropriate trigger, Save your Google Manager tag:
And you're done! Go test your changes and verify you see your property in your Installation detail page.
Sending events
Events are a simple way to mark users and easily create segments.
Using our Tag Template, you can send events based on triggers of your choice.
For example, you can send an event every time a user make a purchase.
To get started with sending events, create a new Google Tag Manager tag based on our "Track event" community template. Go to your Google Tag Manager project and choose "Add a new tag":
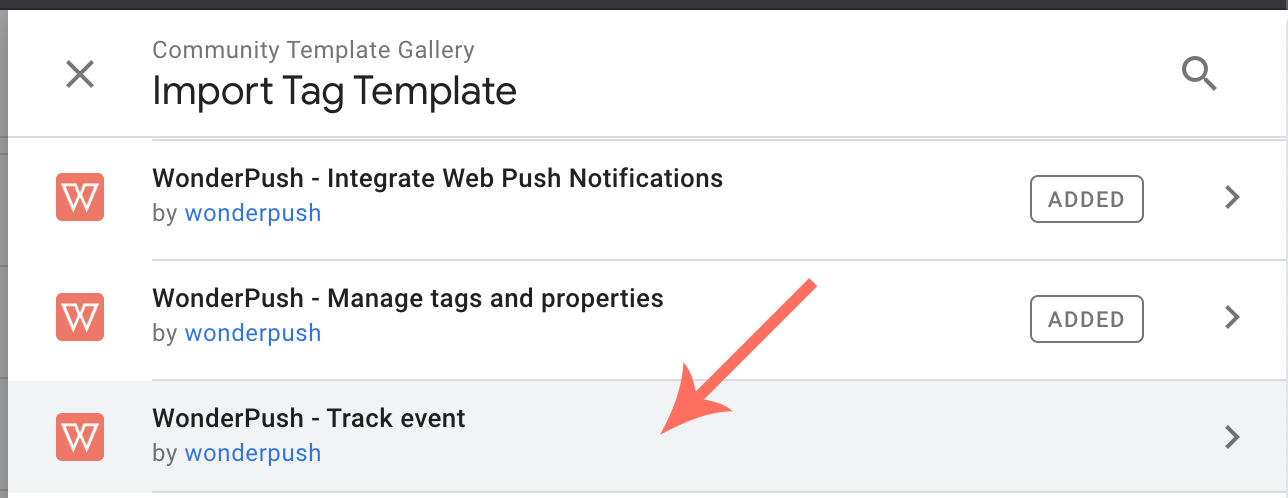
Navigate to the “Community Template Gallery”:
Choose “WonderPush - Manage tags and properties”:
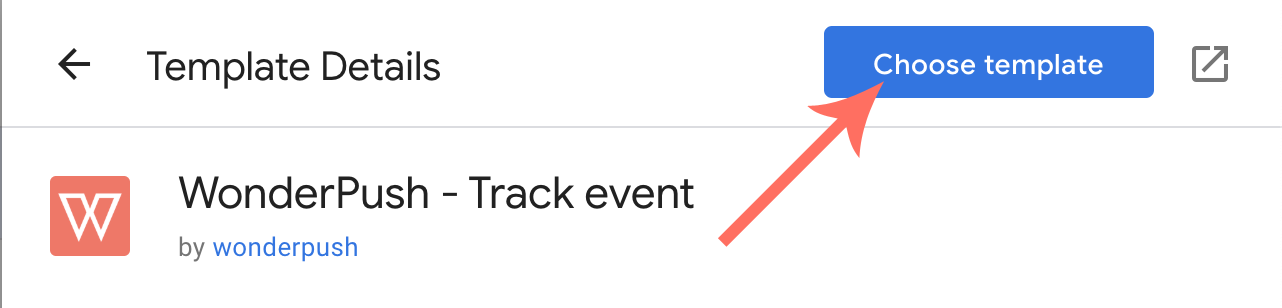
Confirm your choice by clicking “Choose template”:
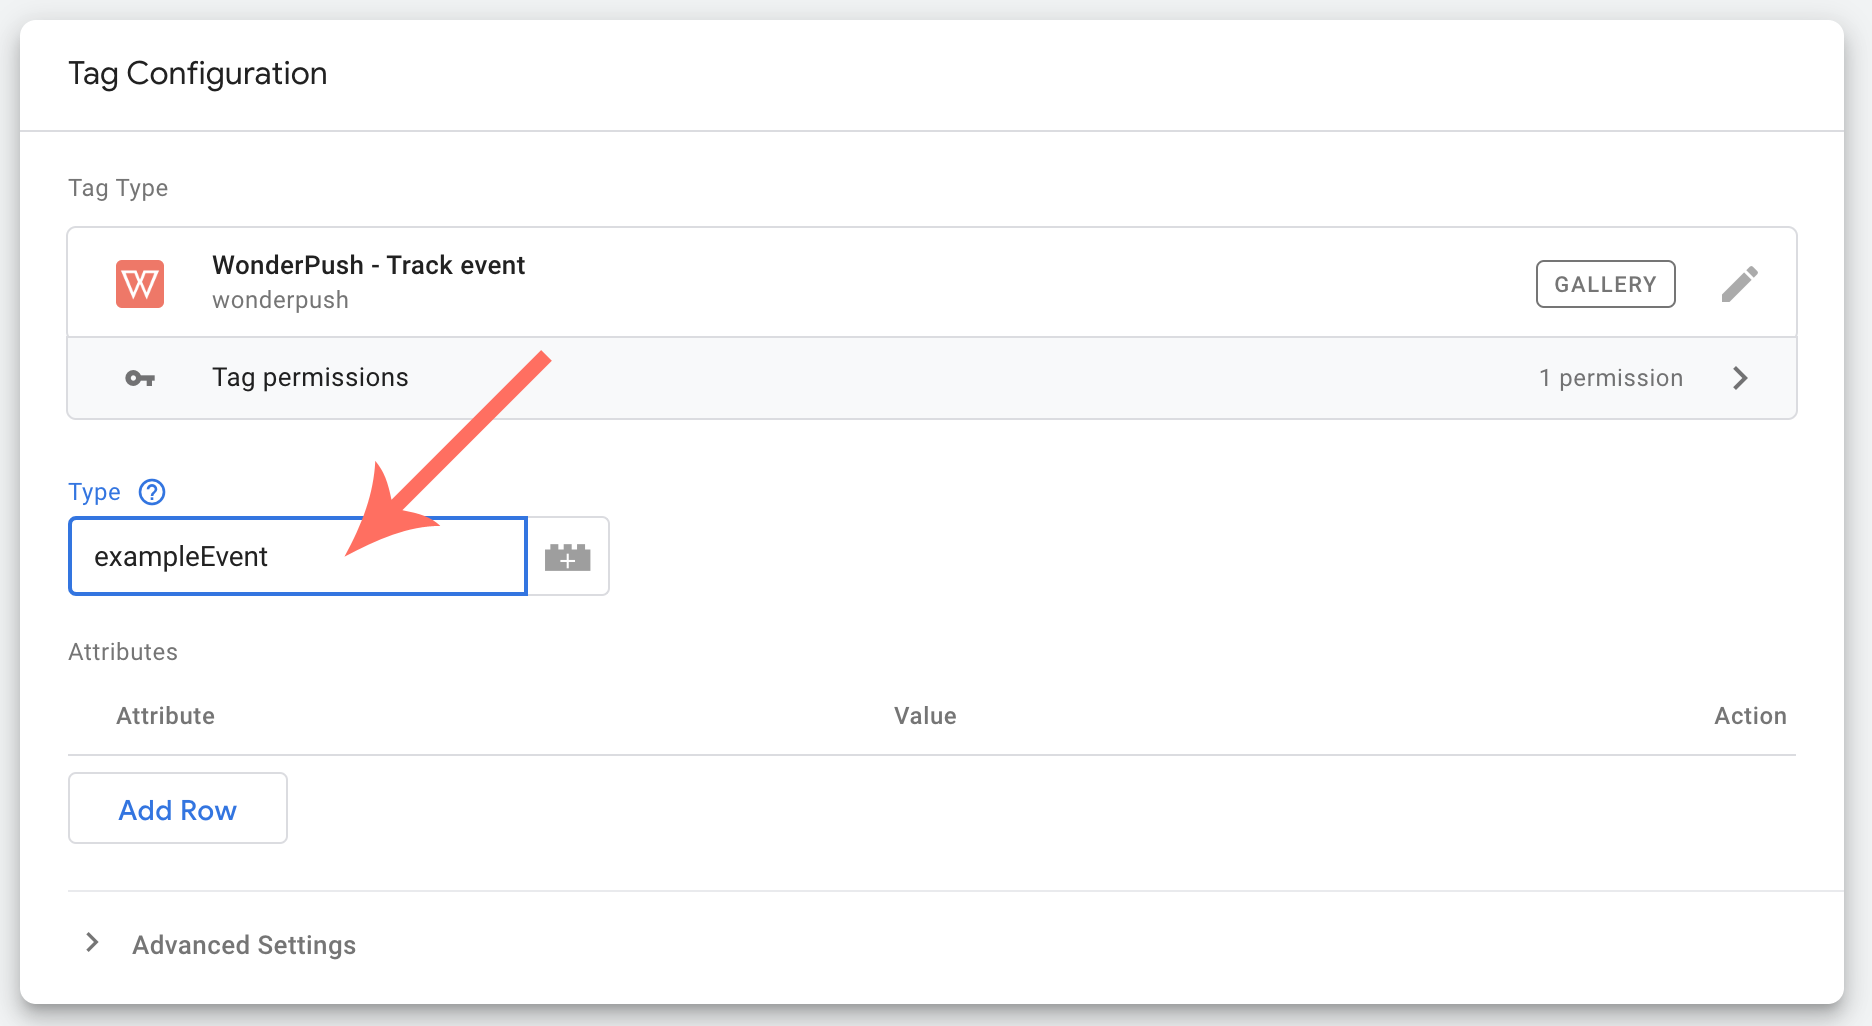
You will then be presented with our template. Fill in the event type:
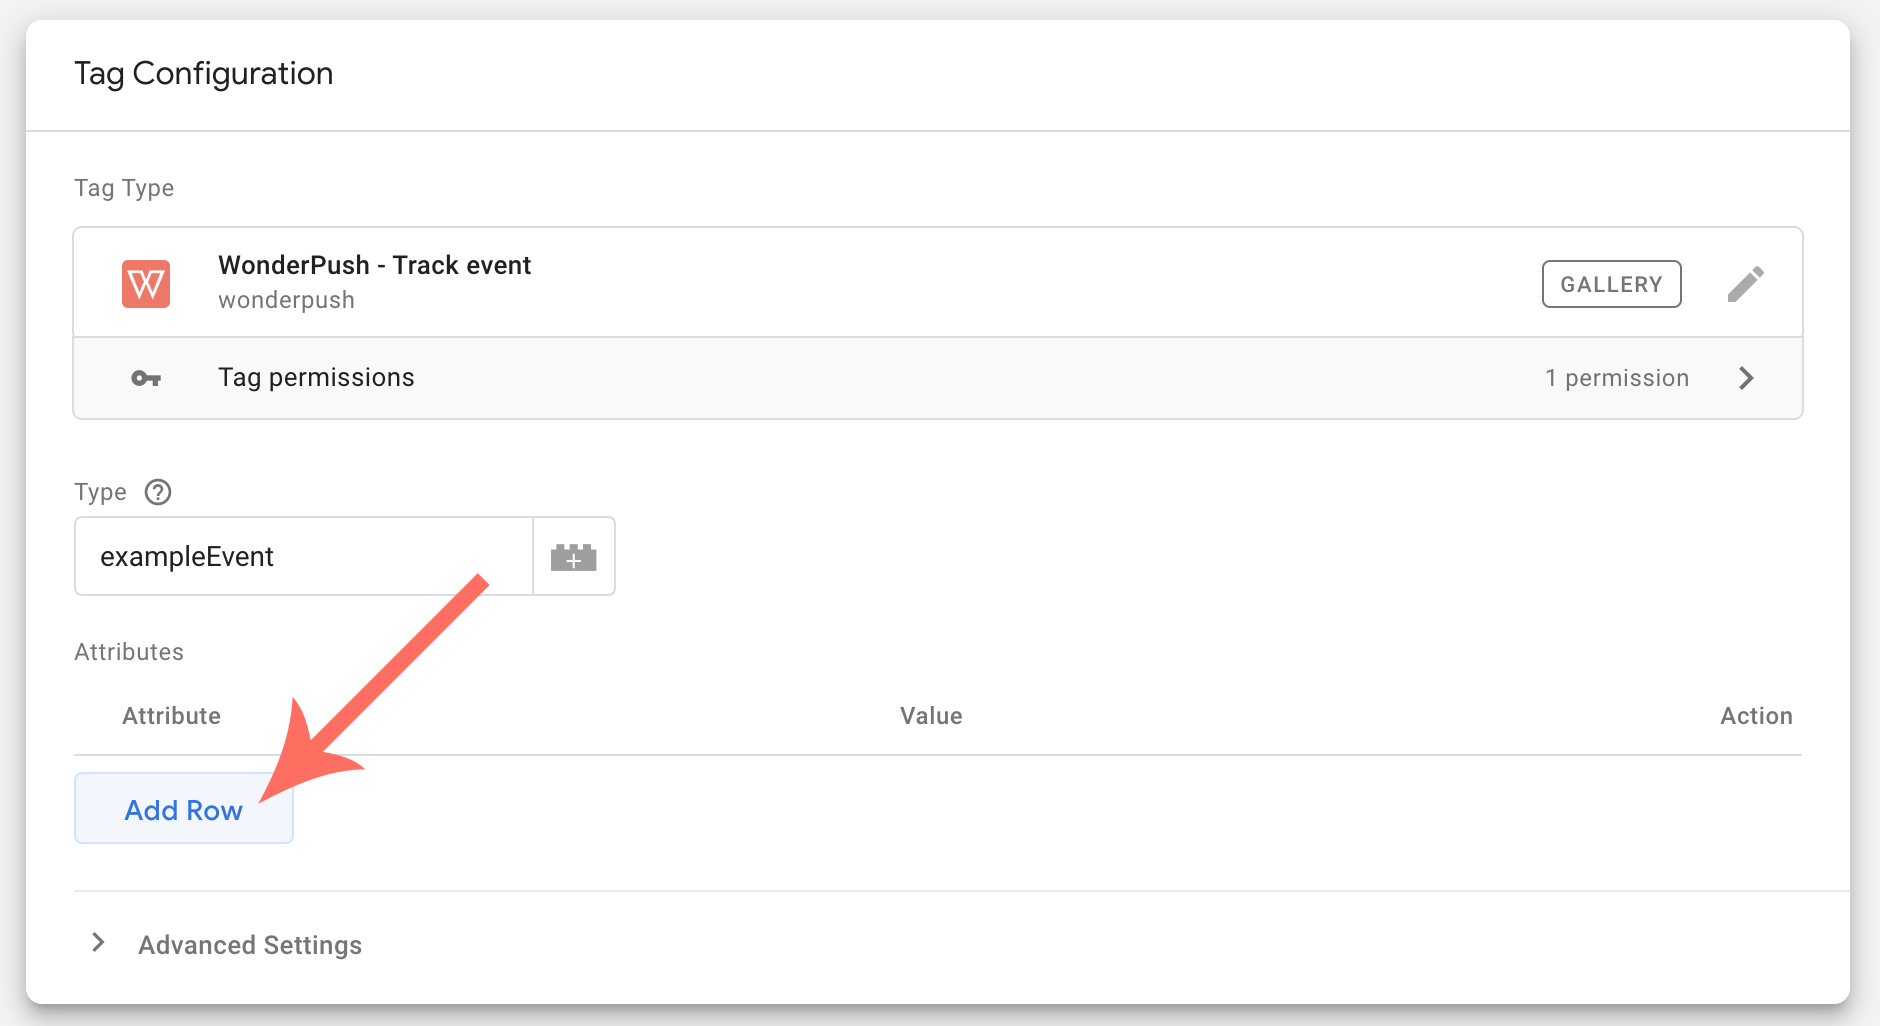
You can add attributes to your event by clicking the “Add Row” button in the attributes section:
Enter the attribute name (which must be prefixed by its type, like string_, see Events ) and value:
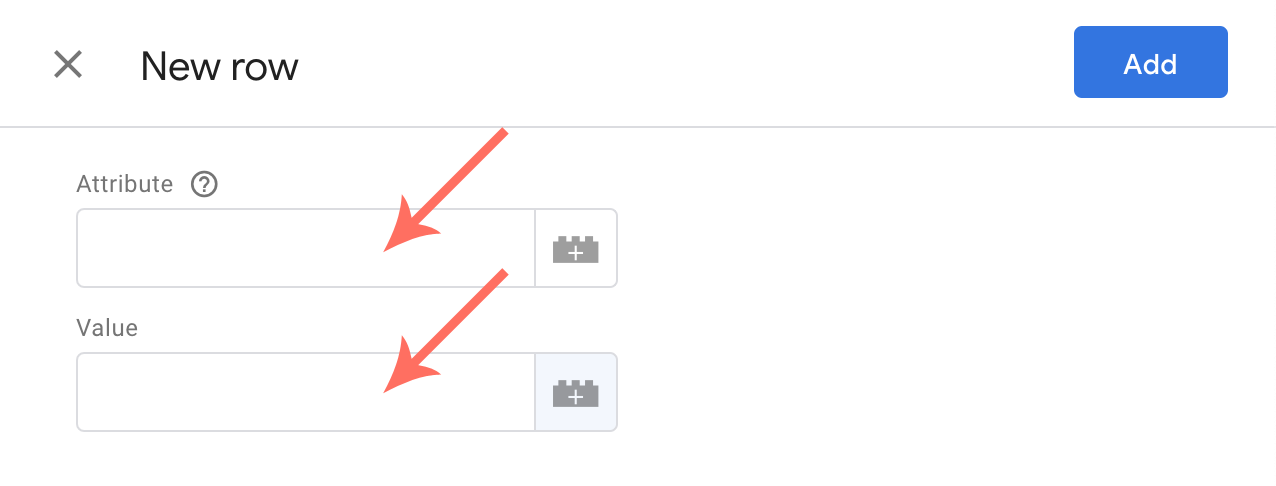
Please note that you can choose any global variable available to your Google Tag Manager container in this field by clicking on the “Add variable” button:
Add a trigger for your Google Manager Tag:
In Google Tag Manager, a trigger listens to your web page or mobile app for certain types of events like form submissions, button clicks, or page views. The trigger tells the tag to fire when the specified event is detected. Complete documentation on triggers is available on Google.
There are various built-in triggers (you can also add your own):
Once you're done with selecting an appropriate trigger, Save your Google Manager tag:
And you're done! Go test your changes and verify you see your event in your Installation detail page.