
Cordova Push Notifications
How to set up WonderPush push notifications on Cordova cross-platform apps
Install push notifications in Cordova apps in 4 steps
Setting up push notifications for your Cordova app is easy. Push notifications are the ideal solution to re-engage users and bring them back to your app.
Estimated setup time: 5 minutes.
Prerequisites
You'll need:
- NodeJS
- Cordova v9+
- For Android:
- A device or emulator with Google Play services installed and up-to-date
- A Firebase account
- For iOS:
- XCode
- An iOS device such as an iPhone or an iPad
- An iOS push credentials
If you haven't already, sign up for a free account on wonderpush.com.
To upgrade to the latest version of our SDK, follow these instructions.
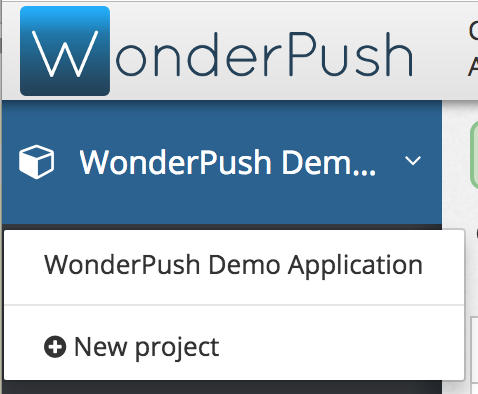
Step 1. Create your project
Click on New Project:
Choose a name for your project and select Android and iOS as platforms then click Create:
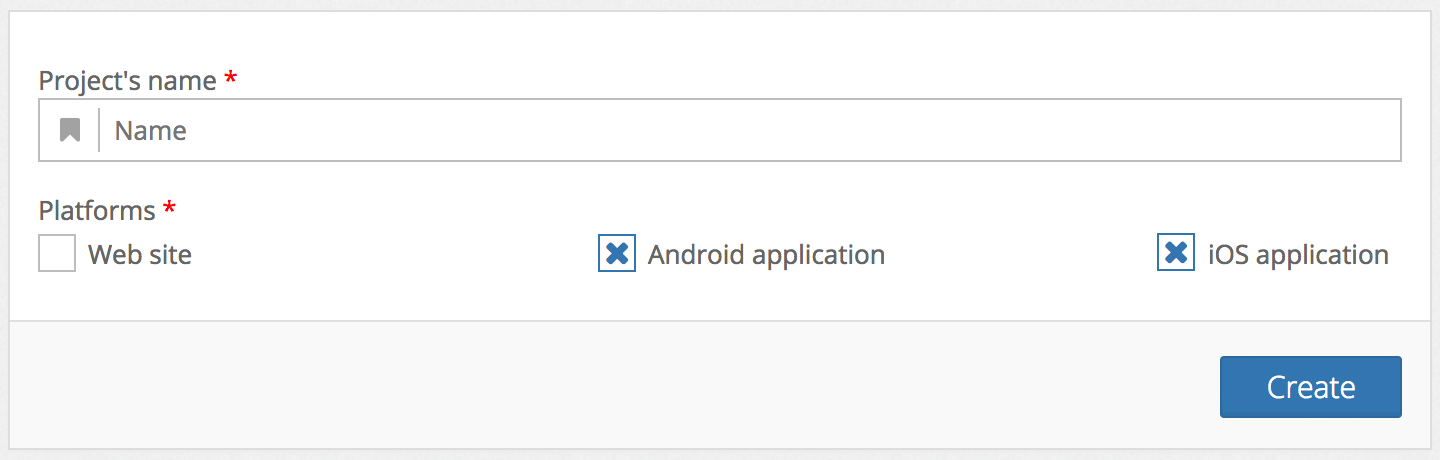
Already have a project?Just add the Android or iOS platforms to any existing project by going to Settings, selecting the first tab named after your project and clicking Edit. You'll be presented a form that lets you add a platform.
Step 2. Setup your push credentials
Android - Add your Firebase credentials
Follow the steps outlined in the Firebase / Filling the Firebase credentials in the WonderPush dashboard article.
Keep note of your Project number, also known as the Sender ID, as you will need in the below steps.
iOS - Upload your push credentials
Get your Apple key with the Apple Push Notifications service (APNs) service enabled. You can list your existing keys here. Simply check the Enabled Services and note the Key ID as well as the Team ID displayed below your name in the top-right corner.
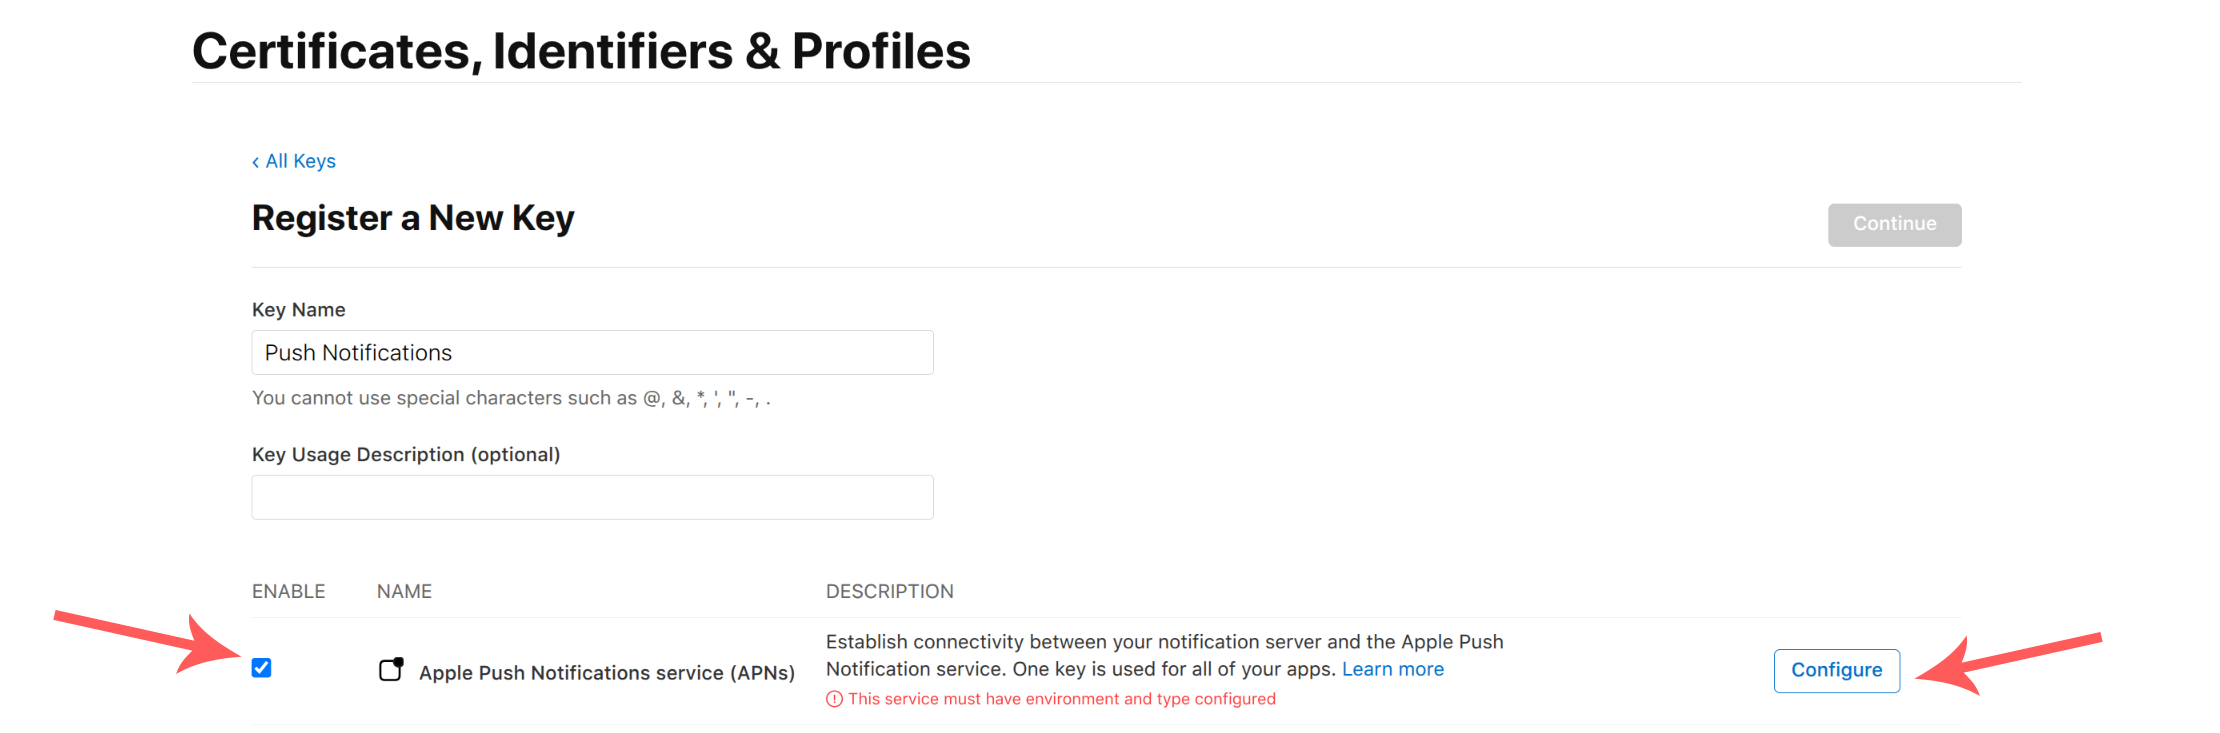
If you don't have one, here's how to create one. In a few words, head to the Apple developer website, go to Accounts, then click on Keys in the Certificates, Identifiers & Profiles column, and click the + button on the top left to add a new key.
Check Apple Push Notifications service (APNs), then click Configure:
Then in the Environment drop-down, select both: Sandbox & Production, and click Save.
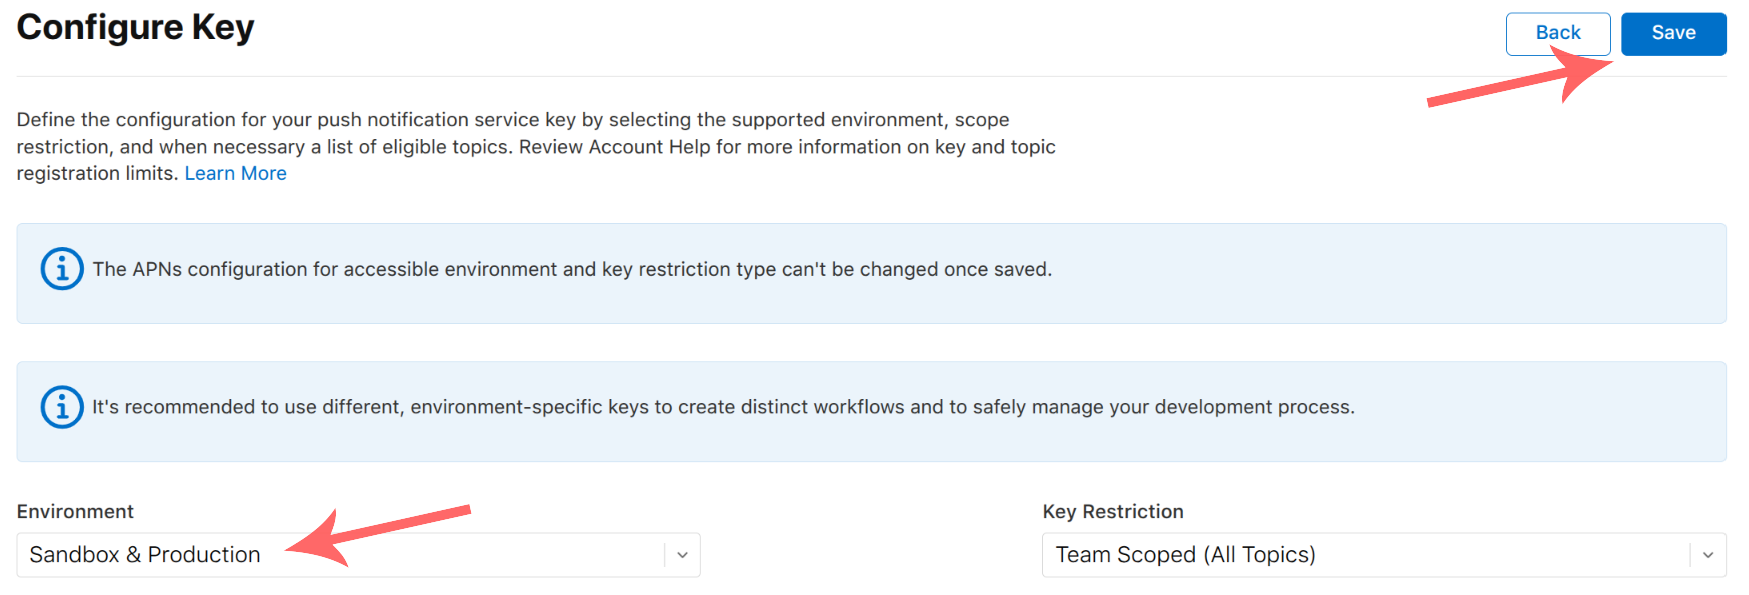
Once back on the previous screen, click Continue.
In the next screen click Register.
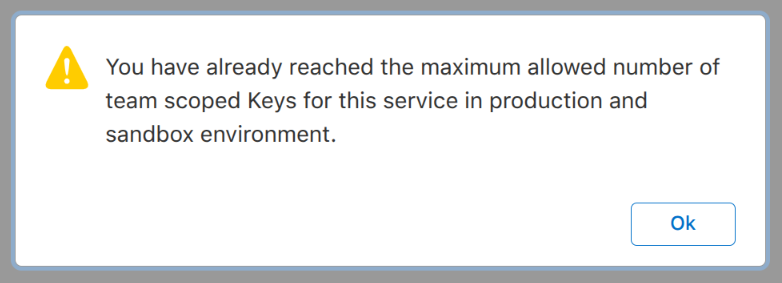
If you see a dialog telling you “You have already reached the maximum allowed number of team scoped Keys for this service in production and sandbox environment.”, this means that you should instead reuse an existing key. As Apple will not let you download the key again after its registration, you will need to use for the
.p8file that you downloaded at that time.
How should Apple keys be managed for the Apple Push Notifications service (APNs)Apple imposes a maximum of 2 keys simultaneously valid for the Apple Push Notifications service (APNs). Such keys are valid for all applications (Bundle ID or App ID) on your account (Team ID).
Limiting to 2 keys enables you to have one key used for all your push notification needs across all your WonderPush projects (you'll need to upload the same key for each of your projects) or even push providers, and perform a rolling replacement of your key with no downtime.
You would create a second key, temporarily having 2 valid keys at a time, replace every WonderPush project or services that need to send push notifications, and finally revoke the previous key, leaving you again with a single existing key.
In the next screen click Register.
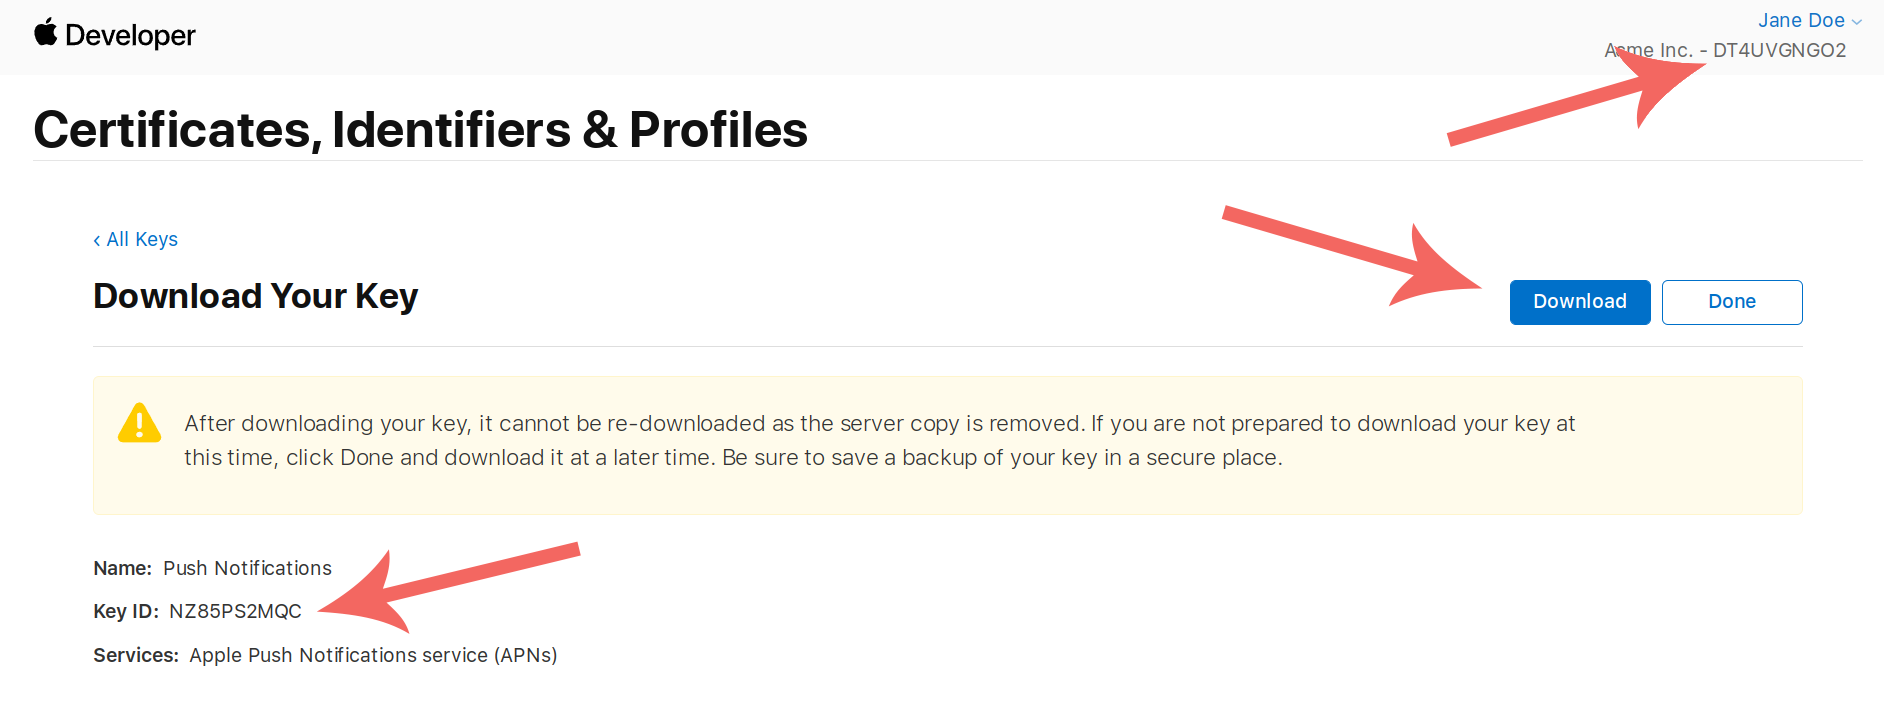
In the next screen, note your Key ID, and your Team ID in the top right corner.
Then click Download. Please do keep this.p8 file in a secure location (see the above callout about key management.)
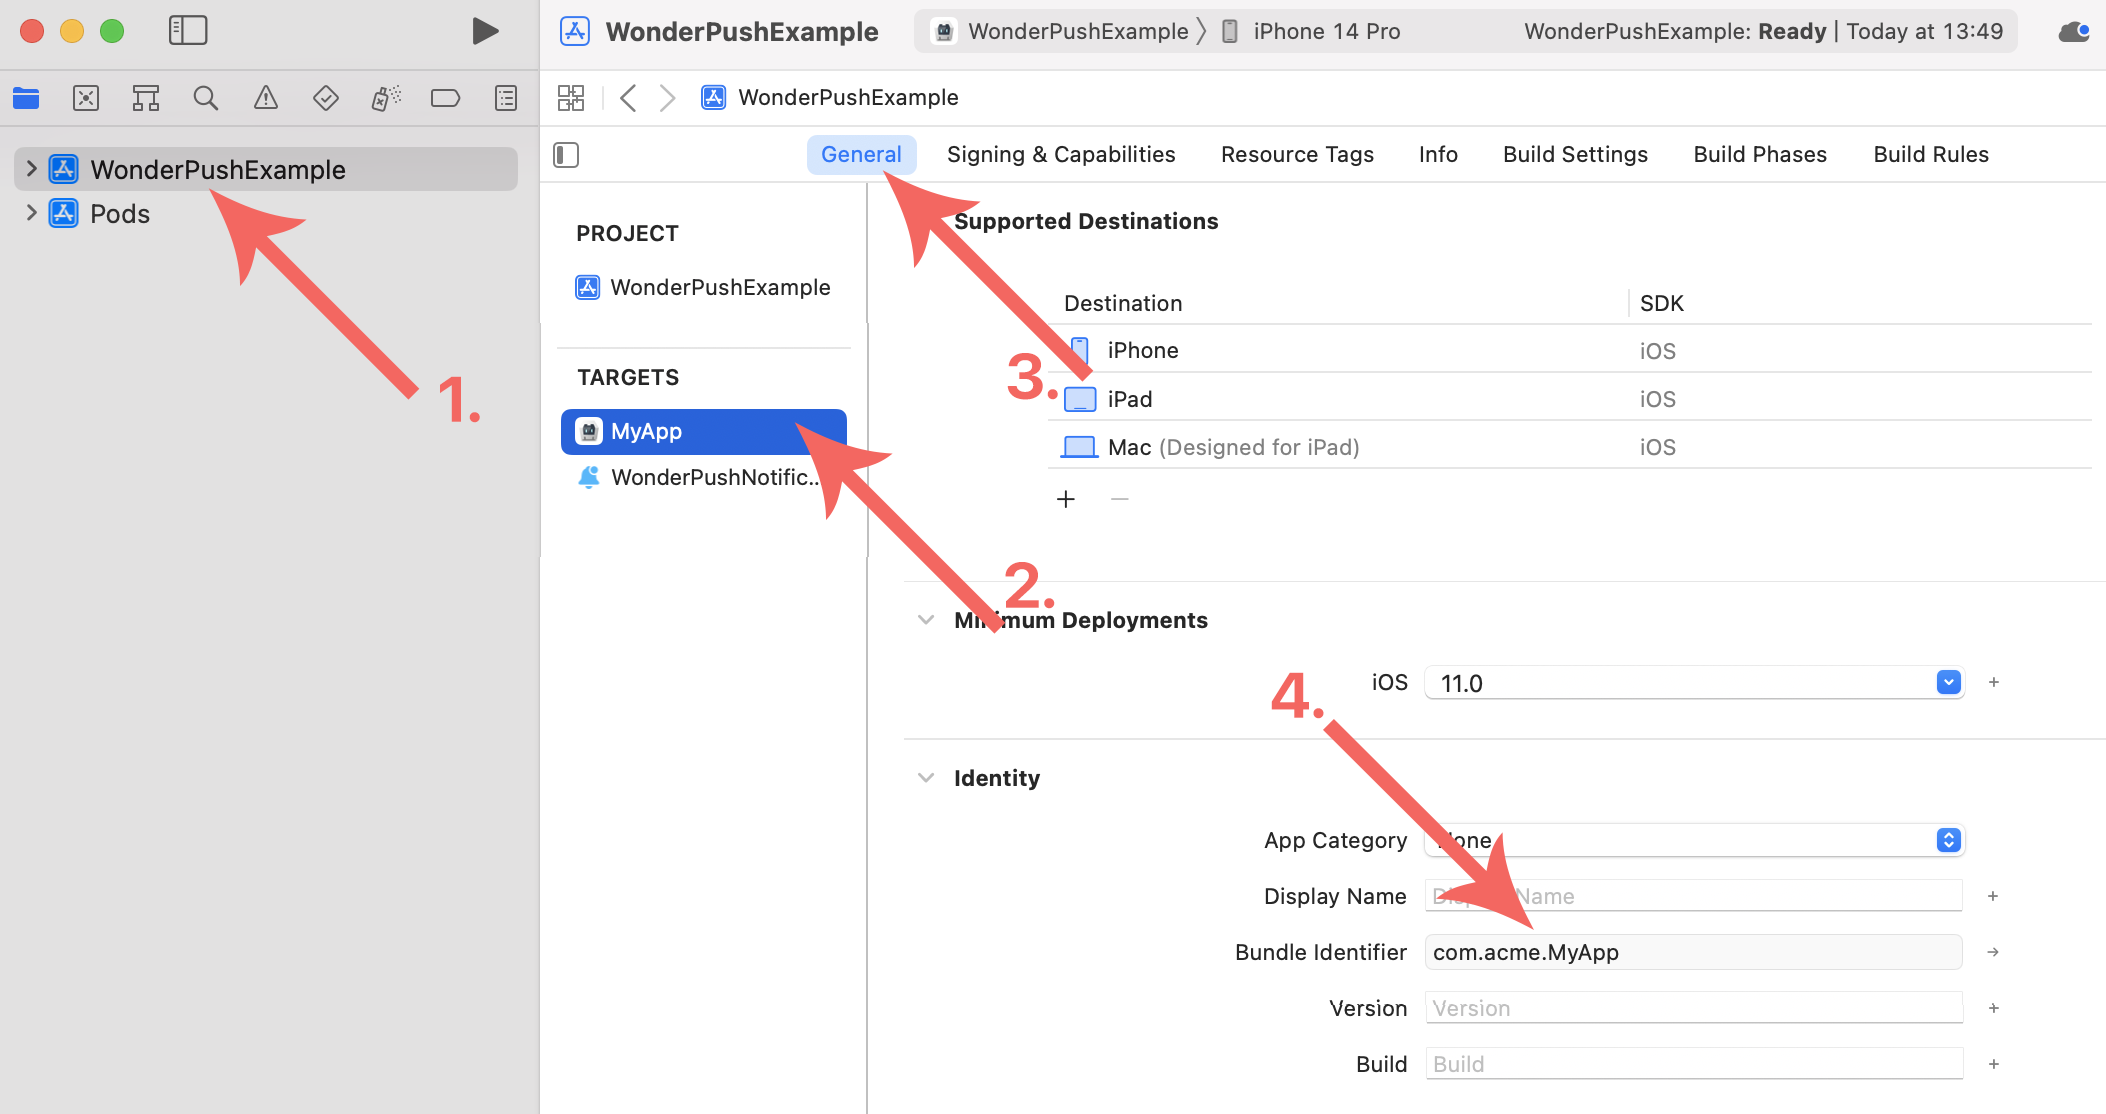
You will then need to know your Bundle ID:
- Open your project in Xcode
- Click on your project in the file browser on the left
- Click on your app target in the list
- Open the General tab
- Your Bundle identifier (aka Bundle ID) is in the Identity section
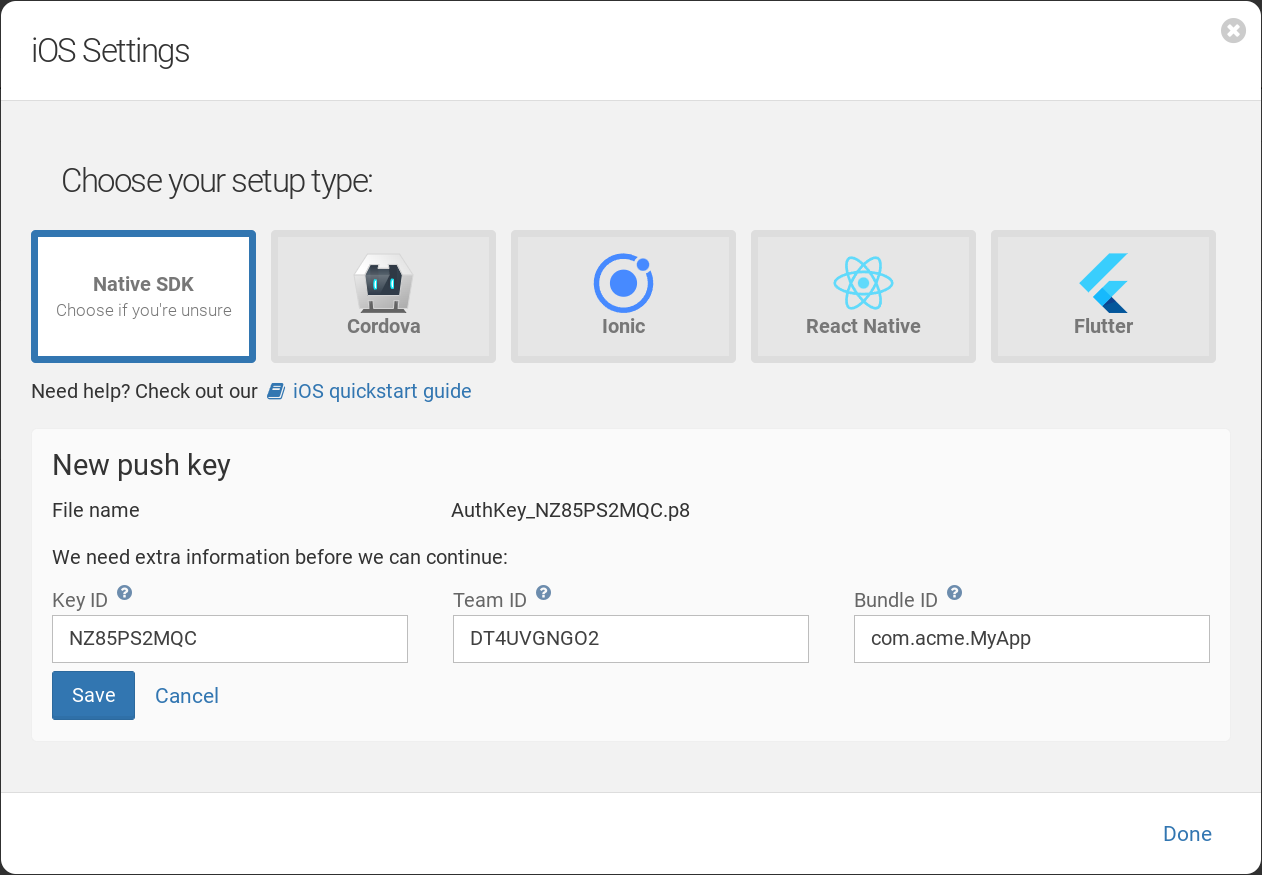
Now go to Settings / Platforms, click the iOS application section title and fill drop your .p8 file:
- Fill the Key ID, Team ID and Bundle ID if necessary. Check their values if they are pre-filled.
- Click Save.
iOS - Setup automatic provisioning
Provisioning is required to run your app on an actual iOS device or submit your app to the AppStore.
Cordova can setup automatic provisioning via a build.json file in the root folder of your project:
{
    "ios": {
        "debug": {
            "codeSignIdentity": "iPhone Developer",
            "developmentTeam": "YOUR_TEAM_ID",
            "packageType": "development",
...
A full and up-to-date build.json is available the Cordova website.
We recommend setting up automatic provisioning. Please note that the Notification Service Extension will need to be signed with its own application identifier and automatic provisioning sets it up for you.
Here's a typical error message when the extension is not correctly provisioned:
Provisioning profile "XXX" has app ID "YYY", which does not match the bundle ID "YYY.WonderPushNotificationServiceExtension".Step 3. Add the SDK
Create your cordova application if you haven't already, see the official Cordova guide for more details.
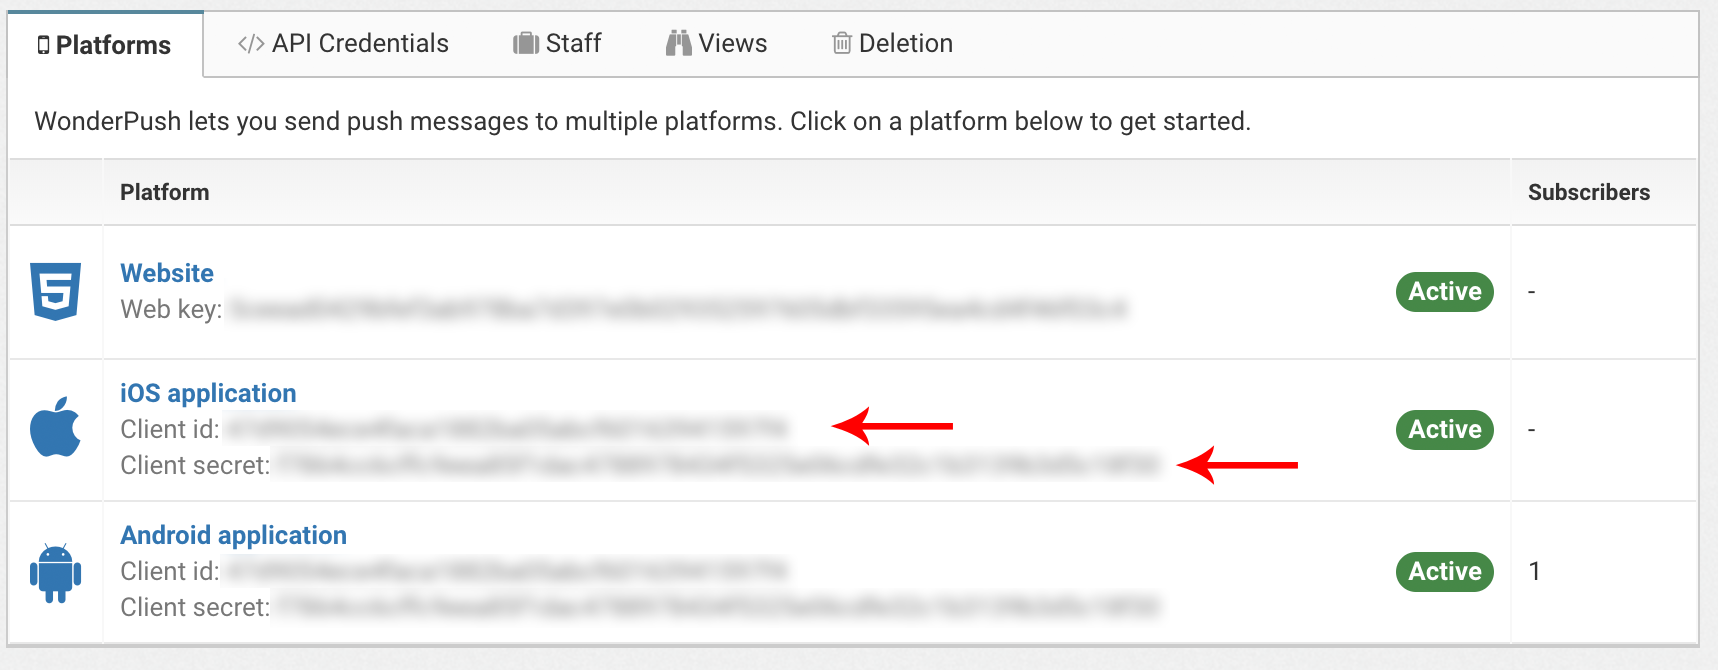
Take note of your Client ID and Client Secret from the Platforms tab of the Settings page:
Now run the following command:
cordova plugin add wonderpush-cordova-sdk --variable CLIENT_ID=YOUR_CLIENT_ID --variable CLIENT_SECRET=YOUR_CLIENT_SECRET
cordova plugin add wonderpush-cordova-sdk-fcm --variable SENDER_ID=YOUR_SENDER_ID
Replace YOUR_CLIENT_ID and YOUR_CLIENT_SECRET with the appropriate values you find in the Platforms tab of the Settings page, in the Android application or iOS application section.\
Replace YOUR_SENDER_ID with the Firebase Sender ID from step 2.
Huawei mobiles supportBecause Huawei mobiles no longer ship with Google Play Services necessary for using Firebase Cloud Messaging, you will need to follow the Huawei mobiles support guide to support them.
iOS apps: Do you already have your Notification Service Extension?Look for a colored message in your output that warns you that the Notification Service Extension could not have been added automatically.\ Look at our Adding a Notification Service Extension guide for the manual steps required.
If you do not follow these steps, you won't be able to use iOS 10 rich notifications, but everything else would work normally.
Step 4. Add required code
Let's add the code that will prompt users to subscribe to push notifications. We recommend you place this code in a more suitable moment in the user journey, but we'll do it at launch time for now. In your www/js/index.js file:
function onDeviceReady() {
  // Prompt user for push subscription
  WonderPush.subscribeToNotifications();
}
// In this example, we'll prompt the user as soon as the 'deviceready' event is fired
// There's good chances you'll find a more suitable moment in the user journey
document.addEventListener('deviceready', onDeviceReady);
Controlling the Android 13+ permission prompt timingIn order to control when the permission prompt is triggered when running on Android 13 devices, you will need to update your
config.xmlto use:<platform name="android"> <preference name="android-targetSdkVersion" value="33" /> </platform>Then run the following command for Cordova to recreate necessary files in the Android project:
cordova prepare androidIf you do not do so, the user will be prompted for permission right at application launch.
Setup AndroidX
Starting v3.0+, WonderPush uses, and requires you to use Android X. If your app is already using AndroidX, just skip to the congratulations below: you're done!
Otherwise, read on: it's an easy migration.
Open your package.json and take note of the version of cordova-android it is using in the dependencies.
Using AndroidX with cordova-android v9.0+
Make sure you have enabled AndroidX by adding the following line in your config.xml in the Android platform:
<platform name="android">
  <preference name="AndroidXEnabled" value="true" />
</platform>
Using AndroidX with cordova-android v8.0+
Run the following command to add AndroidX support:
cordova plugin add cordova-plugin-androidx --saveEdit your config.xml and make sure you use 21 as the android-minSdkVersion, or add the following line:
<platform name="android">
  <preference name="android-minSdkVersion" value="21" />
</platform>
Receive your first push!
Build & run your application and get the permission prompt you've configured:\ 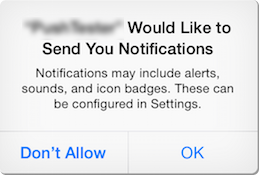
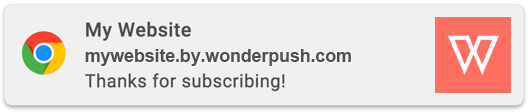
Wait a couple of minutes and receive the default welcome notification:
Congratulations, you're done!
Updated 10 months ago