
Google Tag Manager Push Notifications
How to set up WonderPush Web Push notifications using Google Tag Manager
Configure Web push notifications with GTM
If your website integrates Google Tag Manager, adding web push to your site doesn't require any coding. All you'll have to do is add a new tag based on the WonderPush community template published by Google.
Estimated setup time: 5 minutes.
If you haven't already, sign up for a free account on wonderpush.com.
This guide is for websites that use Google Tag Manager. For typical websites, please refer to this Web Push installation guide
Before we start: create your project
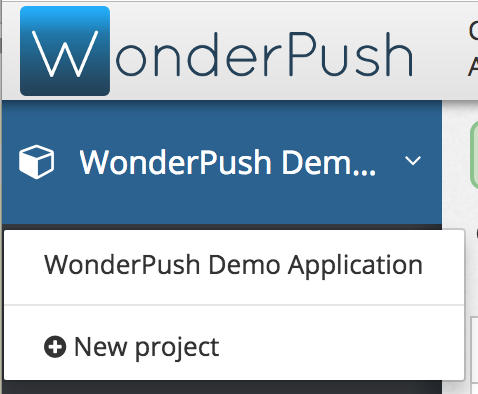
Click on New Project:
Choose a name for your project and select Website as a platform then click Create:
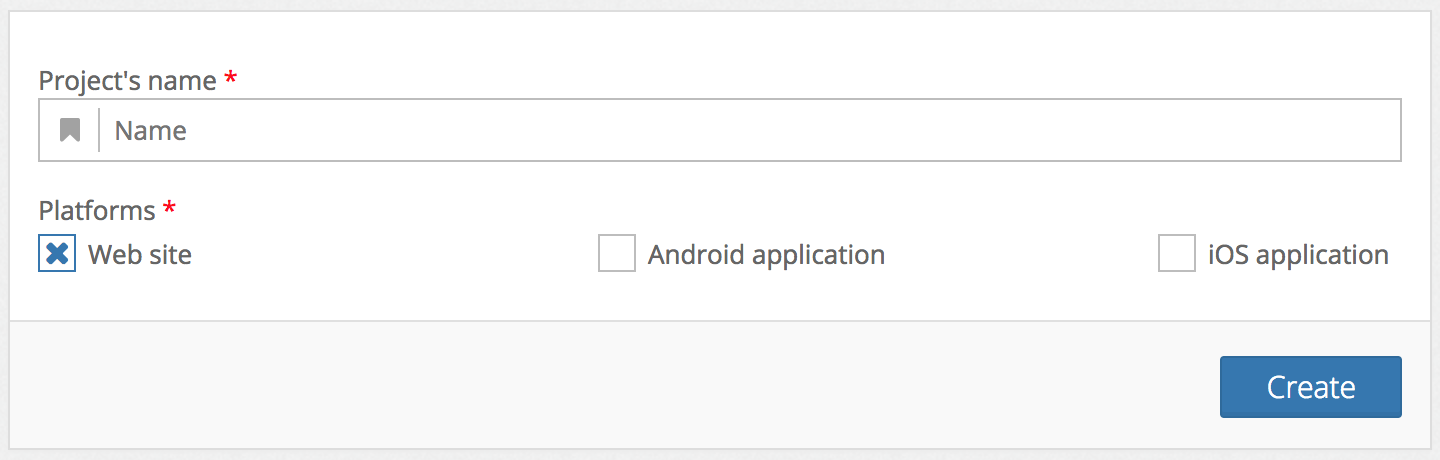
Already have a project?Just add the Website platform to any existing project by going to Settings, selecting the first tab named after your project and clicking Edit. You'll be presented a form that lets you add a platform.
Step 1. Fill-in website information
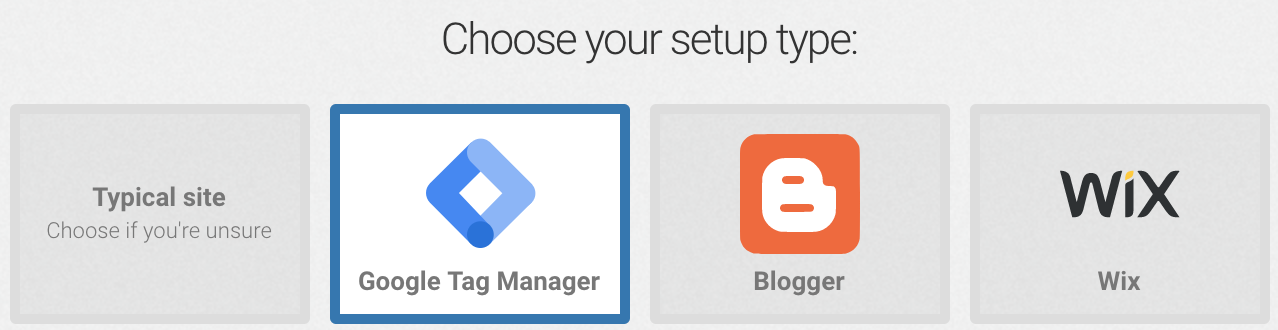
Choose the Google Tag Manager setup type.
Enter website information:
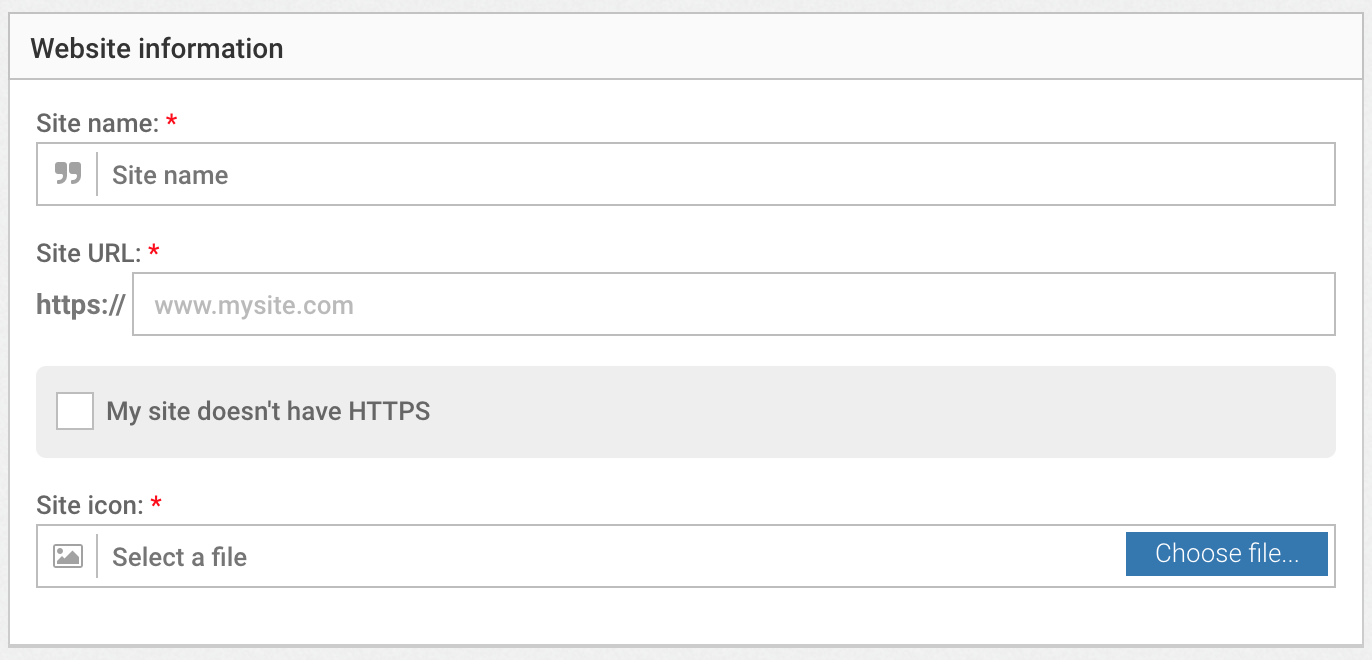
Site name
Enter the name of your website. This name might be displayed when users subscribe to push notifications.
Site URL
Enter the base URL of your site (e.g. https://example.com). This will be the default URL users will be redirected to when they click on a notification.
If your site is accessible from both www. and non-www. URLs (e.g. example.com and www.example.com) we recommend you redirect traffic to one of the URLs and use that to fill-in the URL field.
Enter Icon
Enter the URL to your website icon or choose a file from your computer. Your website icon will be displayed in notifications. It should be a square image file. Prefer HTTPS.
My site doesn't have HTTPS
If your site doesn't have HTTPS, check this box. Please note that HTTPS certificates are FREE these days, and very easy to install. Take a look at let's encrypt.
HTTPS is required for push notifications to work, and fortunately WonderPush can provide you with a free HTTPS enabled domain.
Choose an HTTPS notification domain.

About the push notification domain
Your push notification domain will be displayed in every notification you send:\ 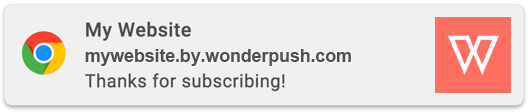
In this example, the notification domain is mywebsite.by.wonderpush.com.
When users subscribe to push notifications, they grant your domain the permission to send them push notifications. When you change the push notification domain, users have to subscribe again!
For these reasons, it is especially important to choose the right push notification domain from the start.
Using your own domain\ Recommended
This is the best option. It is only available for HTTPS websites. If your website does not support HTTPS, or if you can't upload SDK files, use .by.wonderpush.com.
Using aby.wonderpush.com subdomain
If your site does not support HTTPS, or if you can't upload SDK files, that's your only option.
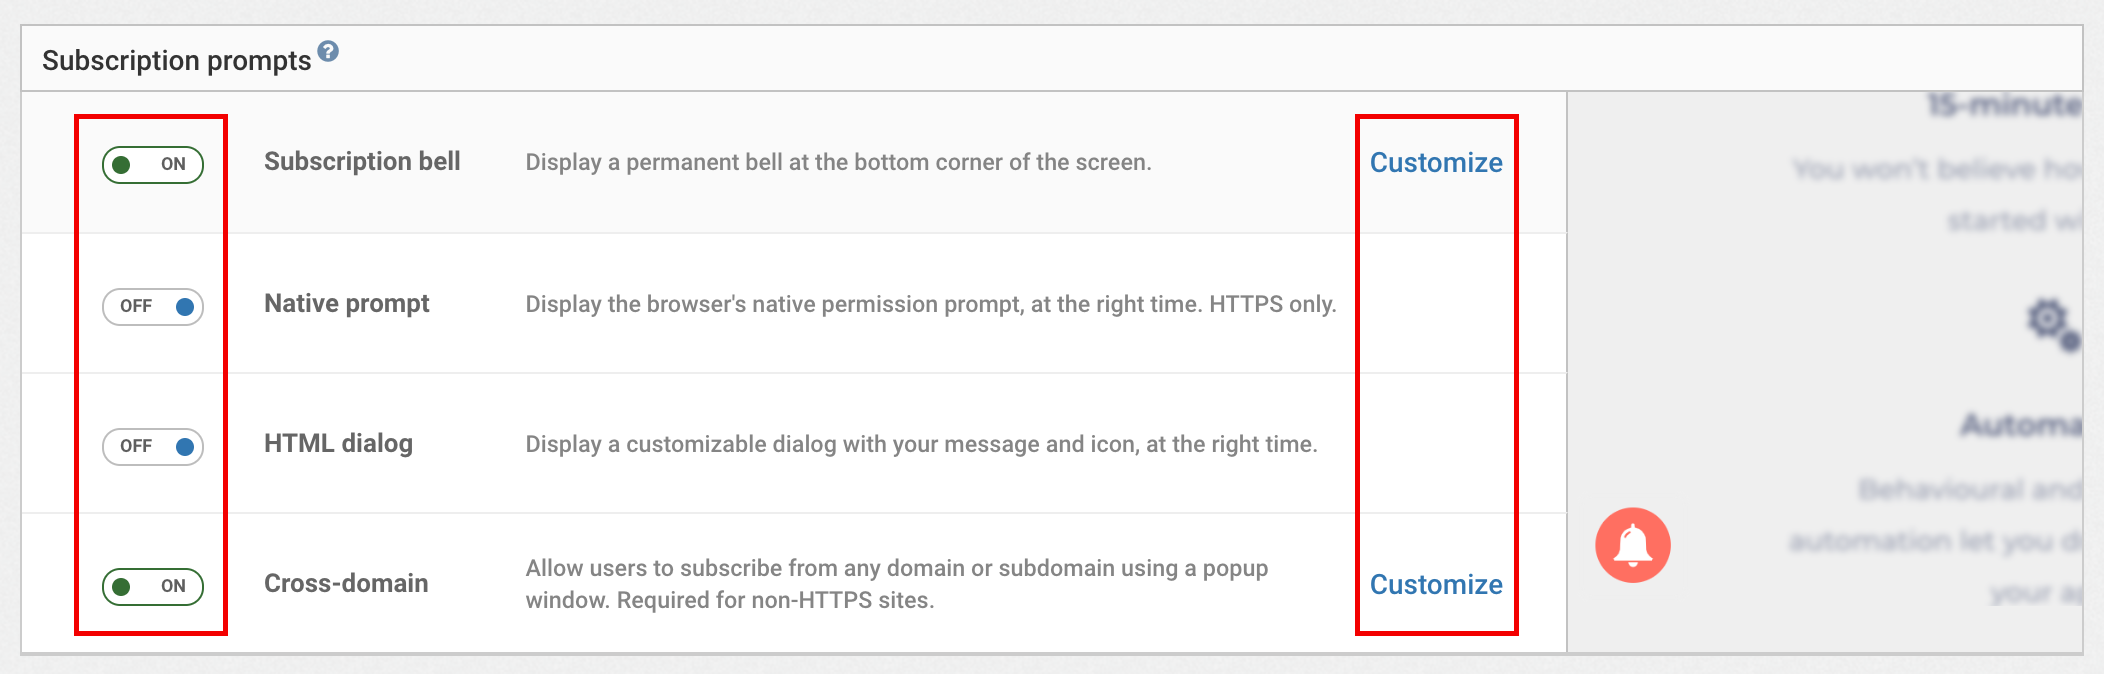
Step 2. Configure subscription prompts
In this section, you can configure subscription prompts for your website. Subscription prompts are ready-made user-interfaces you can use to let users subscribe to push notifications.
To activate a subscription prompt, simply click the switch in front of its name so that it shows as ON. To customize it, click on Customize.
You can find out more about subscription prompts in our dedicated guide.
Hit Save.
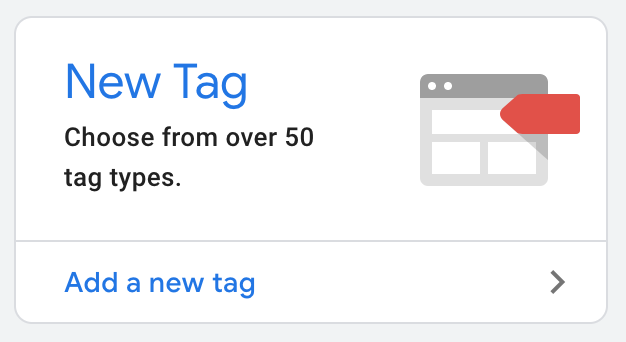
Step 3. Add new tag
Log-in to Google Tag Manager, navigate to your account and click "Add new tag":
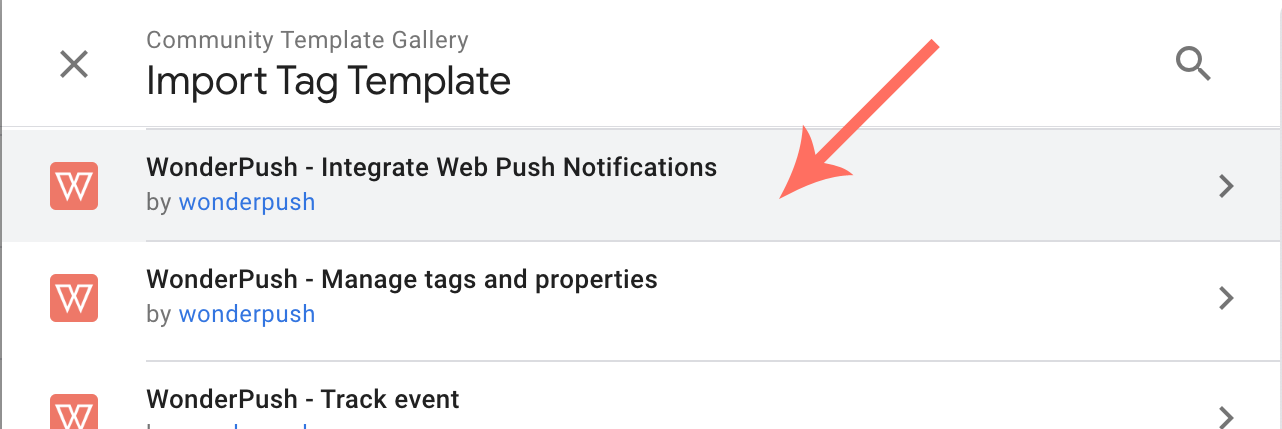
Navigate to the “Community Template Gallery”:
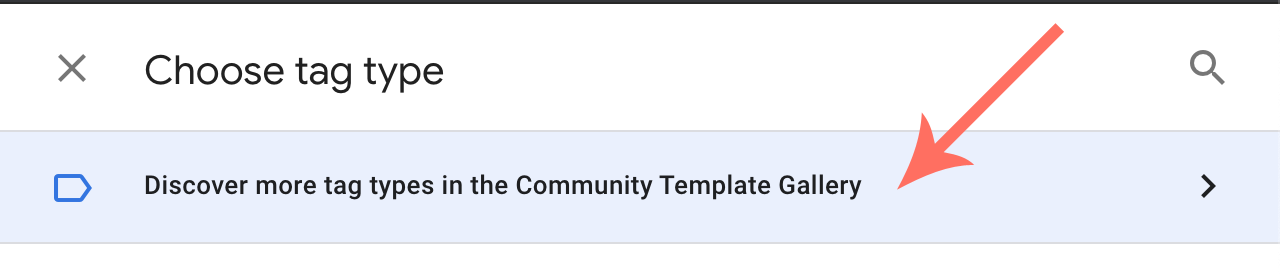
Choose the WonderPush - Integrate Web Push Notifications tag template:
Click on Add to workspace:
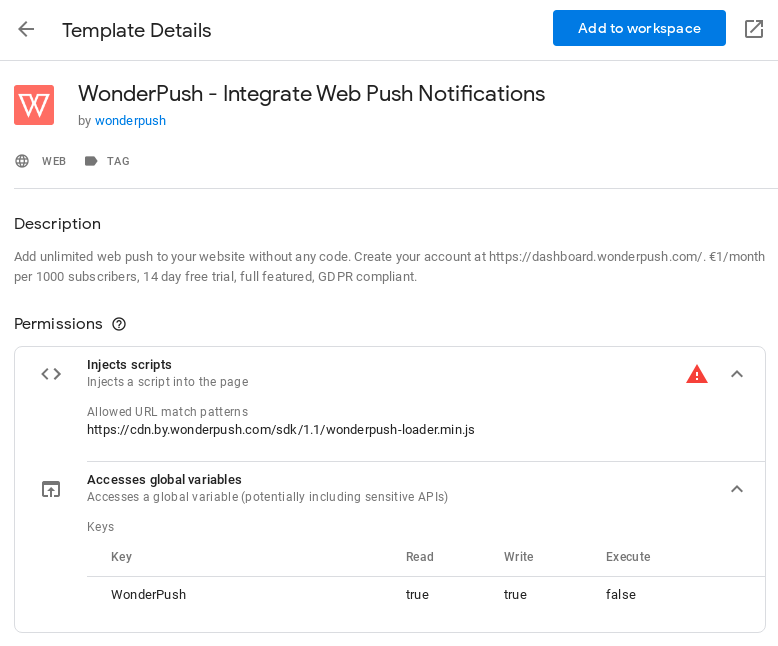
What's this red triangle you see?The message says:
Attention: This template can load potentially unsafe 3rd-party scripts into your website. All loaded scripts are not sandboxed and will have full access to the content on your page. Use this template only if you trust the author.
This simply means that Google Tag Manager does not vouch for any 3rd-party scripts added to your page, in this case our SDK.
You can safely ignore this warning.
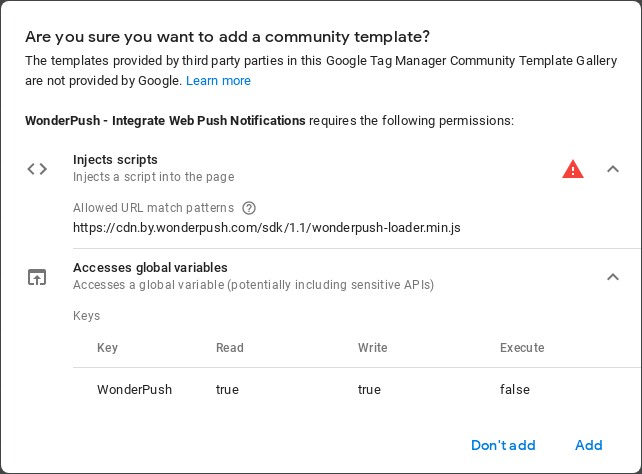
Inside the popup, click Add:
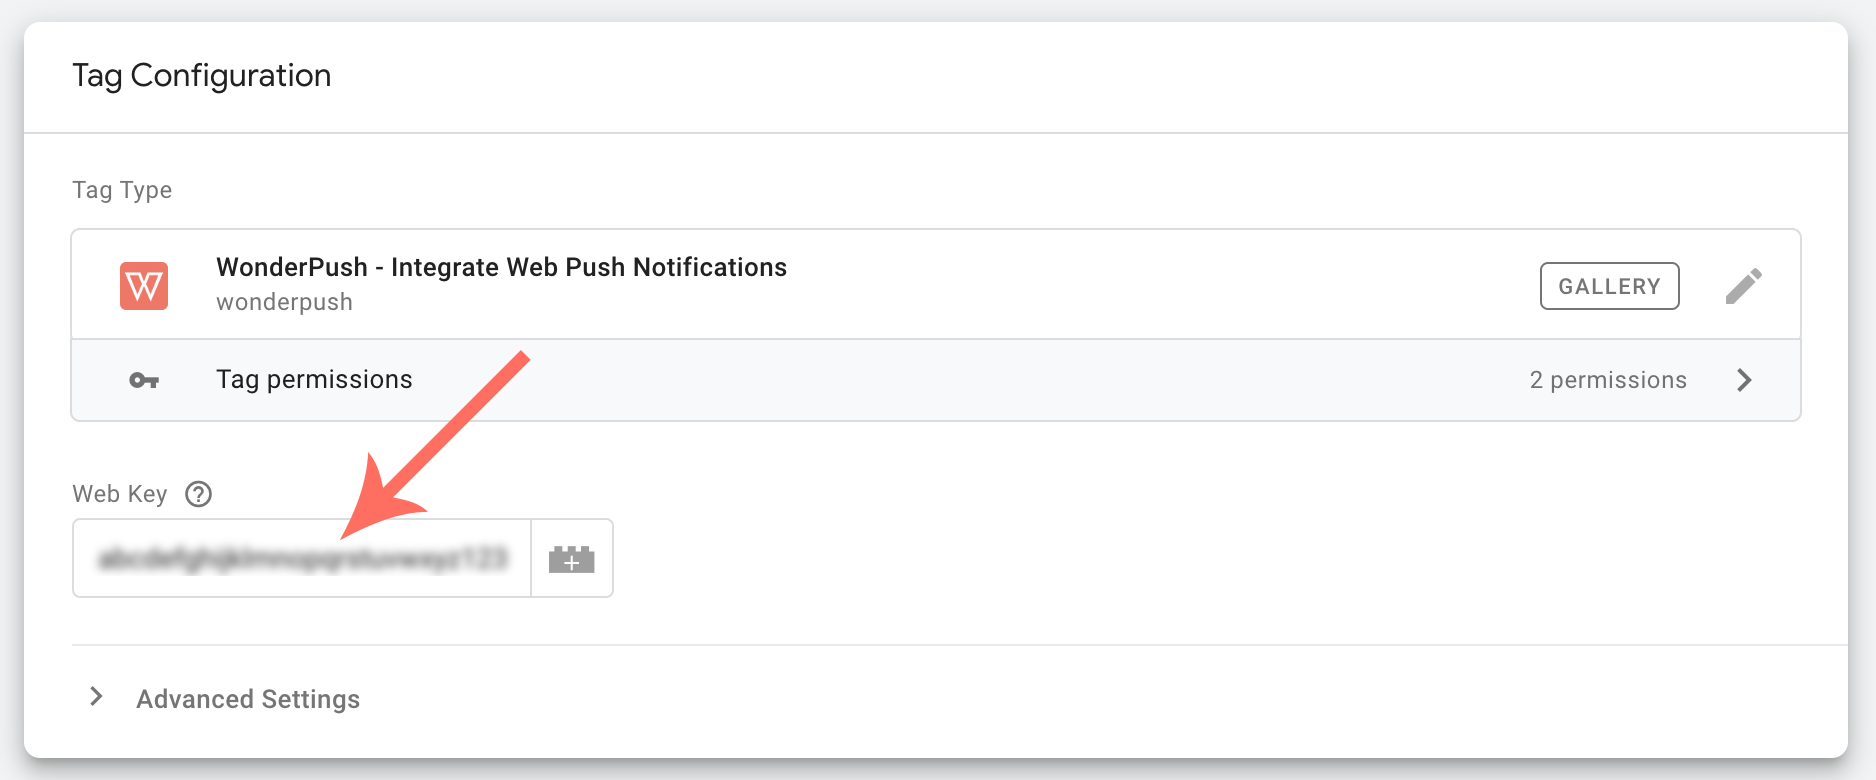
Fill in your web key (you can find your web key on the Platforms page):
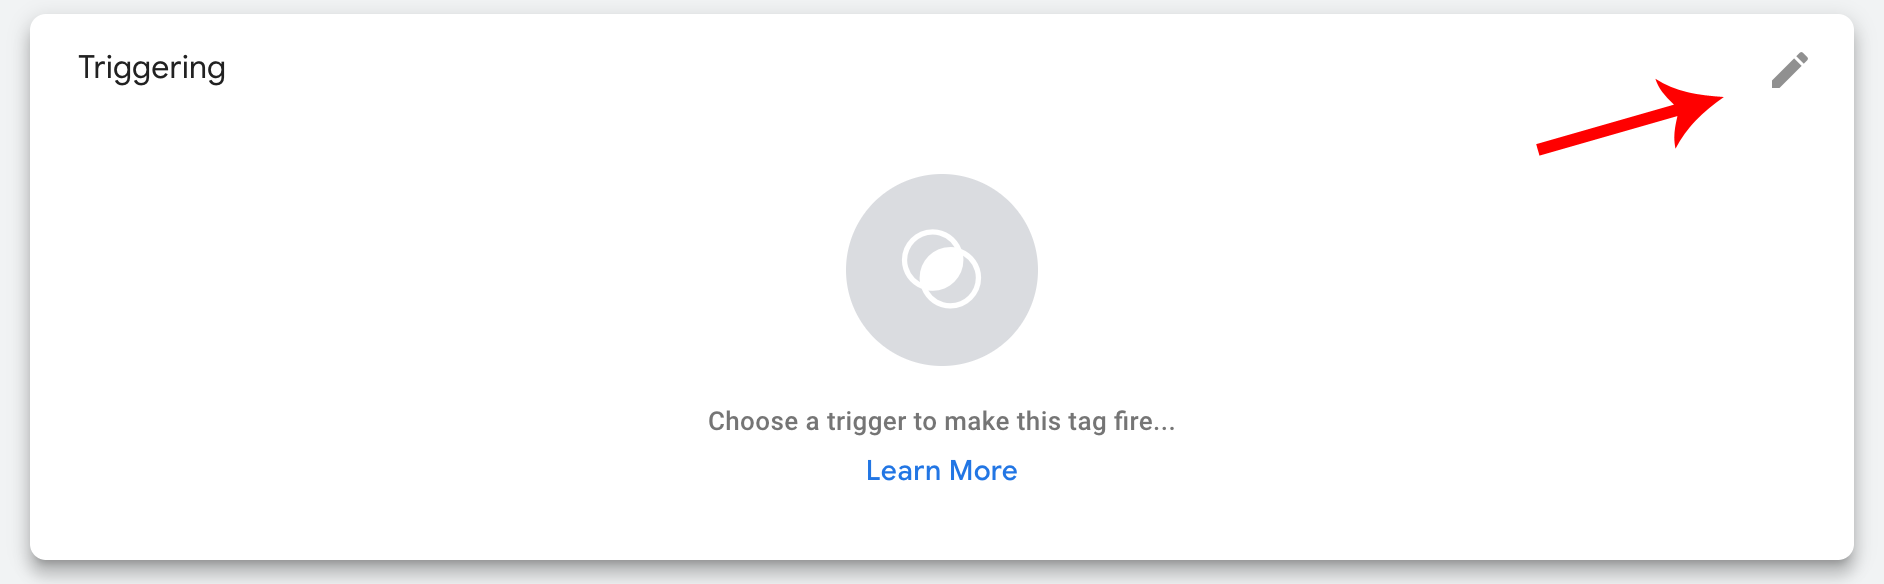
Add a trigger:
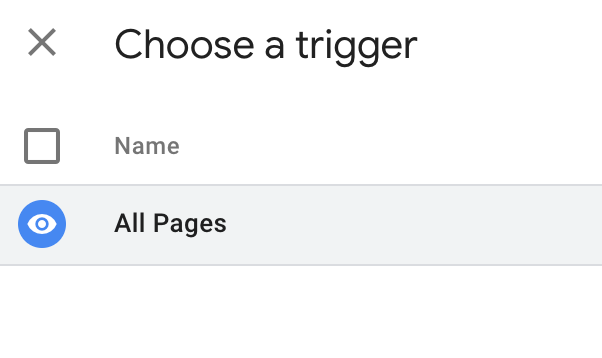
Choose All Pages:
Publish
Publish your changes by clicking on the Submit button in the upper right corner of the page:\ 
Step 4. Upload SDK files
Ignore if your push notification domain is a subdomain ofby.wonderpush.comSubdomains of
by.wonderpush.comdo not need any extra files. Skip to the next step.
-
Download wonderpush-sdk-files.zip
-
Unzip the archive and upload its content to the top-level root of your website directory to make it publicly accessible.
Once you've uploaded both files, the following URLs should be publicly accessible (replace example.com with your site domain):
https://example.com/wonderpush.min.htmlhttps://example.com/wonderpush-worker-loader.min.js
If you cannot upload SDK files in the root directory, you have the option to put them in a subdirectory:

Receive your first push!
Head over to your website and refresh the page until you see the subscription dialog and click the Subscribe button:

Wait a couple of minutes and receive the default welcome notification:
Congratulations, you're done!
Updated 12 months ago
What’s Next
Customize your subscription prompt using one of our pre-made UIs. Set properties on users and send events using our Website SDK (javascript).