
AMP Web Push setup for WordPress
Setup web push notifications on your AMP WordPress website
Setting up AMP Web Push notifications on WordPress is easy thanks to our WordPress plugin.
This guide is for WordPress site owners. If your AMP website isn't built on WordPress, you can still get web push notifications by following our AMP Web Push Quickstart guide.
Step 1. Set up WonderPush
If you haven't already, follow our WordPress Quickstart guide to setup WonderPush on your WordPress site.
Step 2. Set up AMP
WonderPush supports the following AMP plugins for WordPress:
Both these plugins are very popular, full-featured and well tested. If you're using another plugin or have implemented your own AMP support, stop here and follow our AMP Web Push Quickstart guide.
Step 3. Configure AMP
If you've setup WonderPush and AMP with one of the above plugins, then AMP support is already active on your site, congratulations!
To customize your AMP web push support, head over to the WonderPush plugin configuration page of your WordPress admin and scroll down to the AMP settings section:
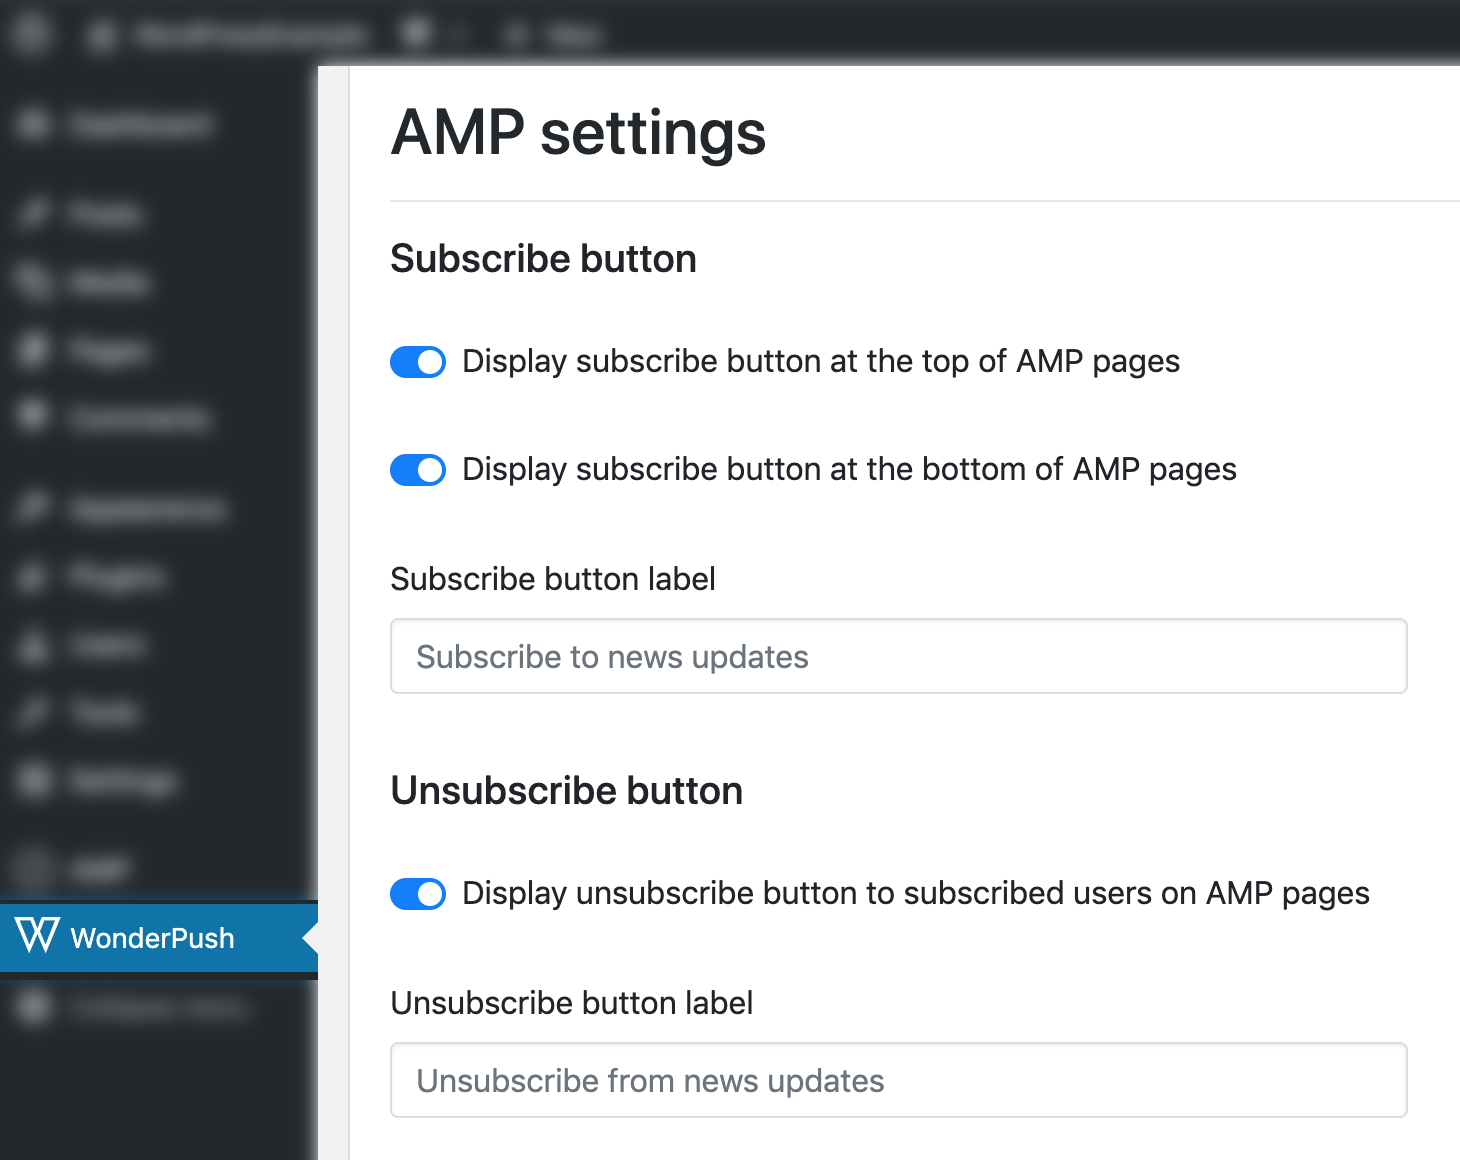
From there, you'll be able to choose among various settings including:
- whether to display a subscribe button at the top of the AMP pages, at the bottom or both,
- whether to display an unsubscribe button,
- adjusting the size of the subscription buttons.
Tip: you can add custom subscription buttons with HTML as described on the AMP documentation. Here's a basic example:
<amp-web-push-widget visibility="unsubscribed"
  layout="fixed"
  width="500"
  height="70">
  <button on="tap:amp-web-push.subscribe">Subscribe to Notifications</button>
</amp-web-push-widget>
That's it! AMP Web Push support is complete on your WordPress site.