
Toast popup template
A banner that lets users interact with the rest of the page and auto-dismisses after 10 seconds.
The toast is the closest thing to a notification while browsing. It is displayed to the user at the key moment of his navigation and without forcing him to react immediately, unlike conventional pop-up windows. The toast like desktop notifications usually disappear automatically after a short time. The toast is particularly useful for announcing, for example, a new feature to certain users only. That's how we at WonderPush love to use it.

A toast on a desktop computer and a phone
Collected data
This popup does not collect data other than performance metrics.
Audience
By default, the audience is set to Everybody.

But you could limit the audience to users who haven't made any Reservation event yet.
You can further restrict the audience by adding more criteria by clicking "Add criteria". There is a complete reference of the data you can use to segment your audience, there is also a guide to get started with audience segmentation
Trigger
By default, the popup will show on the 2nd visit of the user, then on the 3rd visit after a minimum of 24 hours.

Triggering the popup immediately on first visit, then 24 hours later
Triggering when visitor visits specific pages
A common variant of this could be to trigger the Toast popup when users are visiting a subpart of your website only, for example subdomain.website.com. That would be done by setting the trigger to "When visitor visits specific URLs". Note that you can also exclude some URLs.

Triggering the popup when users visit subdomain.website.com
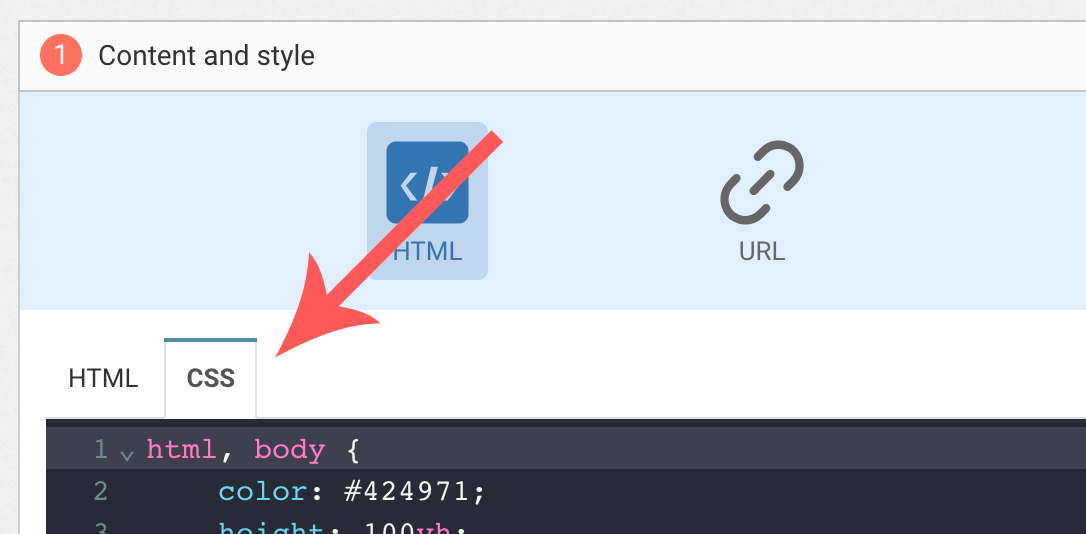
Adapting the content
This popup is made with HTML. While knowing a little HTML helps, we'll try to take you through the most common changes.
The reservation form template contains:
- a title, "Check out our brand new feature"
- a text, "We've just released it, we'd like you to take a look."
- an image
Adapt the title by changing this line:
<h2>Check out our brand new feature</h2>Adapt the image by changing this line and putting the URL of another image in the src attribute:
<img src="https://cdn.by.wonderpush.com/upload/01d48biaffai1lb2/17be02b50c2956b97ce51a3d83eb50e922c90b24/v1/large"/>Adapt the message by changing this line:
<p>
We've just released it, we'd like you to take a look.
</p>
Define the url of the page where the click should lead :
data-wonderpush-open-external-url="https://www.wonderpush.com/Look and feel
Colors and fonts of texts and buttons can be adapted in the CSS editor:
Changing the background color
Add the following CSS (adapt blue) to change the background color of the main section:
#content {
  background-color: blue !important;
}
Adding a background image
Add the following CSS (adapt https://example.com/image.png) to add a background to the main section, making sure the background is stretched to cover the entire section (but keeping its aspect-ratio):
#content {
  background-image: url(https://example.com/image.png) !important;
  background-repeat: no-repeat;
  background-size: cover;
}
Text color
To adapt the colors of the title, input, button and dismiss button, adapt the following.
/* Use the following for the title */
h2 {
  color: red !important; /* Adapt "red" to the desired color */
}

/* Use the following for the message */
p {
  color: green !important; /* Adapt "green" to the desired color */
}
FAQ
How do I remove the "Powered by WonderPush"
Just remove this line:
<a href="https://www.wonderpush.com/" target="_blank" class="powered-by-wonderpush">Powered by <strong>WonderPush</strong></a>Updated about 1 year ago