
Android Push Notifications
How to set up WonderPush push notifications on Android apps for mobiles devices.
Setting up push notifications for your Android app is easy
Push notifications are the ideal solution to re-engage users and bring them back to your app.
This guide shows you how to configure an Android app to send and receive push notifications.
Estimated setup time: 10 minutes.
Using a cross-platform framework?We have specific instructions for Cordova, React Native and Flutter.
To upgrade to the latest version of our SDK, follow these instructions.
Prerequisites
You'll need:
- Android Studio
- A device or emulator with Google Play services installed and up-to-date
- A Firebase account
- An AndroidX enabled app. Follow this guide if your app does not use AndroidX yet.
If you haven't already, sign up for a free account on wonderpush.com.
Upgrading from our SDK version 3.x?Follow this guide to update your integration.
Step 1. Create your project
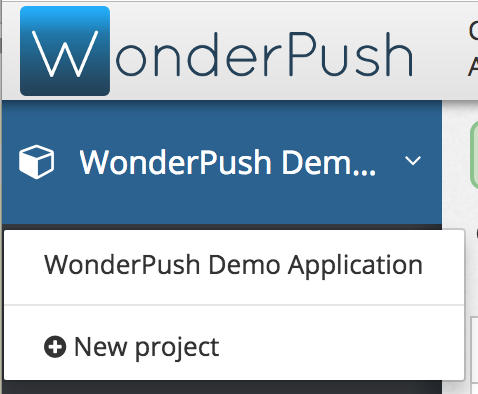
Click on New Project:
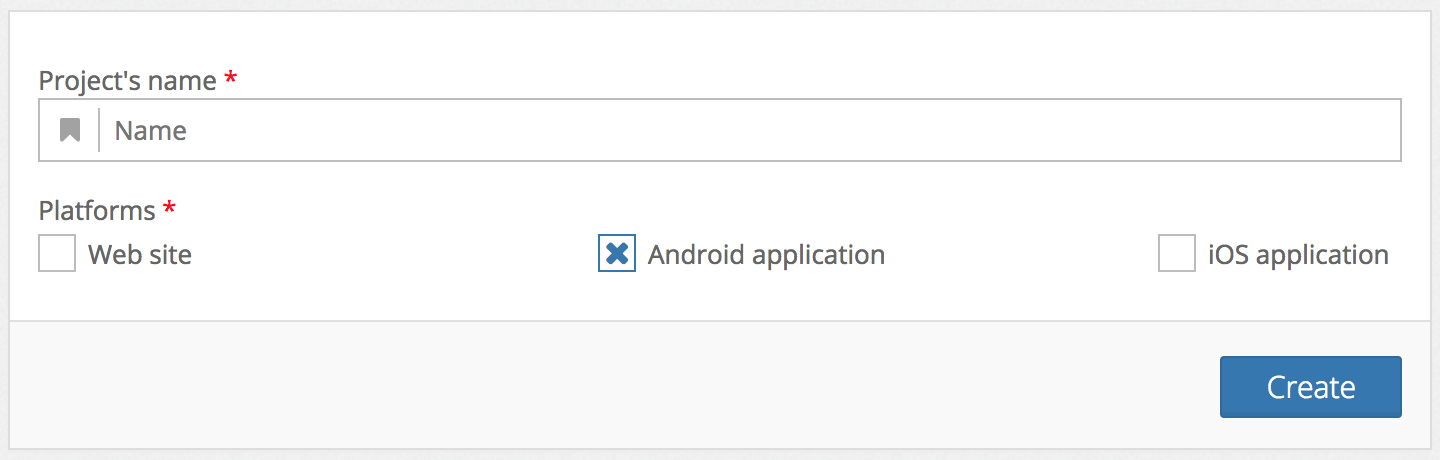
Choose a name for your project and select Android as a platform then click Create:
Already have a project?Just add the Android platform to any existing project by going to Settings, selecting the first tab named after your project and clicking Edit. You'll be presented a form that lets you add a platform.
Step 2. Fill your Firebase credentials in the dashboard
Follow the steps outlined in the Firebase / Filling the Firebase credentials in the WonderPush dashboard article.
Keep note of your Project number, also known as the Sender ID, as you will need in the below steps.
Step 3. Add the SDK as a dependency
Ensure that you include the Maven Central repository for dependency resolution. Make sure the following snippet is present in your project's root directory in at least one of the following files: build.gradle, build.gradle.kt, settings.gradle , settings.gradle.kt:
allprojects {
    repositories {
        // Make sure the following line is present
        mavenCentral()
    }
}
allprojects {
repositories {
mavenCentral()
}
}dependencyResolutionManagement {
// ...
repositories {
// ...
mavenCentral()
}
}
dependencyResolutionManagement {
    // ...
    repositories {
        // ...
        mavenCentral()
    }
}
Add the WonderPush Android SDK as a dependency of your app/build.gradle file:
dependencies {
    // Android Studio will recommend to replace the + range with a specific version.
    // If you do so, do not forget to upgrade it regularly.
    // See: https://github.com/wonderpush/wonderpush-android-sdk/releases
    // See: https://docs.wonderpush.com/changelog
    // WonderPush SDK core module
    implementation 'com.wonderpush:wonderpush-android-sdk:4.+'
    // WonderPush compatibility module with Firebase Cloud Messaging
    implementation 'com.wonderpush:wonderpush-android-sdk-fcm:1.+'
}

// Make sure you can use Java 8 language features
// See: https://developer.android.com/studio/write/java8-support.html#supported_features
android {
  // Configure only for each module that uses Java 8
  // language features (either in its source code or
  // through dependencies).
  compileOptions {
    sourceCompatibility JavaVersion.VERSION_1_8
    targetCompatibility JavaVersion.VERSION_1_8
  }
  // For Kotlin projects
  kotlinOptions {
    jvmTarget = "1.8"
  }
}
dependencies {
// Android Studio will recommend to replace the + range with a specific version.
// If you do so, do not forget to upgrade it regularly.
// See: https://github.com/wonderpush/wonderpush-android-sdk/releases
// See: https://docs.wonderpush.com/changelog
// WonderPush SDK core module
implementation("com.wonderpush:wonderpush-android-sdk:4.+")
// WonderPush compatibility module with Firebase Cloud Messaging
implementation("com.wonderpush:wonderpush-android-sdk-fcm:1.+")
}
// Make sure you can use Java 8 language features
// See: https://developer.android.com/studio/write/java8-support.html#supported_features
android {
// Configure only for each module that uses Java 8
// language features (either in its source code or
// through dependencies).
compileOptions {
sourceCompatibility = JavaVersion.VERSION_1_8
targetCompatibility = JavaVersion.VERSION_1_8
}
kotlinOptions {
jvmTarget = "1.8"
}
}
Huawei mobiles supportBecause Huawei mobiles no longer ship with Google Play Services necessary for using Firebase Cloud Messaging, you will need to follow the Huawei mobiles support guide to support them.
Step 4. Configure SDK and prompt users
Build file
Configure the WonderPush Android SDK from your app/build.gradle file:
android {
    defaultConfig {
        // Note that it's important to keep the double quotes as part of the third argument
        // as this represents a string in Java code
        buildConfigField 'String', 'WONDERPUSH_CLIENT_ID', '"YOUR_CLIENT_ID"'
        buildConfigField 'String', 'WONDERPUSH_CLIENT_SECRET', '"YOUR_CLIENT_SECRET"'
        buildConfigField 'String', 'WONDERPUSH_SENDER_ID', '"YOUR_SENDER_ID"'
        buildFeatures {
            buildConfig = true
        }
    }
}
android {
defaultConfig {
// Note that it's important to keep the double quotes as part of the third argument
// as this represents a string in Java code
buildConfigField("String", "WONDERPUSH_CLIENT_ID", "\"YOUR_CLIENT_ID\"")
buildConfigField("String", "WONDERPUSH_CLIENT_SECRET", "\"YOUR_CLIENT_SECRET\"")
buildConfigField("String", "WONDERPUSH_SENDER_ID", "\"YOUR_SENDER_ID\"")
buildFeatures {
buildConfig = true
}
}
}Replace YOUR_CLIENT_ID and YOUR_CLIENT_SECRET with the appropriate values you find in the Platforms page, in the Android application section.
Replace YOUR_SENDER_ID with the Firebase Sender ID from step 2
Note that it's important to keep the double quotes as part of the third argument as this represents a string in Java code.
Prompting users
Starting Android 13, it is necessary to call WonderPush.subscribeToNotifications() in order to subscribe users. This call will have no effect on earlier version of Android. Best practices tell us that this call should be made after showing users a rationale about the benefits they'll get from subscribing to push, rather that directly on app startup.
// Shows the push permission prompt when necessary
WonderPush.subscribeToNotifications();

// You can also use this variation that will show an alert dialog
// to users who have repeatedly denied the permission, taking them to the settings
// of your app where they can flip the permission switch:
WonderPush.subscribeToNotifications(true);
// Shows the push permission prompt when necessary
WonderPush.subscribeToNotifications();
// You can also use this variation that will show an alert dialog
// to users who have repeatedly denied the permission, taking them to the settings
// of your app where they can flip the permission switch:
WonderPush.subscribeToNotifications(true);
Controlling the Android 13+ permission prompt timingIn order to control when the permission prompt is triggered when running on Android 13 devices, you will need to update your
app/build.gradleto use:android { compileSdkVersion 33 defaultConfig { targetSdkVersion 33 } }If you do not do so, the user will be prompted for permission right at application launch.
Step 5. Sync Gradle and build
Click Sync now in the banner that showed up in your editor, or click the Sync project with Gradle files button in the toolbar.
Then build your project.
Getting an error?
- Messages about targetSdkVersion, compileSdkVersion or minSdkVersion? Make sure you use minimum required versions
- Resolve error
All com.android.support libraries must use the exact same version specification
Step 6. Setup ProGuard
Recommended
In order to have meaningful stack traces of your application released in Google Play, we recommend that you keep ProGuard from obfuscating WonderPush class names, file names and line numbers.
Add the following to your proguard-rules.pro file:
# For easier debugging, we strongly recommend keeping WonderPush class names unobfuscated
-keepattributes SourceFile,LineNumberTable,Signature
-keepnames class com.wonderpush.sdk.** {
    *;
}
-keepnames interface com.wonderpush.sdk.** {
    *;
}When using ProGuard, don't forget to save your
mapping.txtof each release in a safe place.
This file is found inapp/build/outputs/mapping/release/mapping.txt.
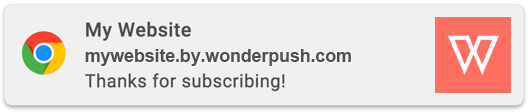
Receive your first push!
Build and run your application.
Wait a couple of minutes and receive the default welcome notification:
Congratulations, you're done!